Google Workspace Directory
Integrate Google Workspace with the host application for seamless user management
This guide helps administrators sync their Google Workspace directory with an application they want to onboard to their organization. Integrating your application with Google Workspace automates user management tasks and ensures access rights stay up-to-date.
-
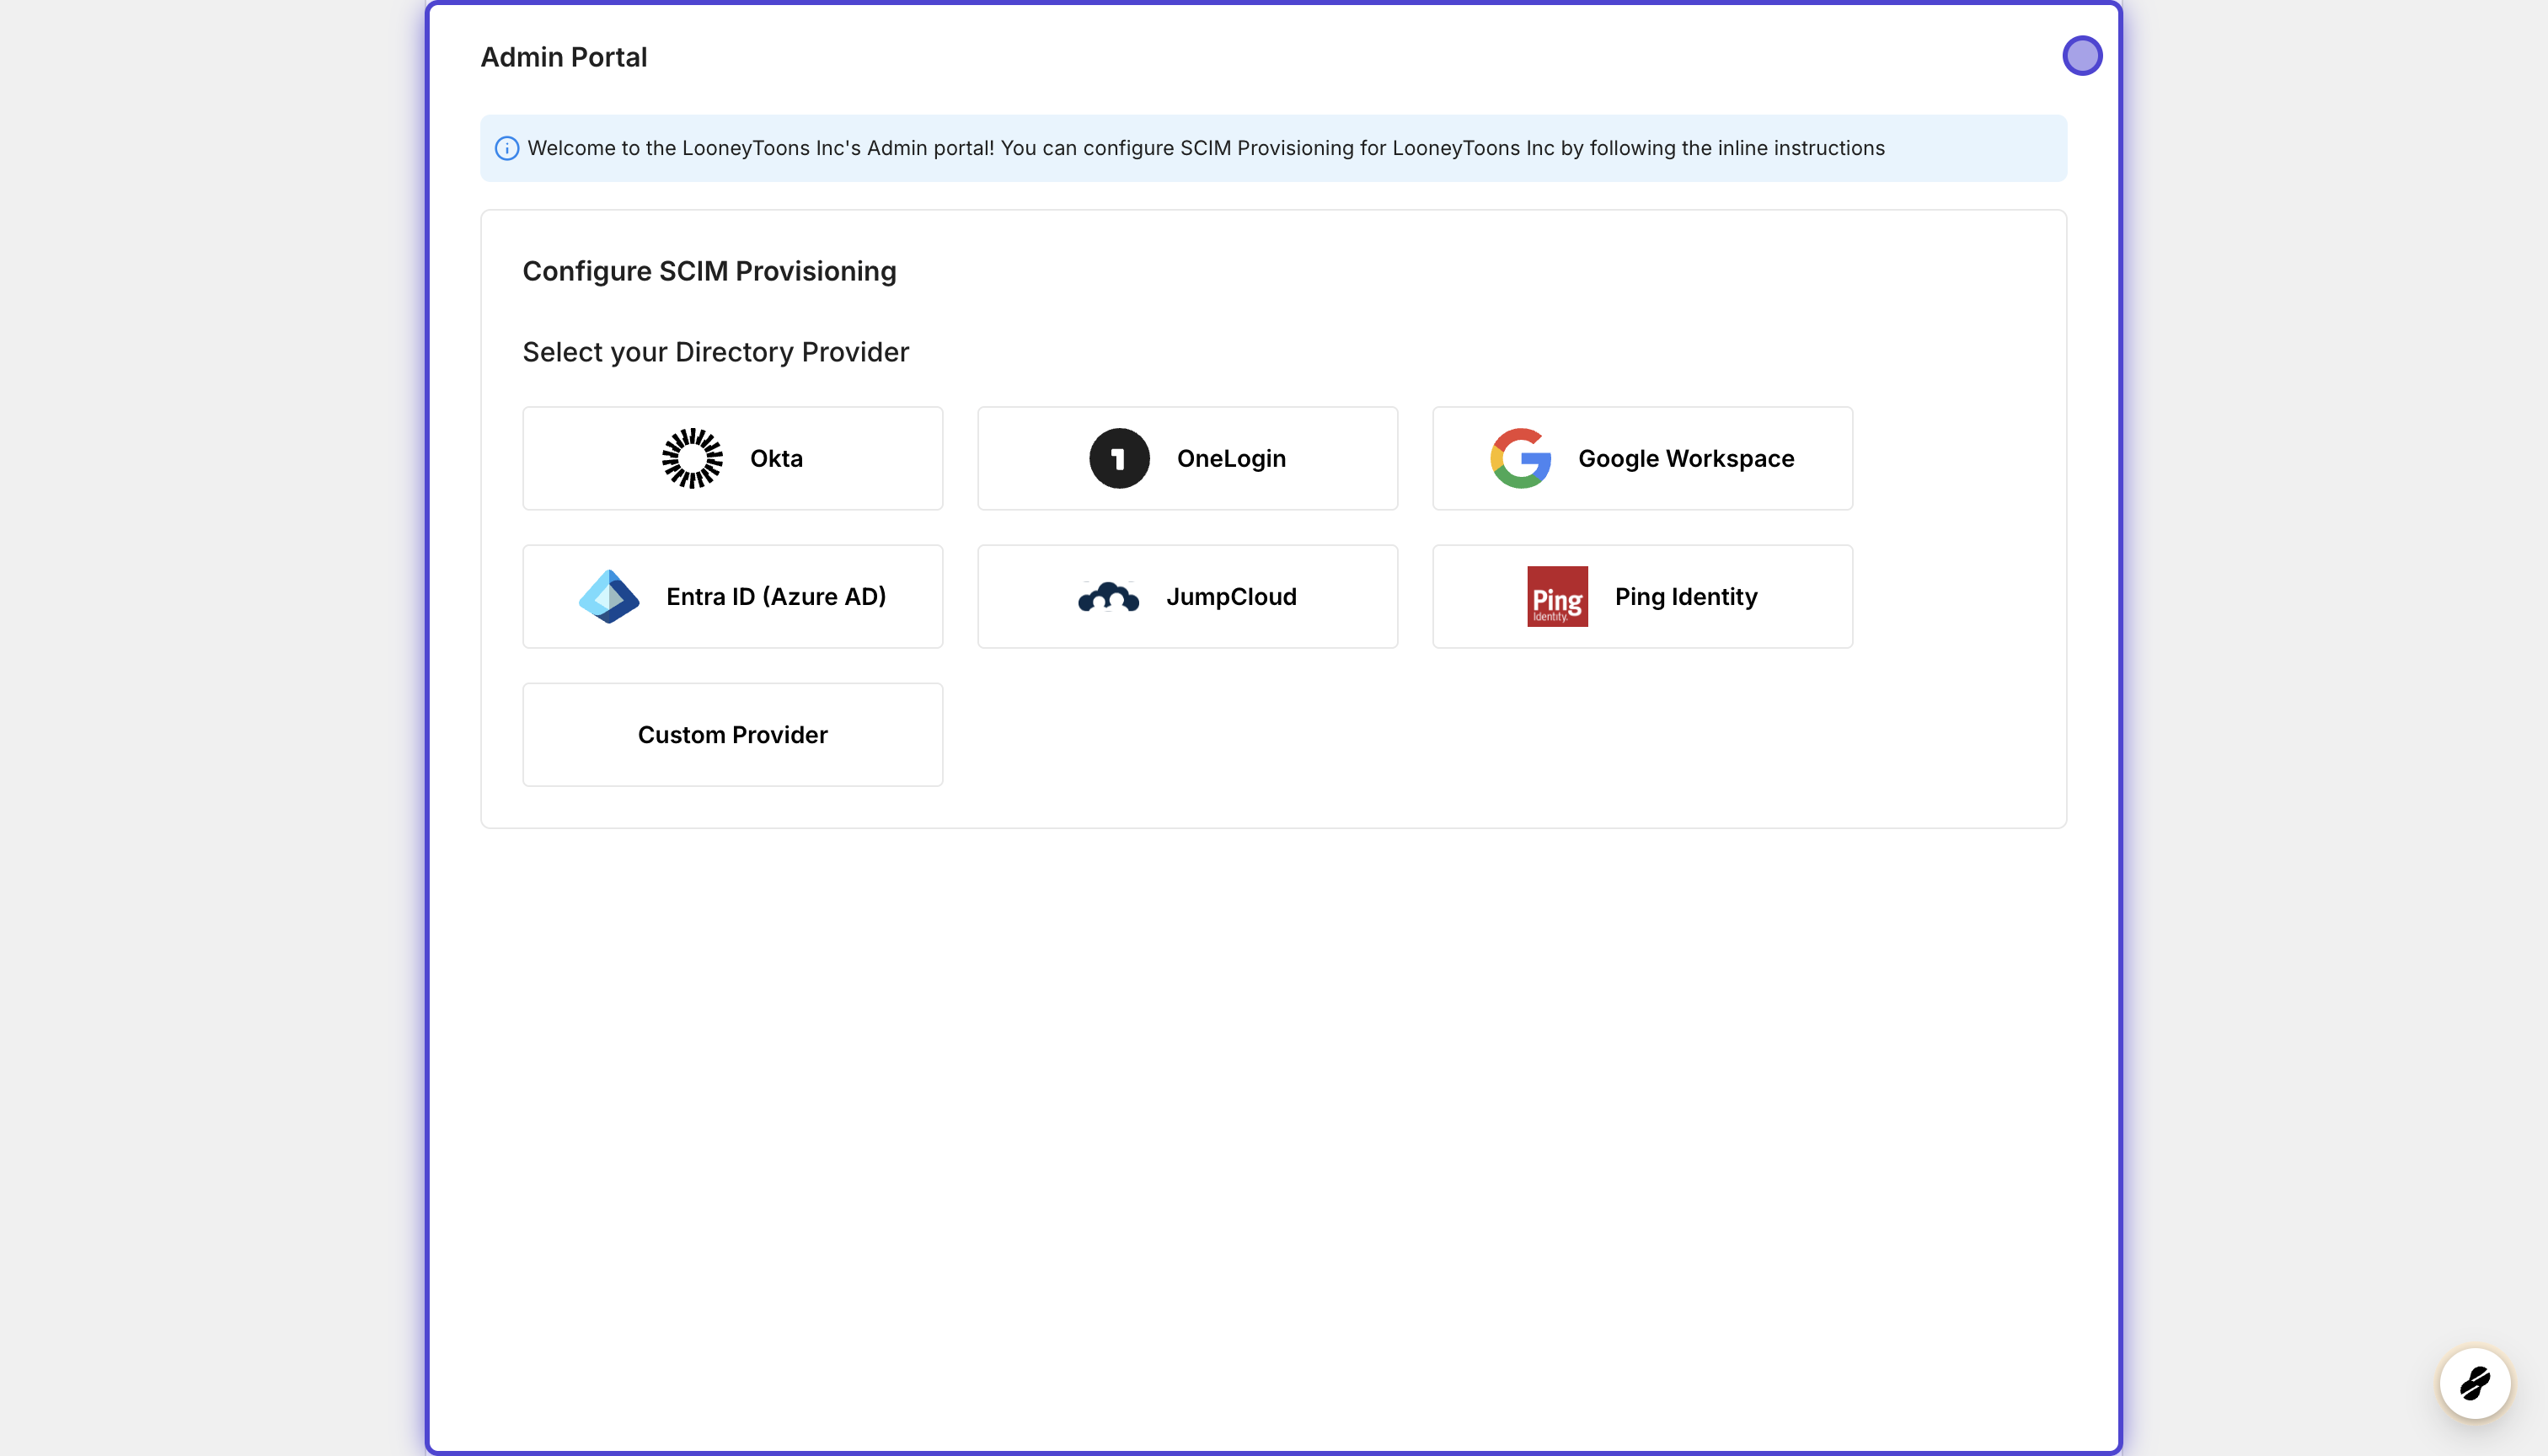
Access the directory configuration screen
Section titled “Access the directory configuration screen”Navigate to the Admin Portal of your application and select the “SCIM Provisioning” tab. You’ll see a list of available directory providers.
-
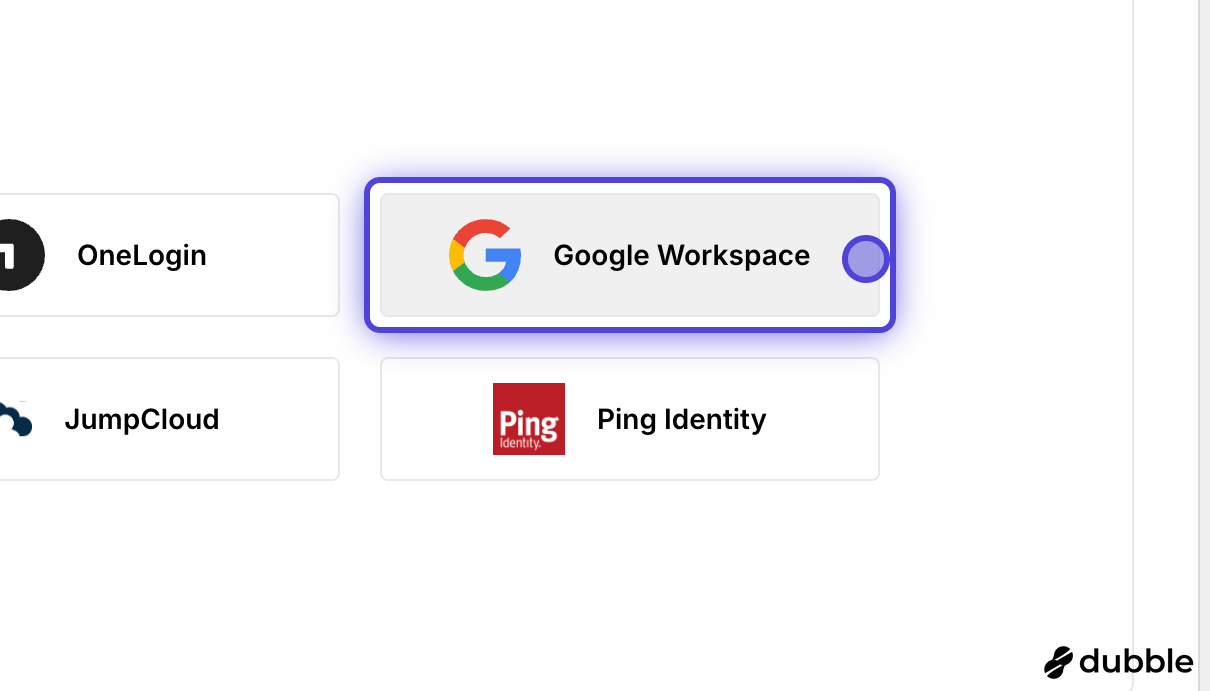
Select Google Workspace
Section titled “Select Google Workspace”From the list of directory providers, locate and click on “Google Workspace”.
-
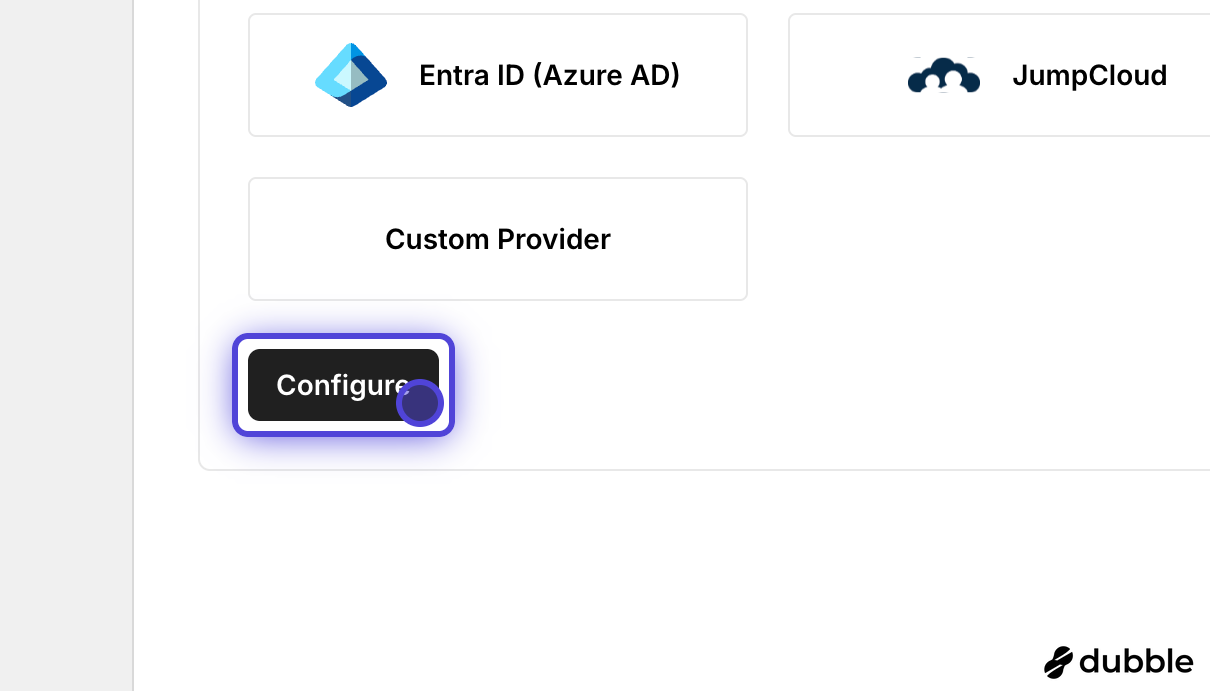
Begin configuration
Section titled “Begin configuration”Click on the “Configure” button to start setting up the Google Workspace integration.
-
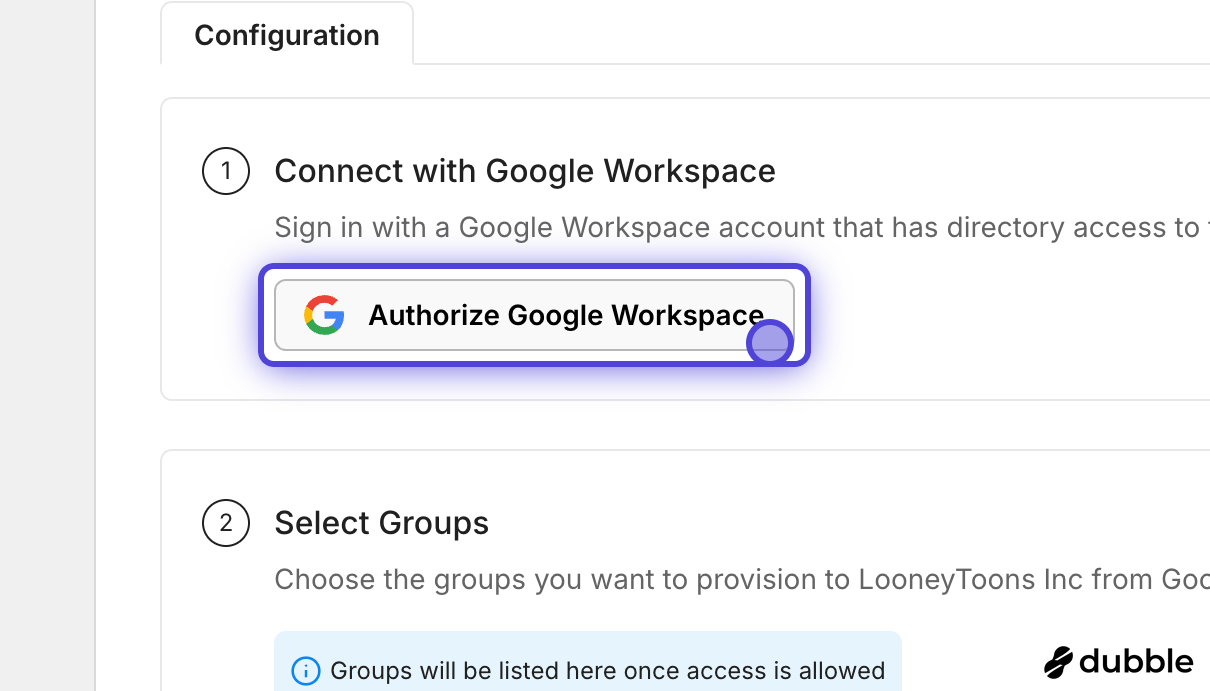
Authorize Google Workspace
Section titled “Authorize Google Workspace”To establish the connection, you need to authorize access to your Google Workspace directory. Click on “Authorize Google Workspace”.
-
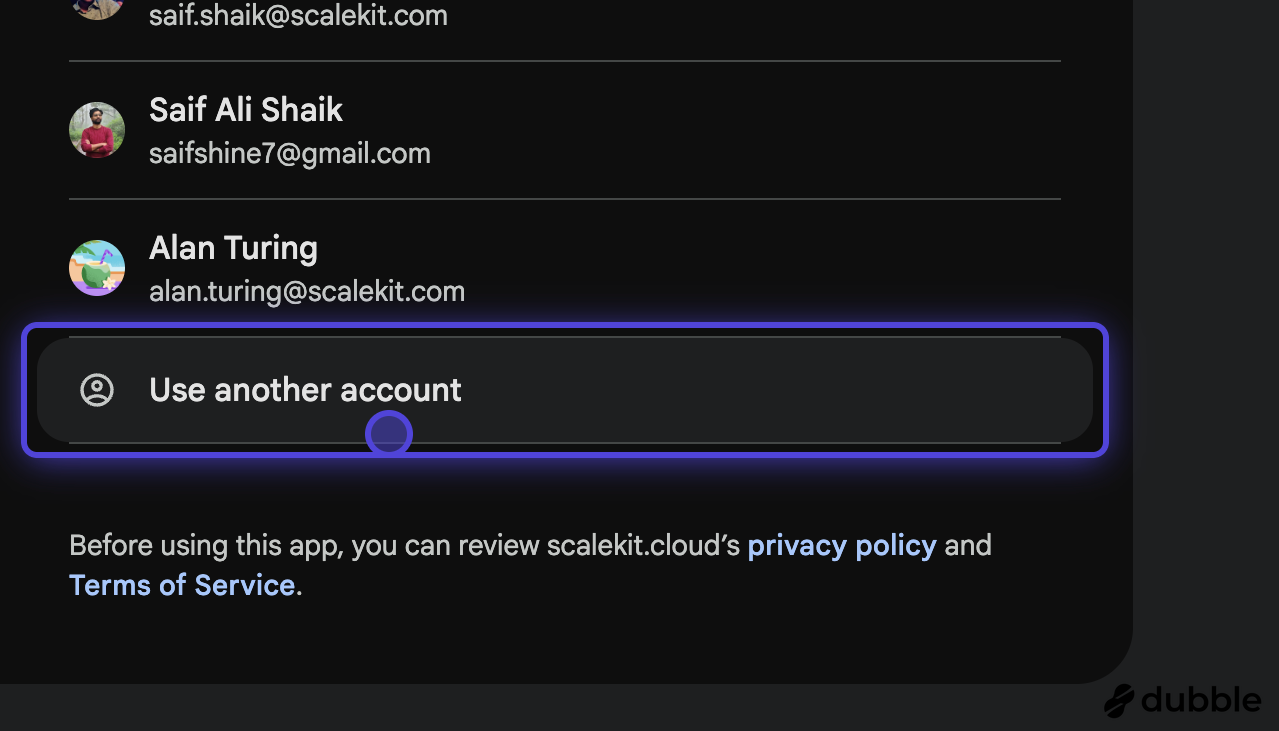
Sign in with Google admin account
Section titled “Sign in with Google admin account”You’ll be redirected to Google’s authentication page. Sign in with your Google Workspace administrator account. If you’re already signed in with multiple accounts, select “Use another account” to ensure you’re using your administrator account.
-
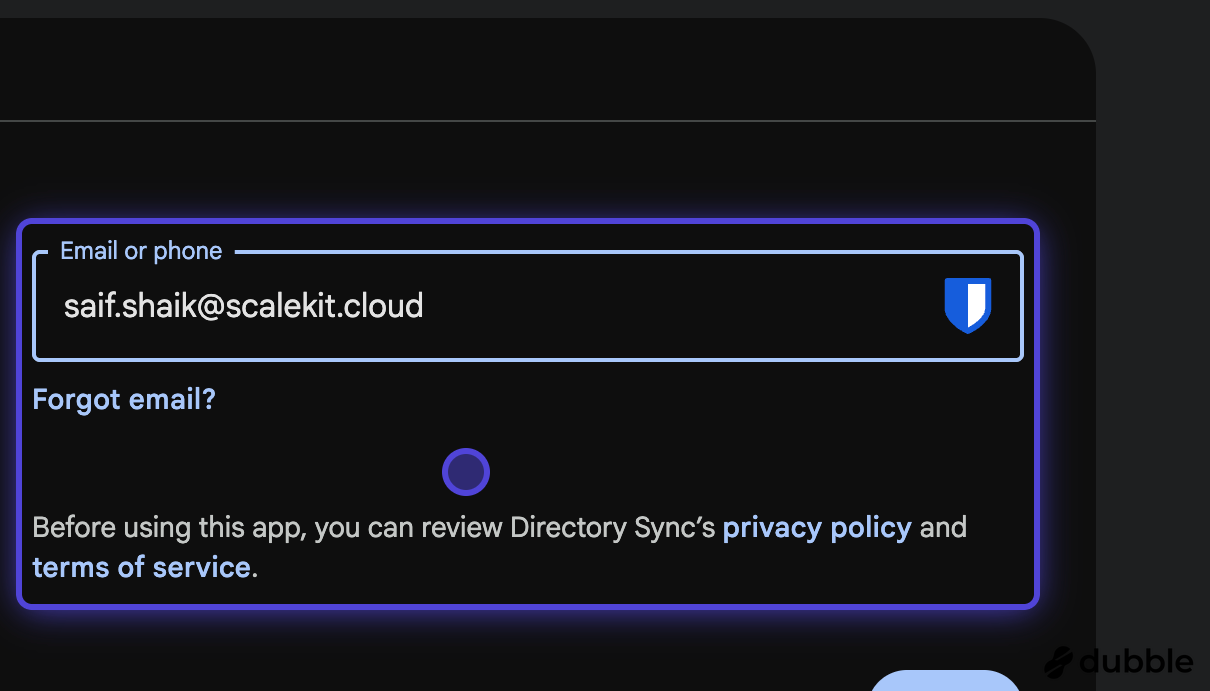
Enter administrator credentials
Section titled “Enter administrator credentials”Enter your Google Workspace administrator email address and password when prompted.
-
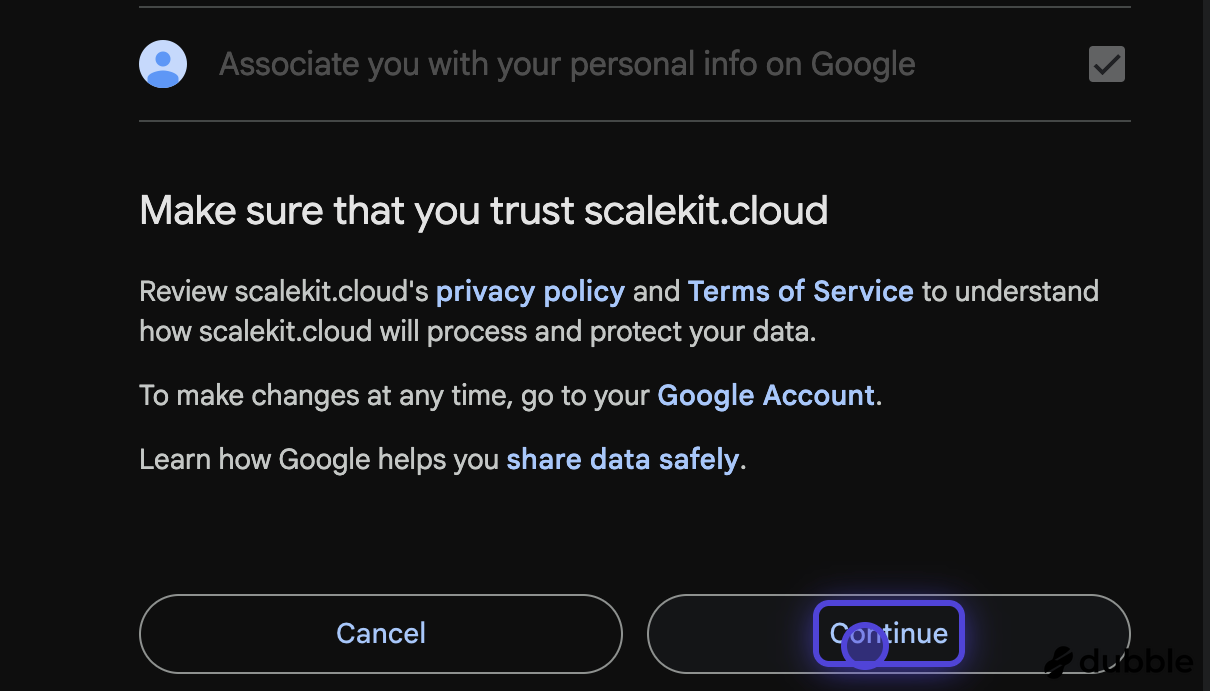
Grant required permissions
Section titled “Grant required permissions”When prompted, review and confirm the permissions requested by the application. These permissions allow the application to read user and group information from your Google Workspace directory.
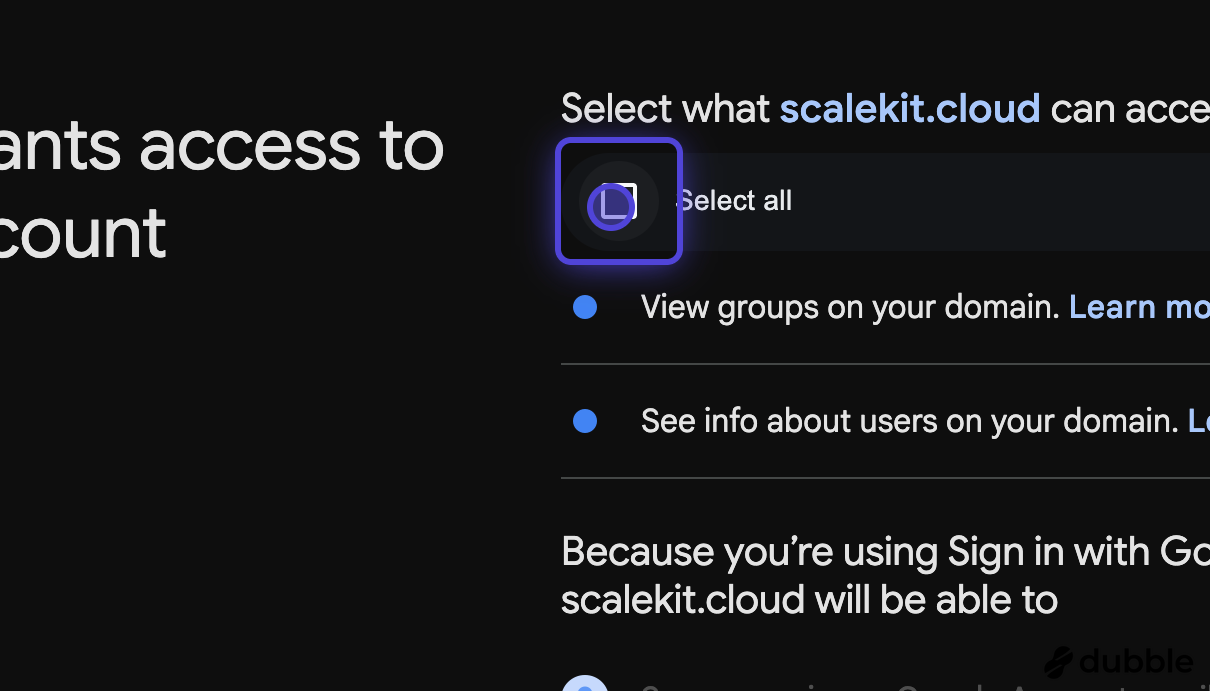
Click “Continue” to grant the necessary permissions.
-
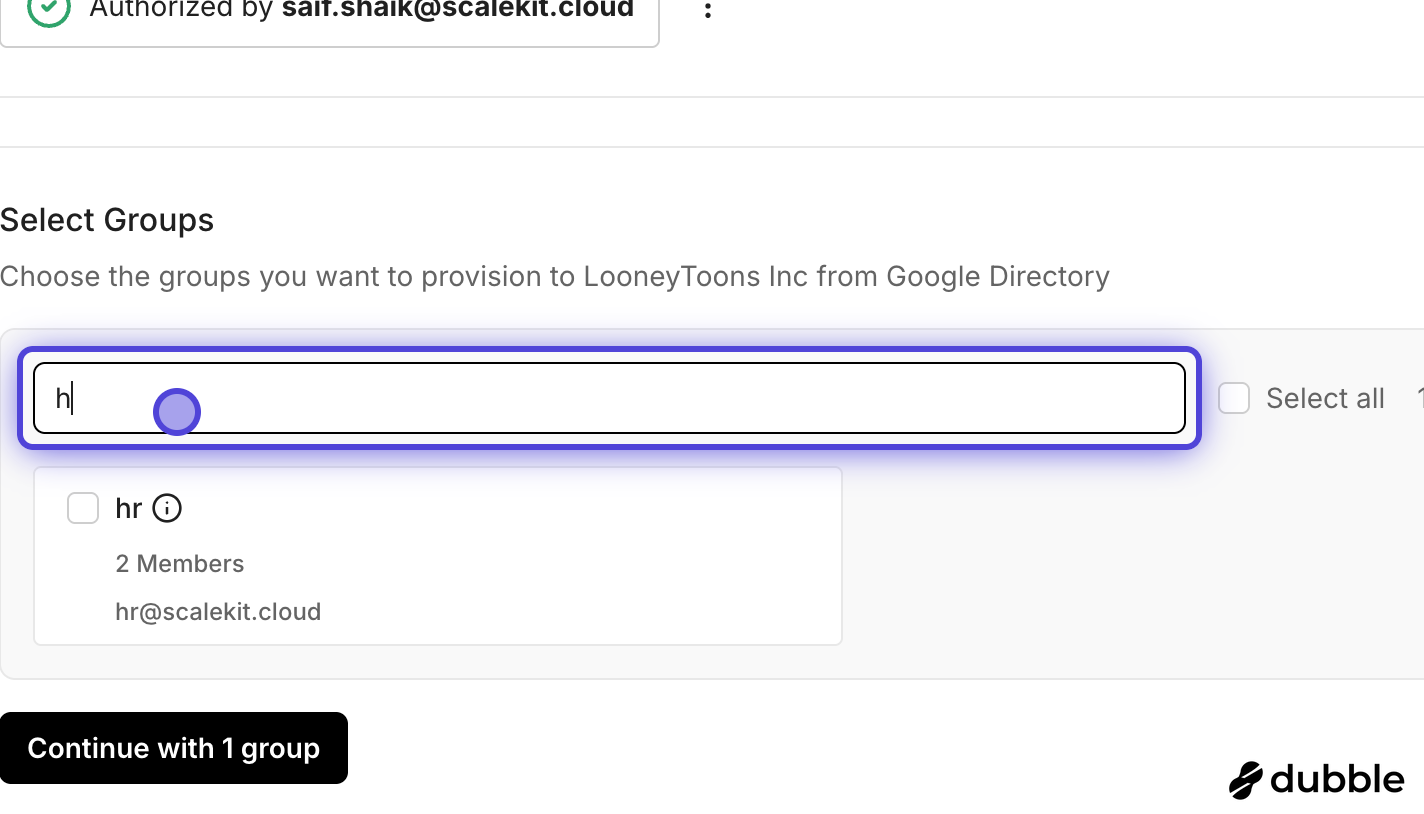
Select groups to sync
Section titled “Select groups to sync”After authorization, you’ll see the groups available in your Google Workspace directory. Select the groups you want to synchronize with your application.
-
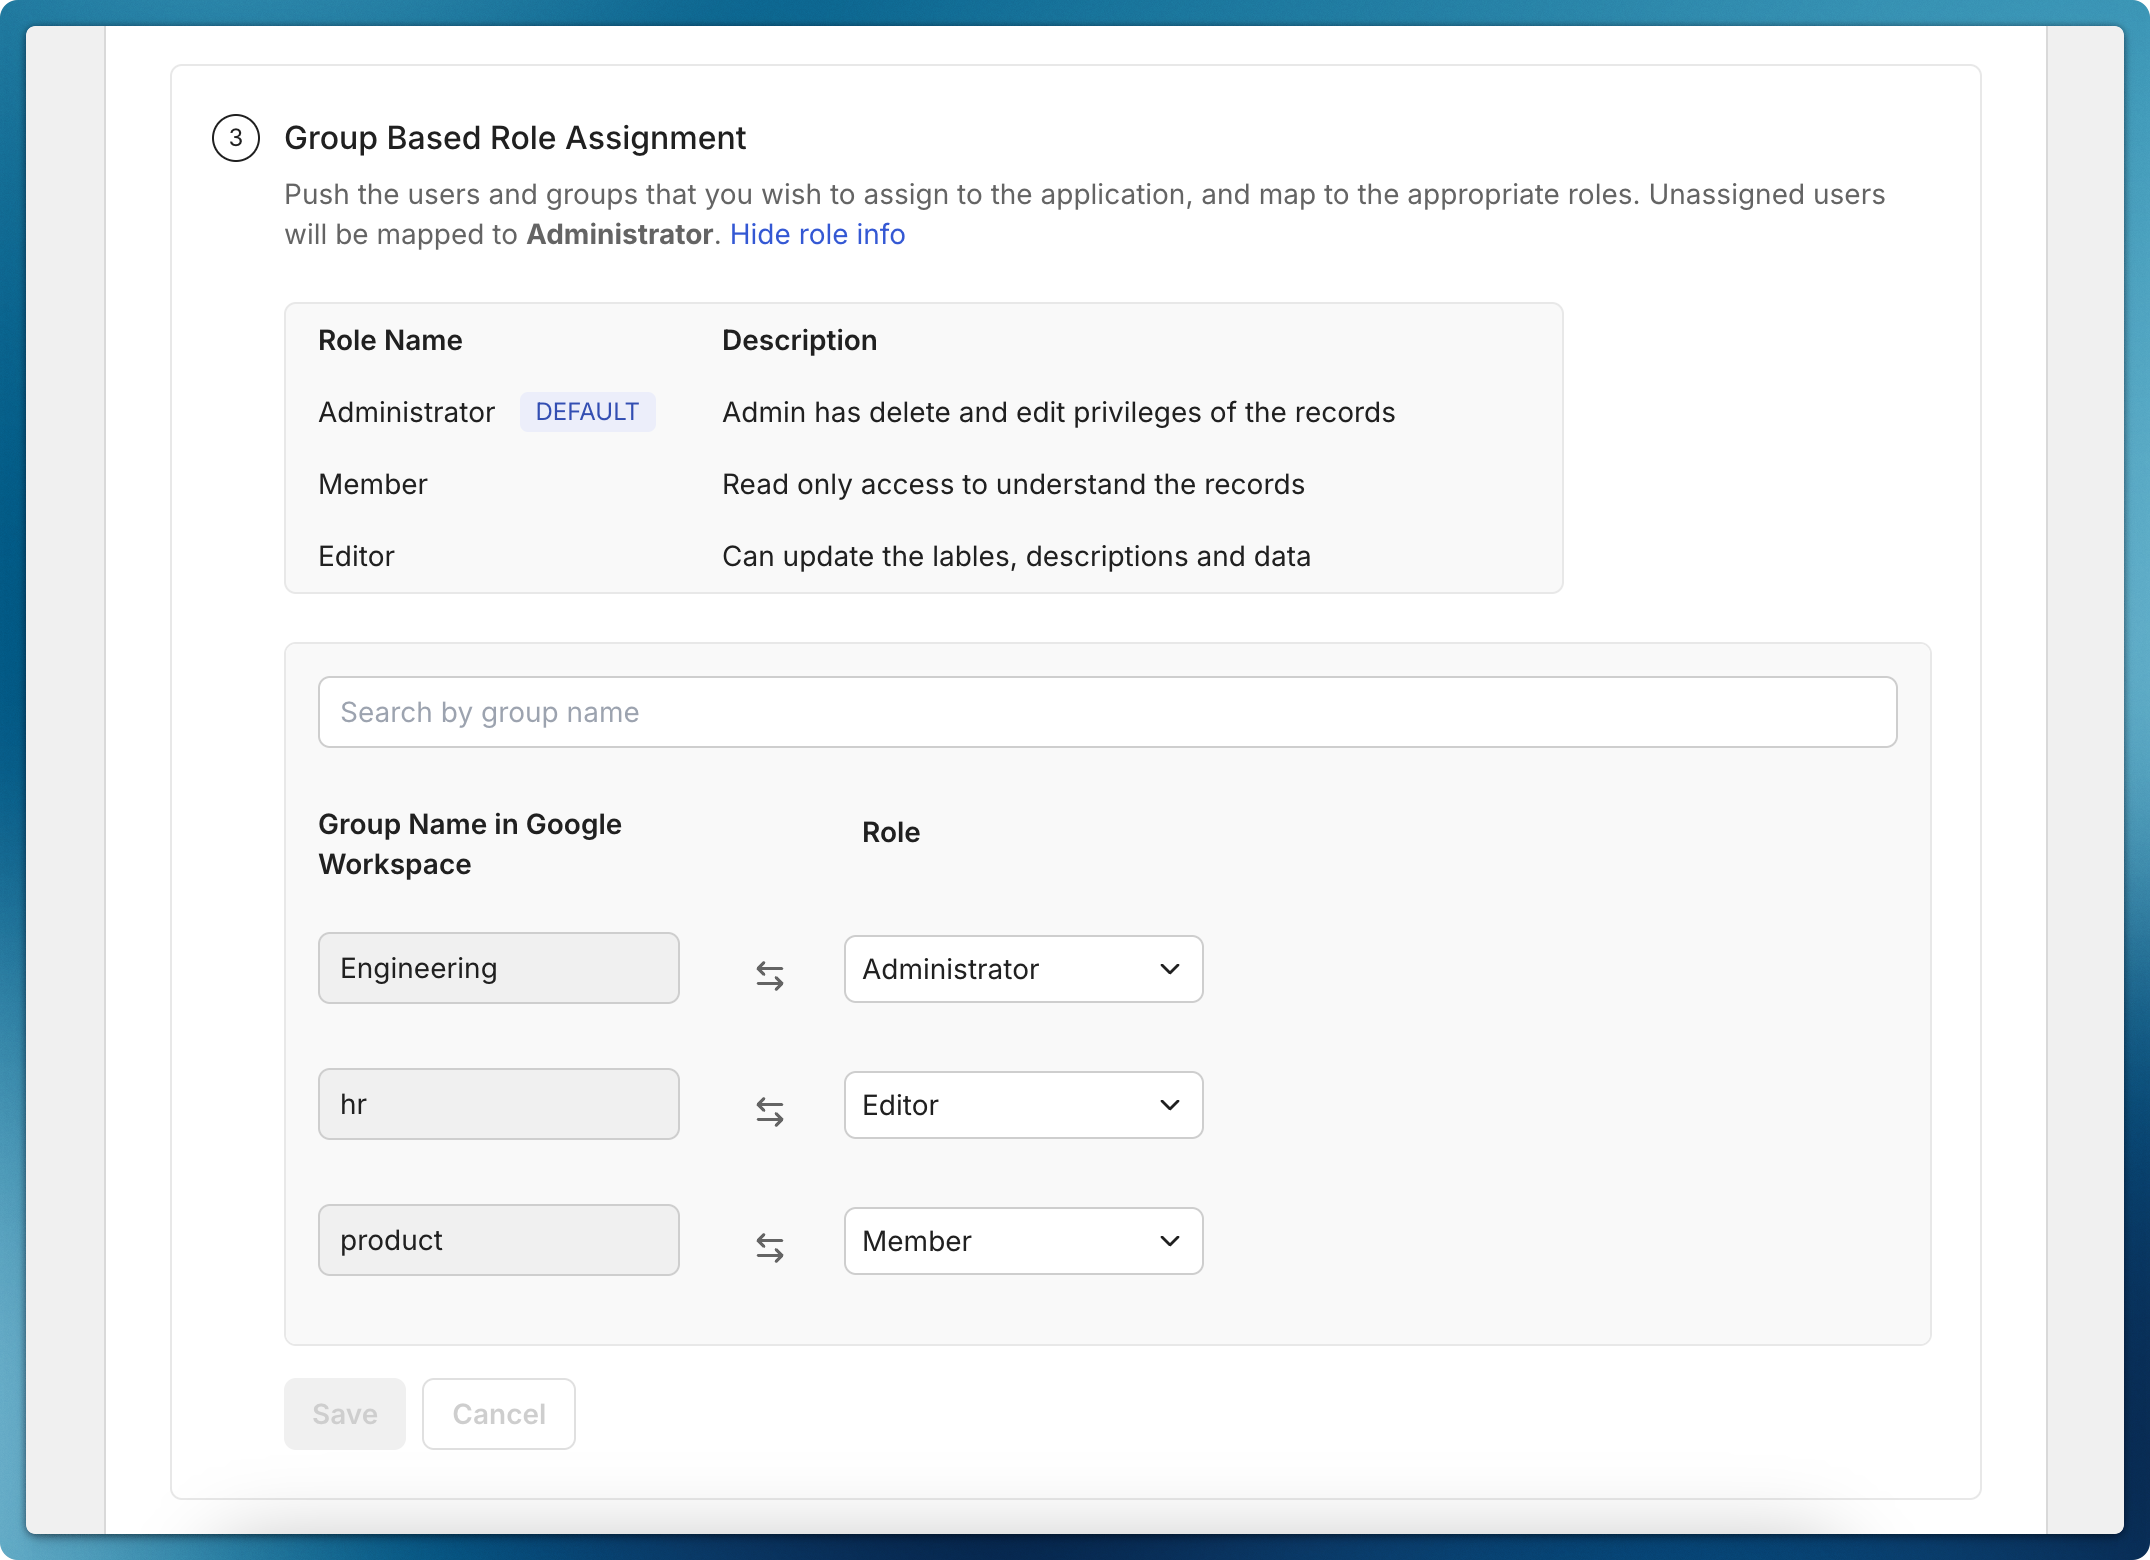
Map IdP groups to application roles
Section titled “Map IdP groups to application roles”Map IdP groups to application roles to control access to your application. This needs to be enabled by the host application.
-
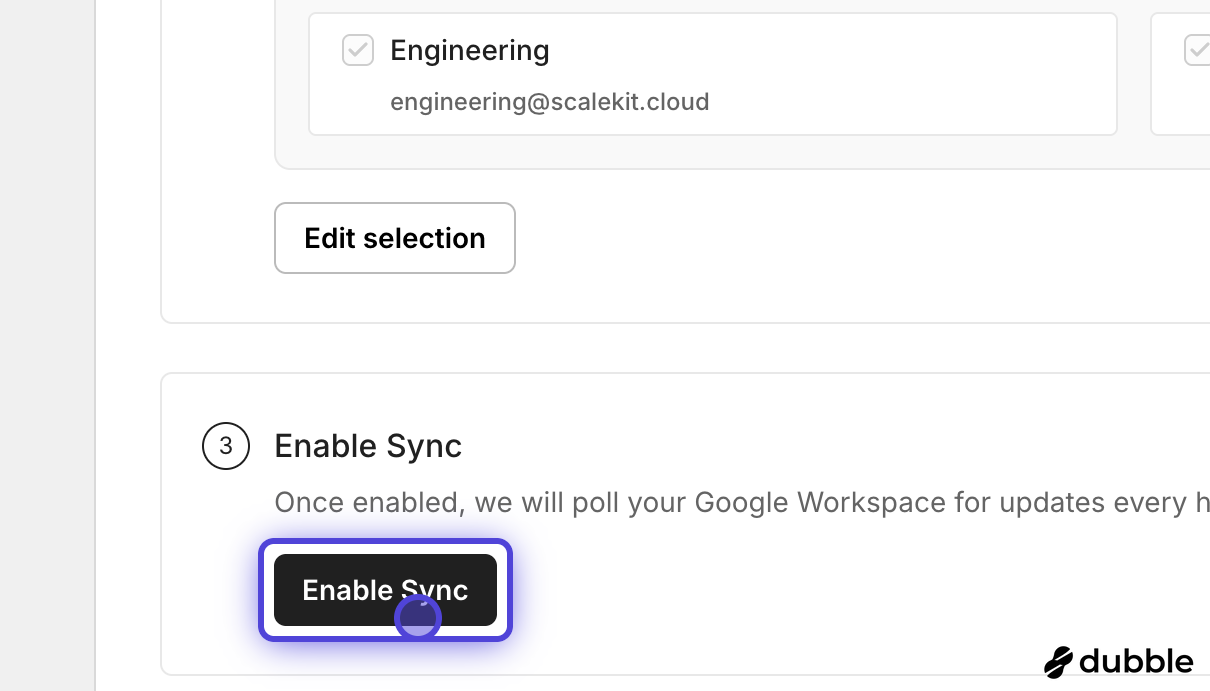
Enable directory sync
Section titled “Enable directory sync”After selecting your groups, click “Enable Sync” to activate the integration.