
Ways to implement SSO logins
Implement single sign-on on your login page using three UX strategies: identifier-driven, SSO button, or organization-specific pages.
Single sign-on (SSO) login requires careful UX design to balance enterprise authentication requirements with user experience. Your login page must accommodate both SSO users (who authenticate through their organization’s identity provider) and non-SSO users (who use passwords or social authentication).
This guide presents three proven UX strategies for adding SSO to your login page. Each strategy offers different trade-offs between user experience, implementation complexity, and administrative control. Choose the approach that best fits your users’ needs and your application’s architecture.
The right strategy depends on your user base: identifier-driven flows work best when admins control authentication methods, explicit SSO buttons give users choice, and organization-specific login pages simplify enterprise deployments.
Strategy 1: Identifier-driven single sign-on
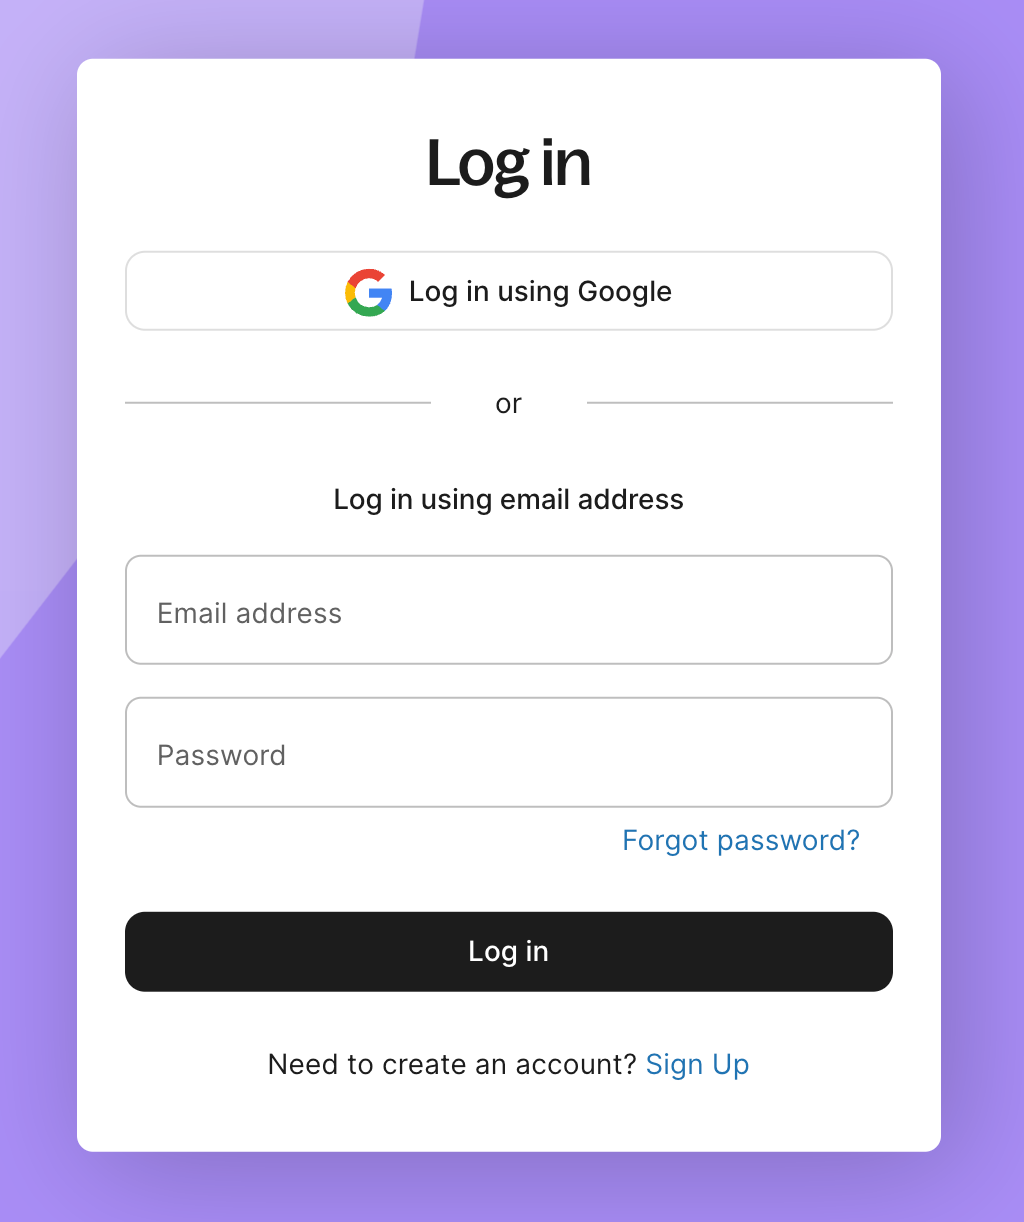
Section titled “Strategy 1: Identifier-driven single sign-on”Collect the user’s email address first. Use the email domain or organization identifier to determine whether to route to SSO or password-based authentication.
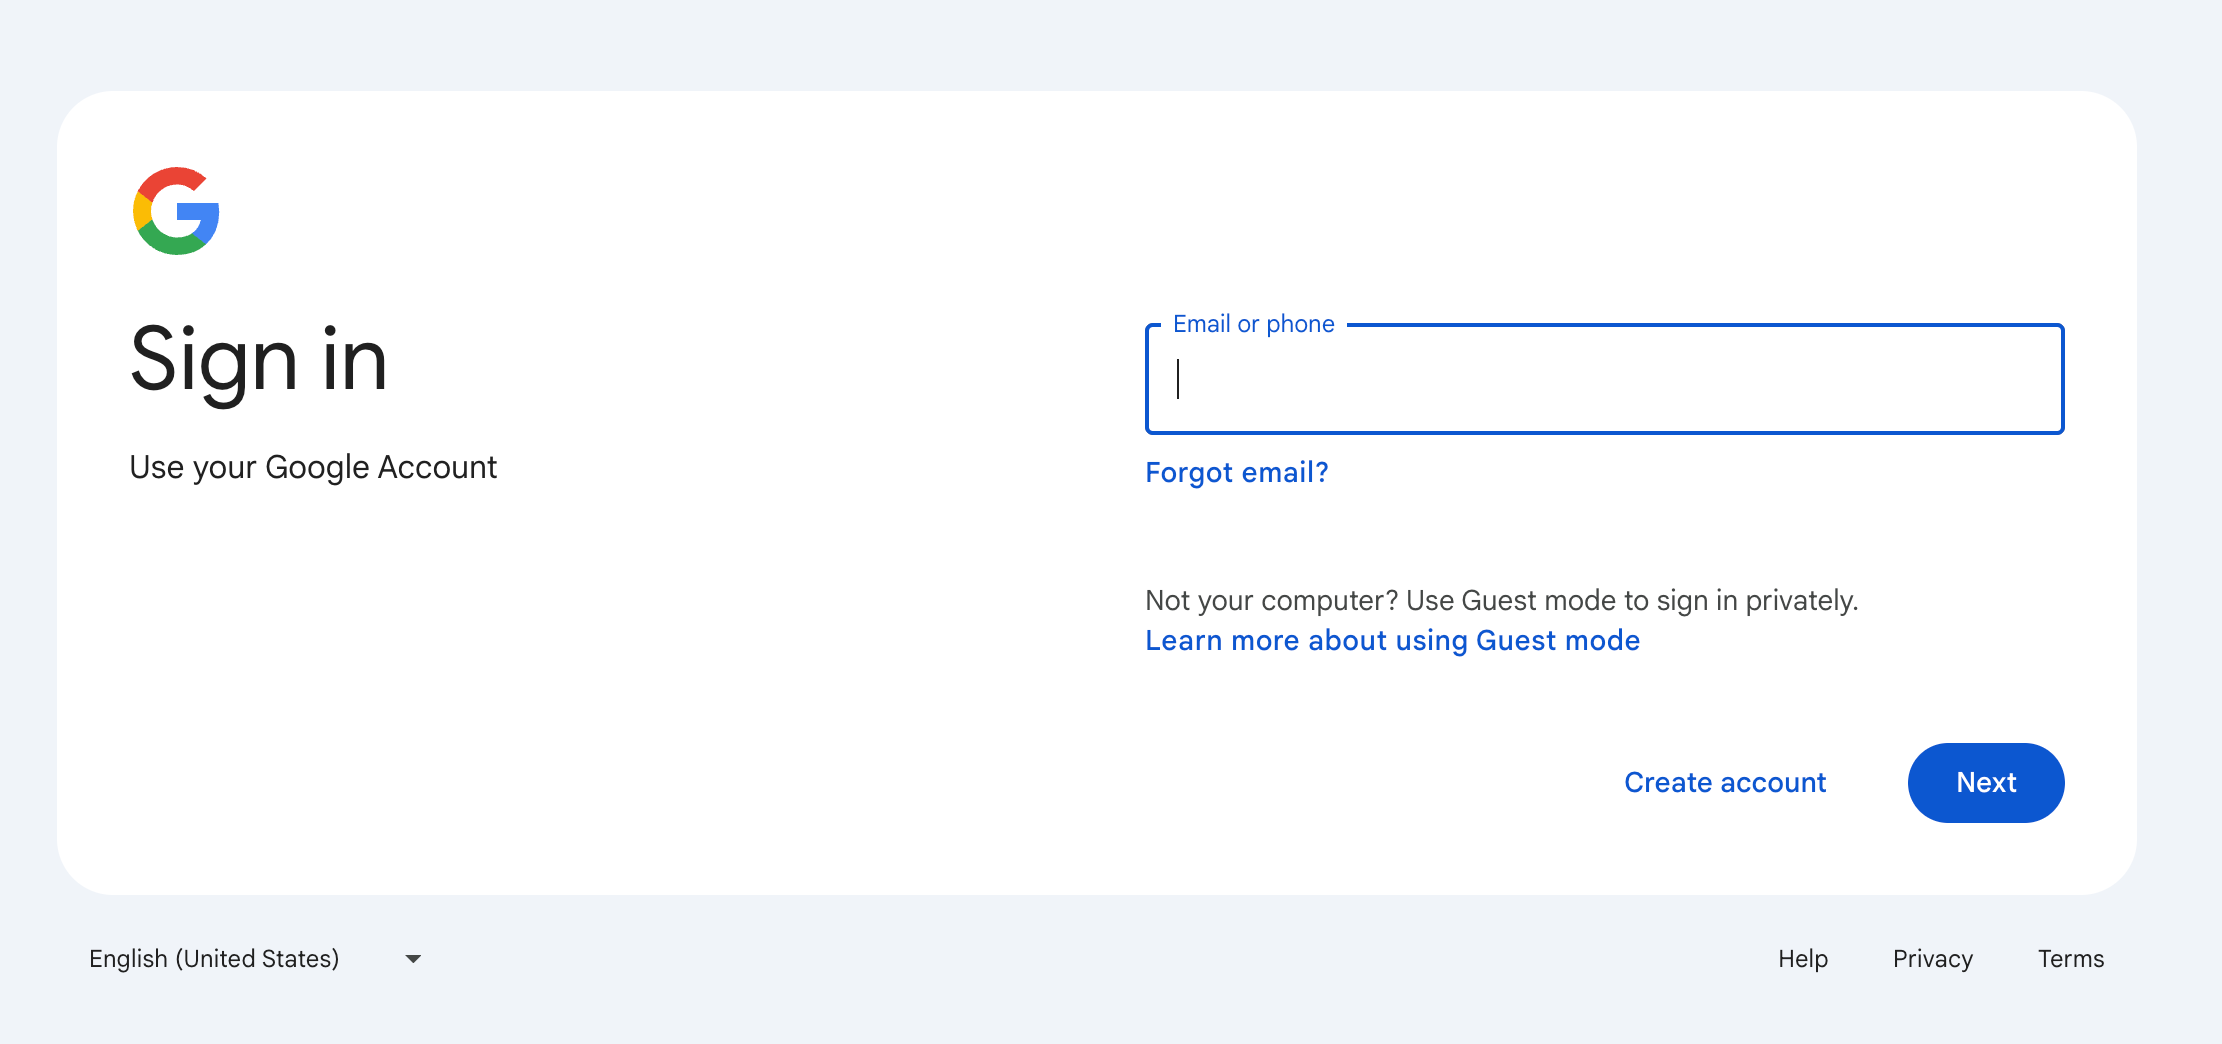
Users don’t choose the authentication method. This reduces cognitive load and works well when admins mandate SSO after users have already logged in with passwords. Popular products like Google, Microsoft, and AWS use this strategy.
Strategy 2: Login with single sign-on button
Section titled “Strategy 2: Login with single sign-on button”Add a “Login with SSO” button to your login page. This presents all authentication options and lets users choose their preferred method.
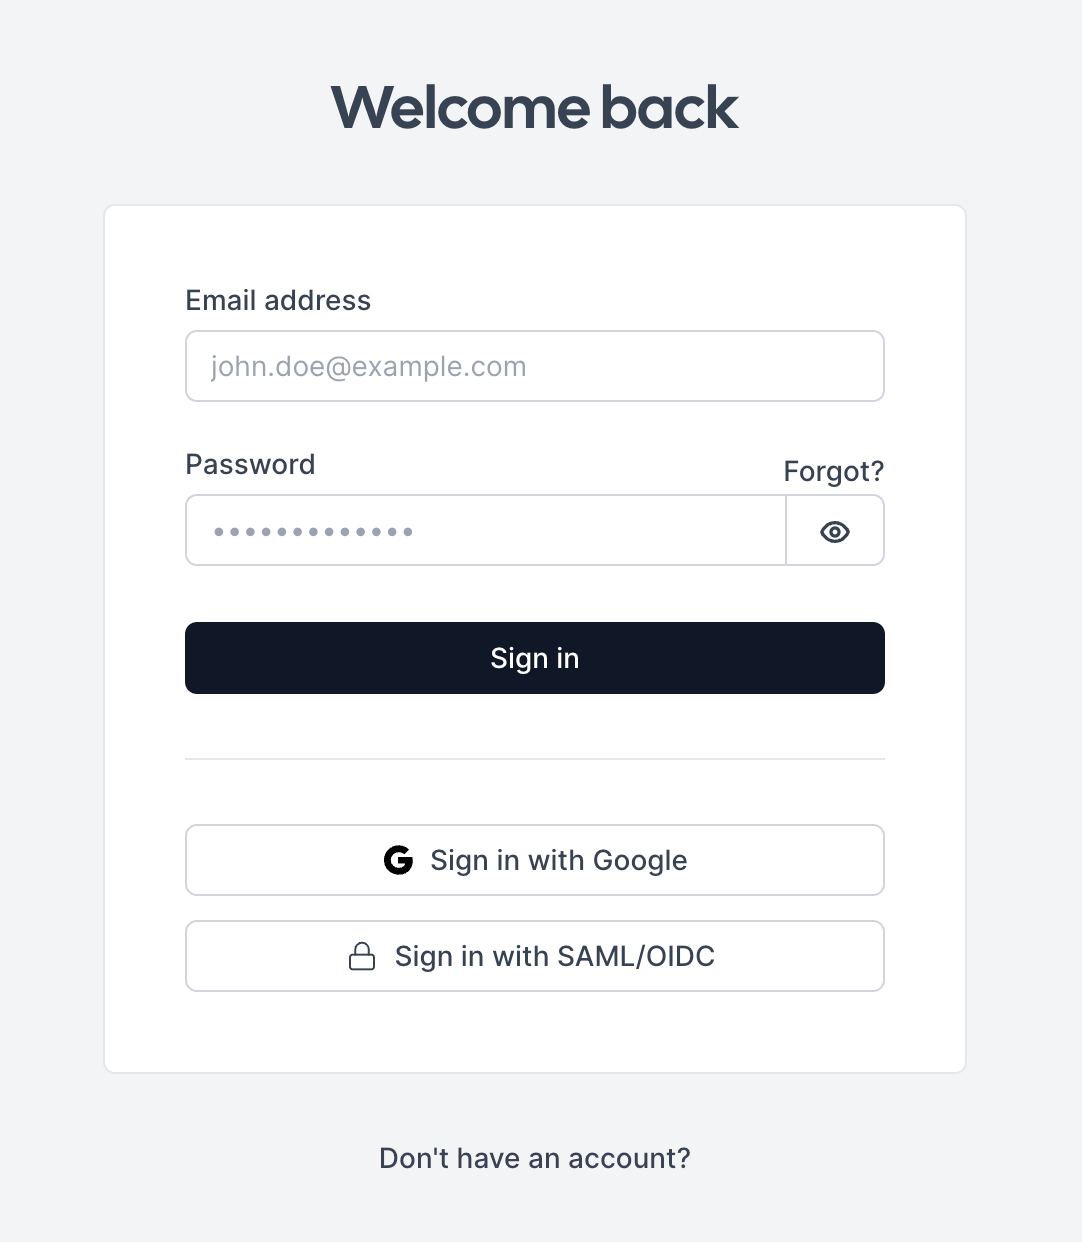
If a user attempts password login but their admin mandates SSO, force SSO-based authentication instead of showing an error. Popular products like Cal.com and Notion use this strategy.
Strategy 3: organization-specific login page
Section titled “Strategy 3: organization-specific login page”Serve different login pages for each organization instead of a single login page. For example, https://customer1.b2b-app.com/login and https://customer2.b2b-app.com/login. Show only the authentication methods applicable to that organization based on the URL.
Popular products like Zendesk and Slack use this strategy. The drawback is that users must remember their organization URL to access the login page.
Next steps
Section titled “Next steps”After implementing your chosen SSO login strategy:
- Pre-check SSO by domain - Validate email domains have active SSO before redirecting
- Complete login with code exchange - Exchange authorization codes for user data and tokens
- Manage user sessions - Store and validate session tokens securely