
Create and manage organizations
Create and manage organizations in Scalekit, configure settings, and enable enterprise features.
Organizations are the foundation of your B2B application, representing your customers and their teams. In Scalekit, organizations serve as multi-tenant containers that isolate user data, configure authentication methods, and manage enterprise features like Single Sign-On (SSO) and directory synchronization.
This guide shows you how to create and manage organizations programmatically and through the Scalekit dashboard.
Understanding organizations
Section titled “Understanding organizations”Users can belong to multiple organizations with the same identity. This is common in products like Notion, where users collaborate across multiple workspaces.
Create an organization
Section titled “Create an organization”Organizations can be created automatically during user sign-up or programmatically through the API. When users sign up for your application, Scalekit creates a new organization and adds the user to it automatically.
For more control over the organization creation process, create organizations programmatically:
npm install @scalekit-sdk/nodepip install scalekit-sdk-pythongo get -u github.com/scalekit-inc/scalekit-sdk-go/* Gradle users - add the following to your dependencies in build file */implementation "com.scalekit:scalekit-sdk-java:2.0.11"<!-- Maven users - add the following to your `pom.xml` --><dependency> <groupId>com.scalekit</groupId> <artifactId>scalekit-sdk-java</artifactId> <version>2.0.11</version></dependency>const organization = await scalekit.organization.createOrganization('Acme Corporation', { externalId: 'acme-corp-123',});
console.log('Organization created:', organization.id);from scalekit.v1.organizations.organizations_pb2 import CreateOrganization
organization = scalekit_client.organization.create_organization( CreateOrganization( display_name='Acme Corporation', external_id='acme-corp-123', metadata={ 'plan': 'enterprise', 'industry': 'technology' } ))
print(f'Organization created: {organization.id}')organization, err := scalekitClient.Organization.CreateOrganization( ctx, "Acme Corporation", scalekit.CreateOrganizationOptions{ ExternalId: "acme-corp-123", },)if err != nil { log.Fatal(err)}
fmt.Printf("Organization created: %s\n", organization.ID)import java.util.Map;import java.util.HashMap;
Map<String, Object> metadata = new HashMap<>();metadata.put("plan", "enterprise");metadata.put("industry", "technology");
CreateOrganization createOrg = CreateOrganization.newBuilder() .setDisplayName("Acme Corporation") .setExternalId("acme-corp-123") .build();
Organization organization = scalekitClient.organizations().create(createOrg);System.out.println("Organization created: " + organization.getId());External ID: An optional field to associate the organization with an ID from your system. This is useful for linking Scalekit organizations with records in your own database.
Update organization details
Section titled “Update organization details”Organization administrators often need to make changes after the initial setup. Typical examples include:
- Renaming the organization after a corporate re-brand.
- Uploading or replacing the company logo shown on your dashboard or invoices.
- Storing metadata your application needs at runtime—such as a billing plan identifier, Stripe customer ID, or internal account reference.
const updatedOrganization = await scalekit.organization.updateOrganization( 'org_12345', { displayName: 'Acme Corporation Ltd', metadata: { plan: 'enterprise', paymentMethod: 'stripe', customField: 'custom-value' } });updated_organization = scalekit_client.organization.update_organization( organization_id='org_12345', organization= UpdateOrganization( display_name='Acme Corporation Ltd', metadata={ 'plan': 'enterprise', 'payment_method': 'stripe', 'custom_field': 'custom-value' } ))metadata := map[string]interface{}{ "plan": "enterprise", "payment_method": "stripe", "custom_field": "custom-value",}
update := &scalekit.UpdateOrganization{ DisplayName: "Acme Corporation Ltd", Metadata: metadata,}
updatedOrganization, err := scalekitClient.Organization.UpdateOrganization(ctx, "org_12345", update)Map<String, Object> metadata = new HashMap<>();metadata.put("plan", "enterprise");metadata.put("payment_method", "stripe");metadata.put("custom_field", "custom-value");
UpdateOrganization updateOrganization = UpdateOrganization.newBuilder() .setDisplayName("Acme Corporation Ltd") .putAllMetadata(metadata) .build();
Organization updatedOrganization = scalekitClient.organizations() .updateById("org_12345", updateOrganization);Metadata: Store additional information about the organization, such as subscription plans, payment methods, or any custom data relevant to your application.
Configure organization features
Section titled “Configure organization features”Enable enterprise features for your organizations to support authentication methods like SSO and user provisioning through SCIM.
const settings = { features: [ { name: 'sso', enabled: true, }, { name: 'dir_sync', enabled: true, }, ],};
await scalekit.organization.updateOrganizationSettings( 'org_12345', settings);settings = [ {"sso": True}, {"dir_sync": True},]
scalekit_client.organization.update_organization_settings( 'org_12345', settings)settings := scalekit.OrganizationSettings{ Features: []scalekit.OrganizationSettingsFeature{ {Name: "sso", Enabled: true}, {Name: "dir_sync", Enabled: true}, },}
_, err := scalekitClient.Organization.UpdateOrganizationSettings( ctx, "org_12345", settings,)List<OrganizationSettingsFeature> settings = Arrays.asList( OrganizationSettingsFeature.newBuilder() .setName("sso") .setEnabled(true) .build(), OrganizationSettingsFeature.newBuilder() .setName("dir_sync") .setEnabled(true) .build());
scalekitClient.organizations().updateOrganizationSettings( "org_12345", settings);Limit user sign-ups in an organization
Section titled “Limit user sign-ups in an organization”Use this when you need seat caps per organization—for example, when organizations map to departments or when plans include per‑org seat limits.
To set a limit from the dashboard:
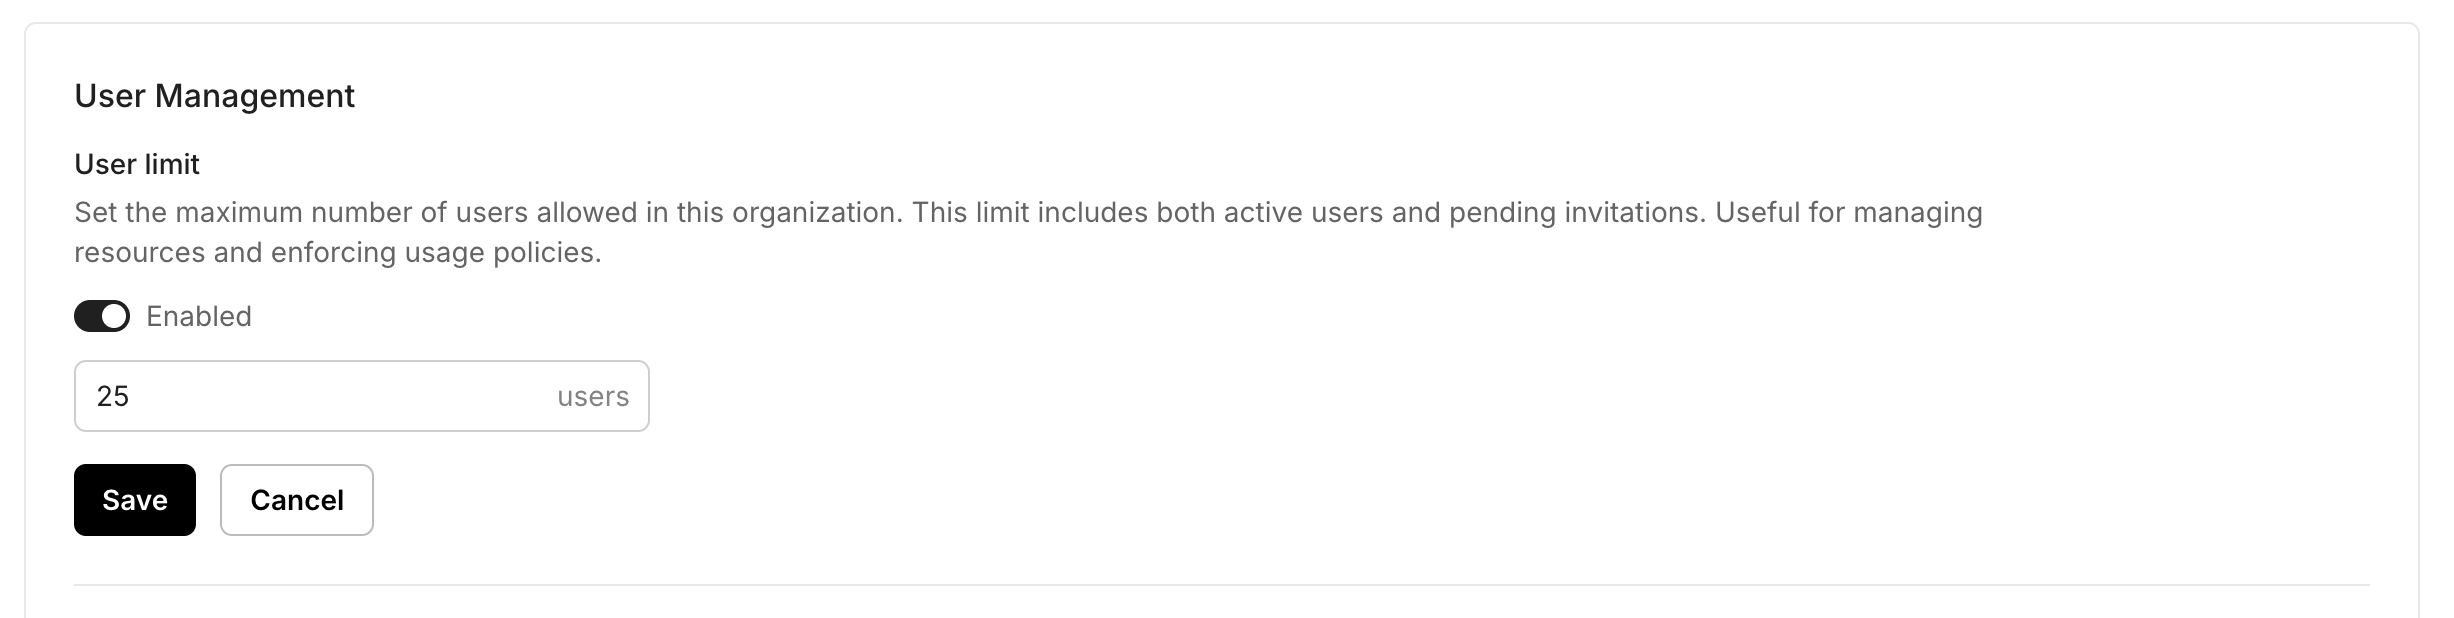
- Go to Organizations → Select an Organization → User management
- Find Organization limits and set max users per organization. Save changes.
New users provisioning to this organizations are blocked until limits are increased. Configure them by updating the organization settings.
Admin Portal access (self-serve configuration)
Section titled “Admin Portal access (self-serve configuration)”Enterprise customers usually want to manage SSO and directory sync on their own, without involving your support team. Scalekit provides an Admin Portal that you can surface to IT administrators in two ways:
- Generate a shareable link and send it via email or chat.
- Embed the portal inside your own settings page with an
<iframe>.
Both approaches give administrators a sandboxed interface to configure SSO (SAML/OIDC) connections, SCIM provisioning, and other security settings.
const portalLink = await scalekit.organization.generatePortalLink('org_12345');
// Present this URL to the organization's IT admin or load it in an iframeconsole.log('Admin Portal URL:', portalLink.location);portal_link = scalekit_client.organization.generate_portal_link('org_12345')print(f'Admin Portal URL: {portal_link}')portalLink, err := scalekitClient.Organization.GeneratePortalLink(ctx, "org_12345")if err != nil { log.Fatal(err)}fmt.Println("Admin Portal URL:", portalLink.URL)Link portalLink = scalekitClient.organizations().generatePortalLink("org_12345");System.out.println("Admin Portal URL: " + portalLink.getLocation());For advanced customization options, see the Admin Portal guide.
Configure SSO and SCIM from the dashboard
Section titled “Configure SSO and SCIM from the dashboard”As an alternative to the Admin Portal, you can configure SSO and SCIM directly from the Scalekit dashboard. This approach is useful when you want to set up these features for your customers without sharing admin portal access.
Set up SSO configuration
Section titled “Set up SSO configuration”Configure Single Sign-On to connect your customer’s identity provider with Scalekit. From the organization’s settings page in the dashboard, you can set up SSO connections.
To configure SSO:
- Configure user attributes by mapping attributes from the identity provider to user profiles in Scalekit.
- Enter identity provider configuration with metadata from your customer’s IdP, including Entity ID, ACS URL, and X.509 certificate.
- Assign users and groups to specify which users and groups can use this SSO connection.
- Test SSO by performing a test login to ensure the connection works correctly.
- Enable connection once you’ve verified the configuration is working.
For step-by-step guides on configuring specific identity providers, see SSO integrations.
Set up SCIM configuration
Section titled “Set up SCIM configuration”Configure SCIM provisioning to allow your customers to provision and manage users and groups automatically from their directory provider.
To set up SCIM:
- Generate SCIM endpoint and provide this URL to your customer for configuration in their directory provider.
- Create bearer token and share this rotatable token with your customer for secure authentication.
- Monitor synced users and groups to verify which users and groups are being synced after the connection is active.
For detailed configuration guides with specific providers, see SCIM integrations to automate user and group management.
Organization specific policies
Section titled “Organization specific policies”Configure advanced authentication and access control policies to meet your organization’s security requirements.
Authentication methods Coming soon
Section titled “Authentication methods ”Organization admins will be able to configure which authentication methods are available to their organization members. For example, they can restrict access to only enterprise SSO for enhanced security, or allow a combination of SSO and passwordless authentication for flexible user access.
Session settings Coming soon
Section titled “Session settings ”Organization admins will be able to configure session settings for all their organization members. They can set session timeout, idle timeout, and other session-related settings that align with their organization’s security policies and compliance requirements.
What’s next?
Section titled “What’s next?”- Manage users to create, update, and delete user accounts within organizations
- Enable Enterprise SSO to configure single sign-on for your customers
- Set up SCIM provisioning to automate user and group management