Making tool calls
Make tool calls using a REST API connector via Tool Proxy, or discover and execute tools from a custom MCP connector.
Use this page to make tool calls after the connector, connection, and connected account are set up.
The call method depends on the connector type:
- REST API connectors — use
actions.request()to proxy HTTP calls through Tool Proxy - MCP connectors — use
list_scoped_toolsto discover available tools, thenexecute_toolto call them
Both types use the same connection, connected account, and user authorization model.
Prerequisites
Section titled “Prerequisites”Make sure:
- The connector exists and is configured with the right auth pattern
- A connection is configured for the connector
- The connected account exists
- The user has completed authorization
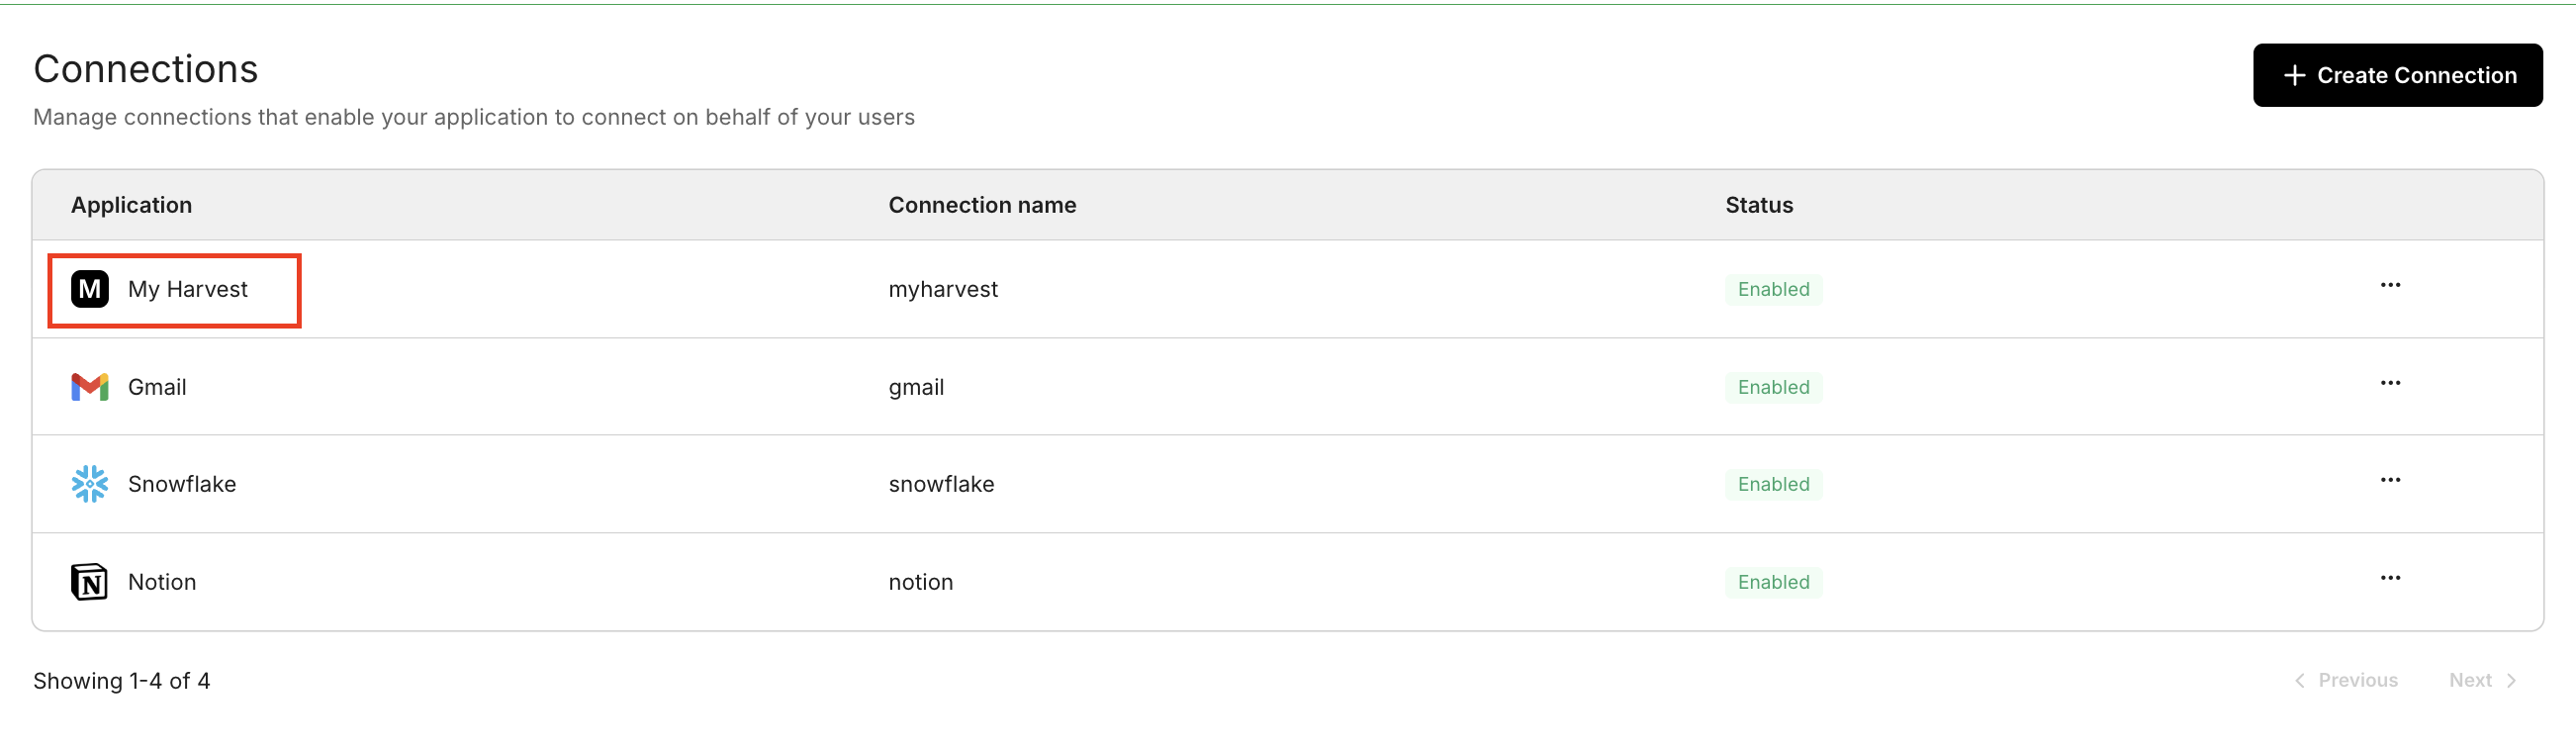
Create a connection for your connector in the Scalekit Dashboard:
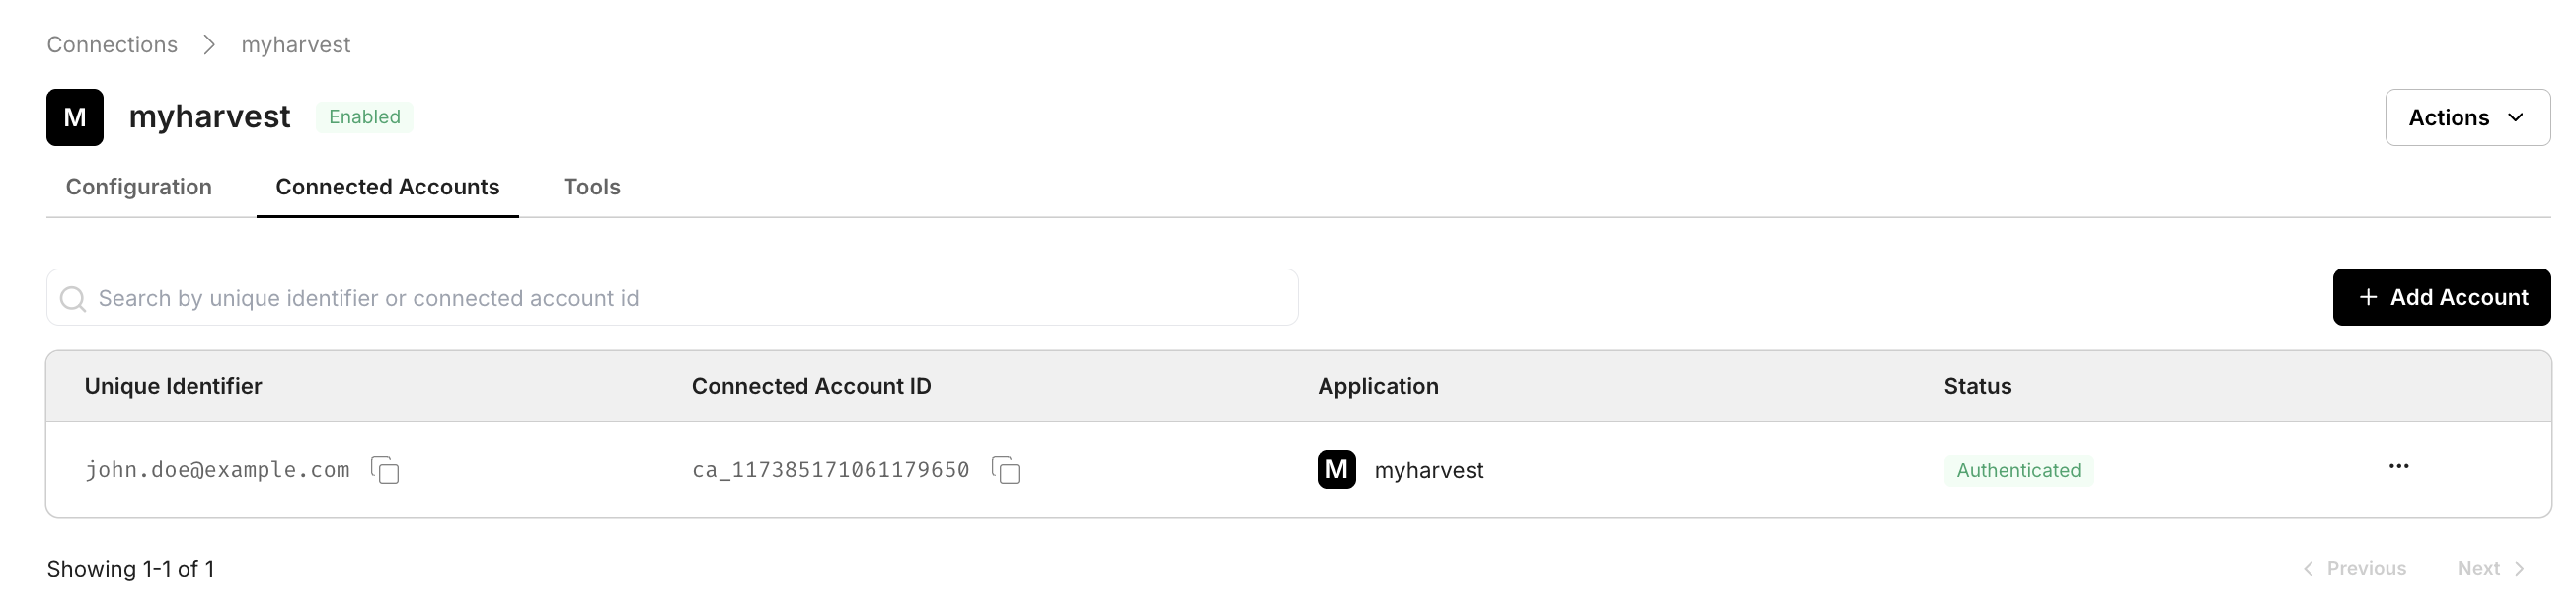
After the user completes authorization, the connected account appears in the Connected Accounts tab:
REST API proxy calls
Section titled “REST API proxy calls”In the request examples below, path is relative to the connector proxy_url. connectionName must match the connection you created, and identifier must match the connected account you want to use for the request.
import { ScalekitClient } from '@scalekit-sdk/node';import 'dotenv/config';
const connectionName = 'your-provider-connection'; // get your connection name from connection configurationsconst identifier = 'user_123'; // your unique user identifier
// Get your credentials from app.scalekit.com → Developers → Settings → API Credentialsconst scalekit = new ScalekitClient( process.env.SCALEKIT_ENV_URL, process.env.SCALEKIT_CLIENT_ID, process.env.SCALEKIT_CLIENT_SECRET);const actions = scalekit.actions;
// Authenticate the userconst { link } = await actions.getAuthorizationLink({ connectionName, identifier,});console.log('Authorize connector:', link);process.stdout.write('Press Enter after authorizing...');await new Promise(r => process.stdin.once('data', r));
// Make a request via Scalekit proxyconst result = await actions.request({ connectionName, identifier, path: '/v1/customers', method: 'GET',});console.log(result);import scalekit.client, osfrom dotenv import load_dotenvload_dotenv()
connection_name = "your-provider-connection" # get your connection name from connection configurationsidentifier = "user_123" # your unique user identifier
# Get your credentials from app.scalekit.com → Developers → Settings → API Credentialsscalekit_client = scalekit.client.ScalekitClient( client_id=os.getenv("SCALEKIT_CLIENT_ID"), client_secret=os.getenv("SCALEKIT_CLIENT_SECRET"), env_url=os.getenv("SCALEKIT_ENV_URL"),)actions = scalekit_client.actions
# Authenticate the userlink_response = actions.get_authorization_link( connection_name=connection_name, identifier=identifier)# present this link to your user for authorization, or click it yourself for testingprint("Authorize connector:", link_response.link)input("Press Enter after authorizing...")
# Make a request via Scalekit proxyresult = actions.request( connection_name=connection_name, identifier=identifier, path="/v1/customers", method="GET")print(result)The request shape stays the same regardless of auth type — the connector definition controls how Scalekit authenticates the call.
MCP tool calling
Section titled “MCP tool calling”MCP connectors expose tools from the upstream MCP server. Discover the available tools, then execute them by name.
Discover available tools (optional)
If you already know the tool names from the Scalekit Dashboard, you can skip this step.
Call list_scoped_tools with the connection name to see which tools the MCP server exposes for a given user.
import { ScalekitClient } from '@scalekit-sdk/node';import 'dotenv/config';
const scalekit = new ScalekitClient( process.env.SCALEKIT_ENV_URL, process.env.SCALEKIT_CLIENT_ID, process.env.SCALEKIT_CLIENT_SECRET);
const connectionName = 'your-mcp-connection'; // connection name from Scalekit Dashboardconst identifier = 'user_123'; // your unique user identifier
const scoped = await scalekit.tools.listScopedTools(identifier, { filter: { connectionNames: [connectionName] }, pageSize: 100,});
const toolNames = scoped.tools?.map((st) => st.tool?.definition?.name) ?? [];console.log('Available tools:', toolNames);import scalekit.client, osfrom dotenv import load_dotenvload_dotenv()
scalekit_client = scalekit.client.ScalekitClient( client_id=os.getenv("SCALEKIT_CLIENT_ID"), client_secret=os.getenv("SCALEKIT_CLIENT_SECRET"), env_url=os.getenv("SCALEKIT_ENV_URL"),)
connection_name = "your-mcp-connection" # connection name from Scalekit Dashboardidentifier = "user_123" # your unique user identifier
response, _ = scalekit_client.tools.list_scoped_tools( identifier=identifier, filter={"connection_names": [connection_name]}, page_size=100,)
tool_names = [scoped_tool.tool.definition["name"] for scoped_tool in response.tools]print("Available tools:", tool_names)Call execute_tool with the connection name, identifier, and any tool-specific input. Tool output lives in response.data — see Understand tool response shape before parsing results.
const actions = scalekit.actions;
const result = await actions.executeTool({ toolName: 'tool_name_from_discovery', // replace with a name from list_scoped_tools connector: 'your-mcp-connection', identifier: 'user_123', toolInput: { key: 'value' }, // replace with the tool's required input});console.log(result.data);actions = scalekit_client.actions
result = actions.execute_tool( tool_name="tool_name_from_discovery", # replace with a name from list_scoped_tools connection_name="your-mcp-connection", identifier="user_123", tool_input={"key": "value"}, # replace with the tool's required input)print(result.data)