Verify user identity
Confirm that the user who completed the OAuth consent is the same user your app intended to connect.
User verification applies to OAuth-based connectors only. For API key, basic auth, and key pair connectors, the user provides credentials directly. No OAuth flow, no verification step needed.
For OAuth connectors, before activating a connected account, Scalekit confirms that the user who completed the OAuth consent is the same user your app intended to connect. This user verification step runs every time a connected account is authorized and prevents OAuth consent from activating on the wrong account.
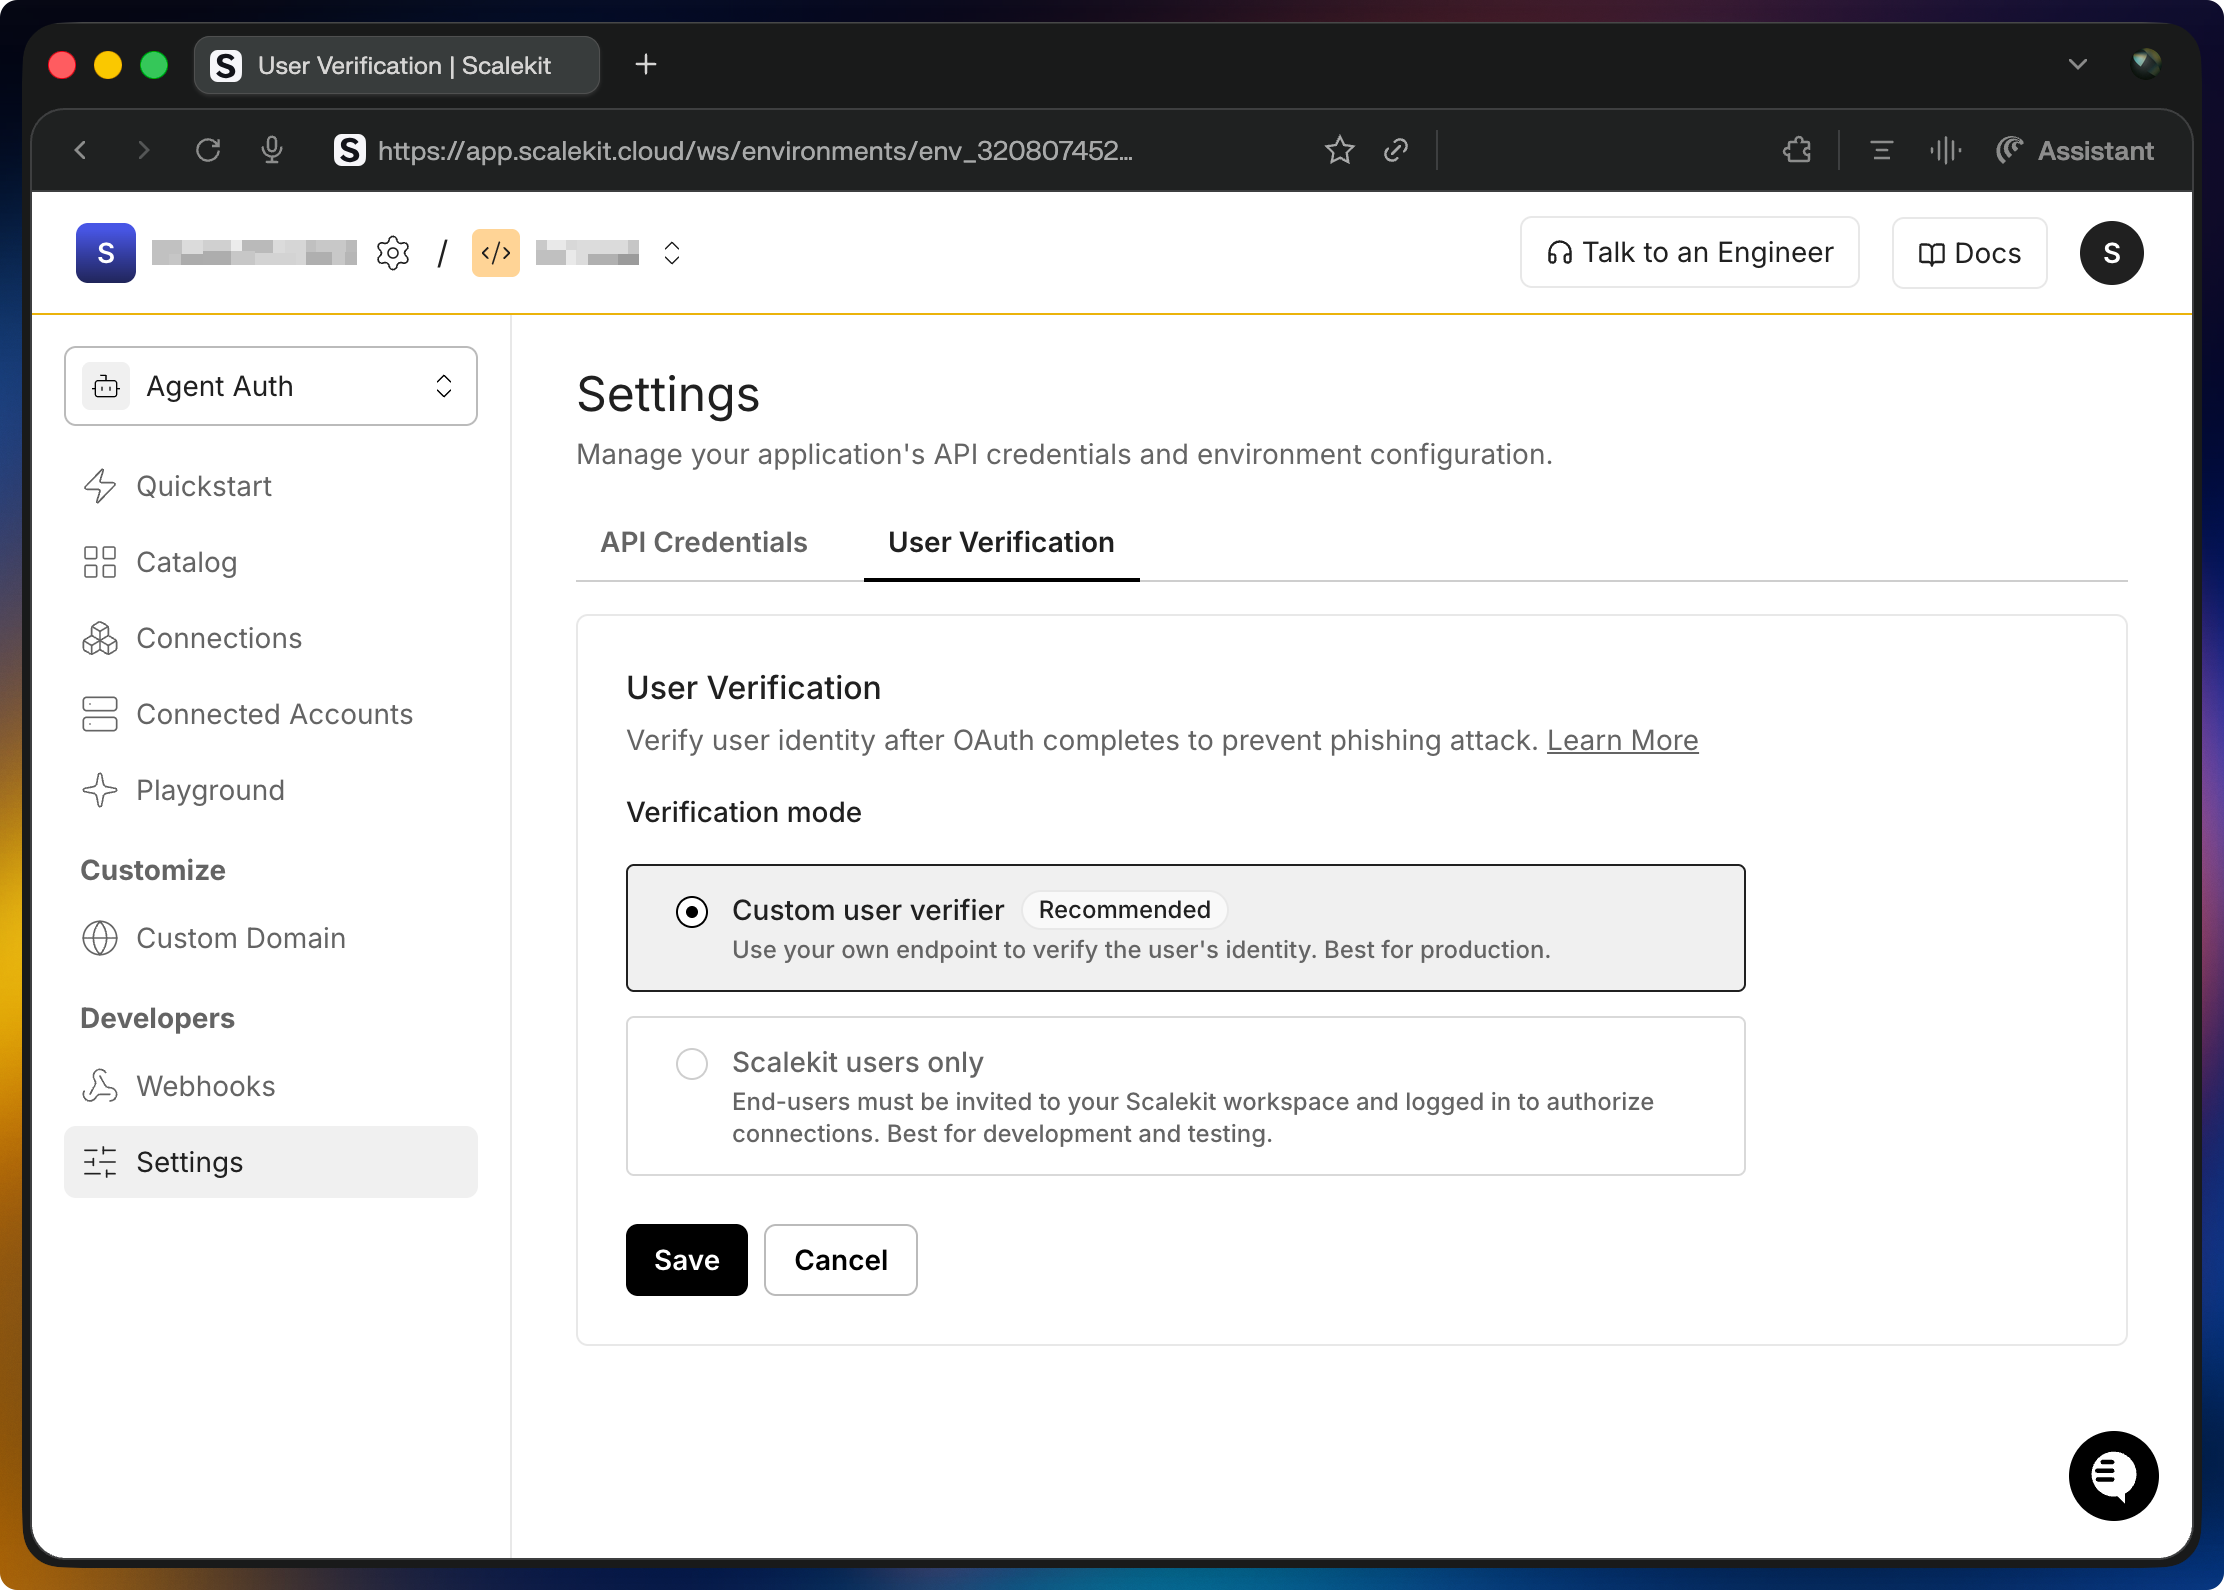
Choose a mode in AgentKit > User Verification:
- Custom user verification: Your server confirms the authorizing user matches the user your app intended to connect. Use in production. Without this, any user who receives an authorization link can activate a connected account (including the wrong one).
- Scalekit users only: Scalekit checks that the authorizing user is signed in to your Scalekit dashboard. No code required. Use during development and internal testing when all users are already on your team.
Your application implements the verify step. End users never interact with Scalekit directly.
When the user finishes OAuth, Scalekit redirects to your verify URL with auth_request_id and state params. Your route reads the user from your session, calls Scalekit’s verify API with the auth_request_id and the original identifier, and if they match, the connected account activates.
Review the verification sequence
Implement verification in your app
Section titled “Implement verification in your app”If you haven’t installed the SDK yet, see the quickstart.
Generate the authorization link
Section titled “Generate the authorization link”Pass these fields when creating the authorization link:
| Field | Description |
|---|---|
identifier | Required. Your user’s ID or email. Scalekit stores this and checks it matches at verify time. |
user_verify_url | Required. Your callback URL; Scalekit redirects the user here after OAuth completes. |
state | Recommended. A random value to prevent CSRF. |
import secrets
# Generate a state value to prevent CSRFstate = secrets.token_urlsafe(32)# Store state in a secure, HTTP-only cookie to validate on callback
response = scalekit_client.actions.get_authorization_link( connection_name=connector, identifier=user_id, user_verify_url="https://app.yourapp.com/user/verify", state=state,)import crypto from 'node:crypto';
// Generate a state value to prevent CSRFconst state = crypto.randomUUID();// Store state in a secure, HTTP-only cookie to validate on callback
const { link } = await scalekit.actions.getAuthorizationLink({ identifier: userId, connectionName: connector, userVerifyUrl: 'https://app.yourapp.com/user/verify', state,});Handle the verification callback
Section titled “Handle the verification callback”After OAuth completes, Scalekit redirects to your user_verify_url:
GET https://app.yourapp.com/user/verify?auth_request_id=req_xyz&state=<your_state>Validate state against your cookie, then call Scalekit’s verify endpoint server-side.
# 1. Validate state from query param matches state in cookie# 2. Read user identity from your session, not from the URL
response = scalekit_client.actions.verify_connected_account_user( auth_request_id=auth_request_id, identifier=user_id, # must match what was stored at link creation)# On success: redirect to response.post_user_verify_redirect_url// 1. Validate state from query param matches state in cookie// 2. Read user identity from your session, not from the URL
const { postUserVerifyRedirectUrl } = await scalekit.actions.verifyConnectedAccountUser({ authRequestId: auth_request_id, identifier: userId, // must match what was stored at link creation });// On success: redirect to postUserVerifyRedirectUrlOn success, the connected account is activated. Redirect the user using post_user_verify_redirect_url.
Common scenarios
Section titled “Common scenarios”Why does authorization fail when no verification redirect URL is configured?
The authorization flow fails with a failed_to_exchange error (user_verify_url not configured for verification redirect) when the connection is set to Custom user verification, but the flow started without a user_verify_url. Scalekit completes the OAuth exchange but has nowhere to redirect the user for verification.
Resolve it in one of two ways:
- In production, pass
user_verify_urlwhen you generate the authorization link, and implement the verification callback at that URL. - In development or internal testing, set the mode to Scalekit users only in AgentKit > User Verification. This mode needs no
user_verify_urland no verify route, as long as every authorizing user is signed in to your Scalekit dashboard.