
Set up environment & SDK
Create your account, install SDK, set up AI tools, and verify your setup to start building with Scalekit
This guide shows you how to set up Scalekit in your development environment. You’ll configure your workspace, get API credentials, install the SDK, verify everything works correctly, and optionally set up AI-powered development tools.
Before you begin, create a Scalekit account if you haven’t already. After creating your account, a Scalekit workspace is automatically set up for you with dedicated development and production environments.
Create a Scalekit account-
Get your API credentials
Section titled “Get your API credentials”Scalekit uses the OAuth 2.0 client credentials flow for secure API authentication.
Navigate to Dashboard > Developers > Settings > API credentials and copy these values:
.env SCALEKIT_ENVIRONMENT_URL=<your-environment-url> # Example: https://acme.scalekit.dev or https://auth.acme.com (if custom domain is set)SCALEKIT_CLIENT_ID=<app-client-id> # Example: skc_1234567890abcdefSCALEKIT_CLIENT_SECRET=<app-client-secret> # Example: test_abcdef1234567890Your workspace includes two environment URLs:
Environment URLs https://{your-subdomain}.scalekit.dev (Development)https://{your-subdomain}.scalekit.com (Production)View your environment URLs in Dashboard > Developers > Settings.
-
Install and initialize the SDK
Section titled “Install and initialize the SDK”Choose your preferred language and install the Scalekit SDK:
npm install @scalekit-sdk/nodepip install scalekit-sdk-pythongo get -u github.com/scalekit-inc/scalekit-sdk-go/* Gradle users - add the following to your dependencies in build file */implementation "com.scalekit:scalekit-sdk-java:2.0.11"<!-- Maven users - add the following to your `pom.xml` --><dependency><groupId>com.scalekit</groupId><artifactId>scalekit-sdk-java</artifactId><version>2.0.11</version></dependency>After installation, initialize the SDK with your credentials:
Initialize SDK import { Scalekit } from '@scalekit-sdk/node';// Initialize the Scalekit client with your credentialsconst scalekit = new Scalekit(process.env.SCALEKIT_ENVIRONMENT_URL,process.env.SCALEKIT_CLIENT_ID,process.env.SCALEKIT_CLIENT_SECRET);Initialize SDK from scalekit import ScalekitClientimport os# Initialize the Scalekit client with your credentialsscalekit_client = ScalekitClient(env_url=os.getenv('SCALEKIT_ENVIRONMENT_URL'),client_id=os.getenv('SCALEKIT_CLIENT_ID'),client_secret=os.getenv('SCALEKIT_CLIENT_SECRET'))Initialize SDK import ("os""github.com/scalekit-inc/scalekit-sdk-go")// Initialize the Scalekit client with your credentialsscalekitClient := scalekit.NewScalekitClient(os.Getenv("SCALEKIT_ENVIRONMENT_URL"),os.Getenv("SCALEKIT_CLIENT_ID"),os.Getenv("SCALEKIT_CLIENT_SECRET"),)Initialize SDK import com.scalekit.ScalekitClient;// Initialize the Scalekit client with your credentialsScalekitClient scalekitClient = new ScalekitClient(System.getenv("SCALEKIT_ENVIRONMENT_URL"),System.getenv("SCALEKIT_CLIENT_ID"),System.getenv("SCALEKIT_CLIENT_SECRET")); -
Verify your setup
Section titled “Verify your setup”Test your configuration by listing organizations in your workspace. This confirms your credentials work correctly.
Authenticate with client credentials # Get an access tokencurl https://<SCALEKIT_ENVIRONMENT_URL>/oauth/token \-X POST \-H 'Content-Type: application/x-www-form-urlencoded' \-d 'client_id=<SCALEKIT_CLIENT_ID>' \-d 'client_secret=<SCALEKIT_CLIENT_SECRET>' \-d 'grant_type=client_credentials'This returns an access token:
{"access_token": "eyJhbGciOiJSUzI1NiIsImInR5cCI6IkpXVCJ9...","token_type": "Bearer","expires_in": 86399,"scope": "openid"}Use the token to access the Scalekit API
List organizations curl -L '<SCALEKIT_ENVIRONMENT_URL>/api/v1/organizations?page_size=5' \-H 'Authorization: Bearer <ACCESS_TOKEN>'Create a file
verify.jswith the following code:verify.js 8 collapsed linesimport { ScalekitClient } from '@scalekit-sdk/node';const scalekit = new ScalekitClient(process.env.SCALEKIT_ENVIRONMENT_URL,process.env.SCALEKIT_CLIENT_ID,process.env.SCALEKIT_CLIENT_SECRET,);const { organizations } = await scalekit.organization.listOrganization({pageSize: 5,});console.log(`Name of the first organization: ${organizations[0].display_name}`);Run the verification script:
Run verification node verify.jsCreate a file
verify.pywith the following code:verify.py 9 collapsed linesfrom scalekit import ScalekitClientimport os# Initialize the SDK clientscalekit_client = ScalekitClient(os.getenv('SCALEKIT_ENVIRONMENT_URL'),os.getenv('SCALEKIT_CLIENT_ID'),os.getenv('SCALEKIT_CLIENT_SECRET'))org_list = scalekit_client.organization.list_organizations(page_size=5)print(f'Name of the first organization: {org_list[0].display_name}')Run the verification script:
Run verification python verify.pyCreate a file
verify.gowith the following code:verify.go 18 collapsed linespackage mainimport ("context""fmt""os""github.com/scalekit-inc/scalekit-sdk-go")func main() {ctx := context.Background()scalekitClient := scalekit.NewScalekitClient(os.Getenv("SCALEKIT_ENVIRONMENT_URL"),os.Getenv("SCALEKIT_CLIENT_ID"),os.Getenv("SCALEKIT_CLIENT_SECRET"),)organizations, err := scalekitClient.Organization.ListOrganizations(ctx, &scalekit.ListOrganizationsParams{PageSize: 5,})4 collapsed linesif err != nil {panic(err)}fmt.Printf("Name of the first organization: %s\n", organizations[0].DisplayName)}Create a file
Verify.javawith the following code:Verify.java 7 collapsed linesimport com.scalekit.ScalekitClient;import com.scalekit.models.ListOrganizationsResponse;public class Verify {public static void main(String[] args) {ScalekitClient scalekitClient = new ScalekitClient(System.getenv("SCALEKIT_ENVIRONMENT_URL"),System.getenv("SCALEKIT_CLIENT_ID"),System.getenv("SCALEKIT_CLIENT_SECRET"));ListOrganizationsResponse organizations = scalekitClient.organizations().listOrganizations(5, "");System.out.println("Name of the first organization: " + organizations.getOrganizations()[0].getDisplayName());}}If you see organization data, your setup is complete! You’re now ready to implement authentication in your application.
Set up Scalekit MCP Server Optional
Section titled “Set up Scalekit MCP Server ”Scalekit’s Model Context Protocol (MCP) server connects your AI coding assistants to Scalekit. Manage environments, organizations, users, and authentication through natural language queries in Claude, Cursor, Windsurf, and other MCP-compatible tools.
The MCP server provides AI assistants with tools for environment management, organization and user management, authentication connection setup, role administration, and admin portal access. It uses OAuth 2.1 authentication to securely connect your AI tools to your Scalekit workspace.
Configure your MCP client
Section titled “Configure your MCP client”Based on your MCP client, follow the configuration instructions below:
- Open the Claude Desktop app, go to Settings, then Developer
- Click Edit Config
- Open the
claude_desktop_config.jsonfile - Copy and paste the server config to your existing file, then save
- Restart Claude
{ "mcpServers": { "scalekit": { "command": "npx", "args": ["-y", "mcp-remote", "https://mcp.scalekit.com/"] } }}- Open Cursor, go to Settings, then Cursor Settings
- Select MCP on the left
- Click Add “New Global MCP Server” at the top right
- Copy and paste the server config to your existing file, then save
- Restart Cursor
{ "mcpServers": { "scalekit": { "command": "npx", "args": ["-y", "mcp-remote", "https://mcp.scalekit.com/"] } }}- Open Windsurf, go to Settings, then Developer
- Click Edit Config
- Open the
windsurf_config.jsonfile - Copy and paste the server config to your existing file, then save
- Restart Windsurf
{ "mcpServers": { "scalekit": { "command": "npx", "args": ["-y", "mcp-remote", "https://mcp.scalekit.com/"] } }}VS Code version 1.101 or greater supports OAuth natively. Configure the MCP server directly without the mcp-remote proxy:
{ "servers": { "scalekit": { "type": "http", "url": "https://mcp.scalekit.com/" } }}After configuration, your MCP client will initiate an OAuth authorization workflow to securely connect to Scalekit’s MCP server.
Configure code editors for Scalekit documentation
Section titled “Configure code editors for Scalekit documentation”In-code editor chat features are powered by models that understand your codebase and project context. These models search the web for relevant information to help you. However, they may not always have the latest information. Follow the instructions below to configure your code editors to explicitly index for up-to-date information.
Set up Cursor
Section titled “Set up Cursor”To enable Cursor to access up-to-date Scalekit documentation:
- Open Cursor settings (Cmd/Ctrl + ,)
- Navigate to Indexing & Docs section
- Click on Add
- Add
https://docs.scalekit.com/llms-full.txtto the indexable URLs - Click on Save
Once configured, use @Scalekit Docs in your chat to ask questions about Scalekit features, APIs, and integration guides. Cursor will search the latest documentation to provide accurate, up-to-date answers.
Use Windsurf
Section titled “Use Windsurf”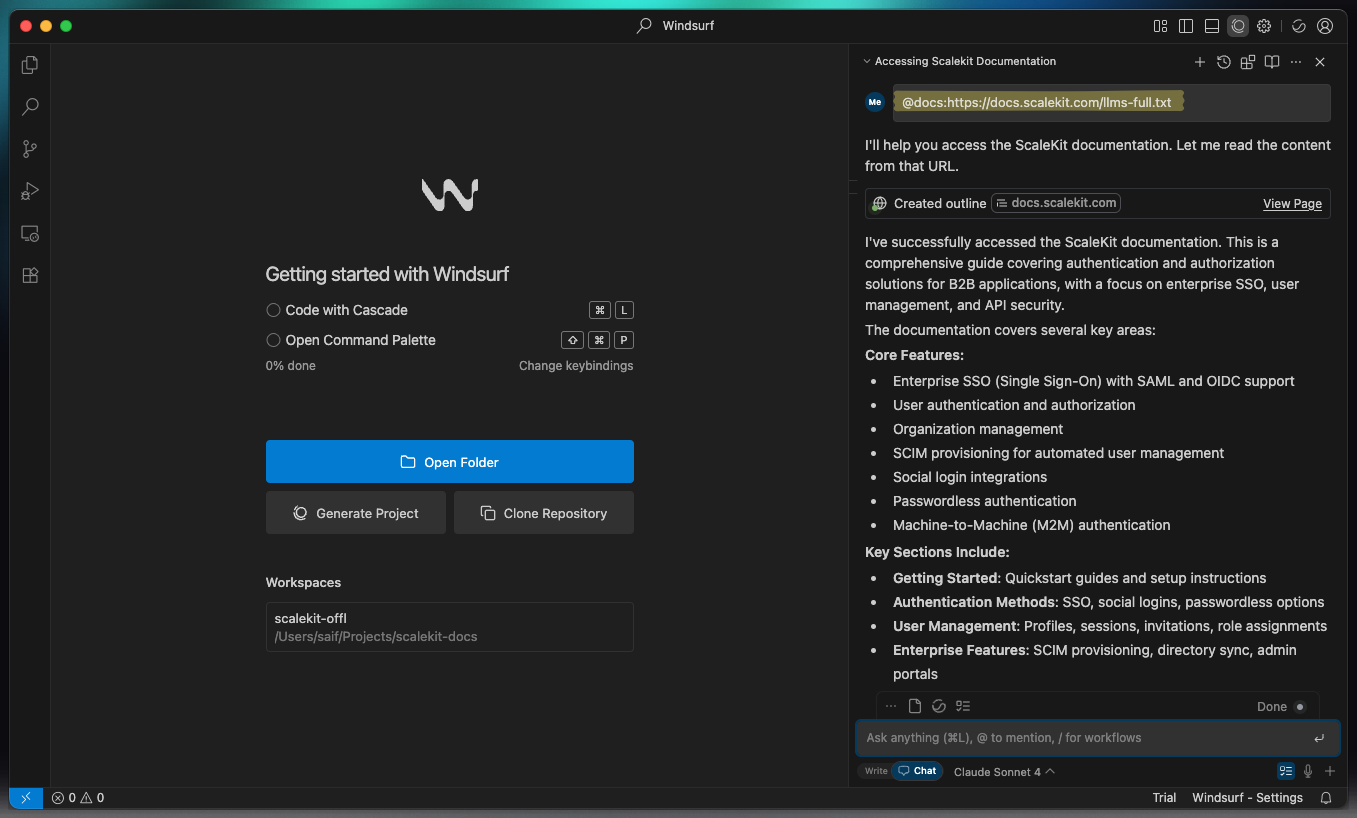
Windsurf enables @docs mentions within the Cascade chat to search for the best answers to your questions.
@docs:https://docs.scalekit.com/llms-full.txt<your question here>Costs more tokens.
@docs:https://docs.scalekit.com/your-specific-section-or-file<your question here>Costs less tokens.
@docs:https://docs.scalekit.com/llms.txt<your question here>Costs tokens as per the model decisions.
Use AI assistants
Section titled “Use AI assistants”Assistants like Anthropic Claude, Ollama, Google Gemini, Vercel v0, OpenAI’s ChatGPT, or your own models can help you with Scalekit projects.