GitHub as your sign in option
Learn how to integrate GitHub Sign-In with Scalekit, enabling secure social authentication for your users with step-by-step OAuth configuration instructions.
Scalekit enables apps to easily let users sign in using GitHub as their social connector. This guide walks you through the process of setting up the connection between Scalekit and GitHub, and using the Scalekit SDK to add “Sign in with GitHub” to your application.
By the end of this guide, you will be able to:
- Set up an OAuth 2.0 connection between Scalekit and GitHub
- Scalekit SDK to add “Sign in with GitHub” to your application
Connect GitHub with Scalekit
Section titled “Connect GitHub with Scalekit”Navigate to social login settings
Open your Scalekit dashboard and navigate to Social Login under the Authentication section.
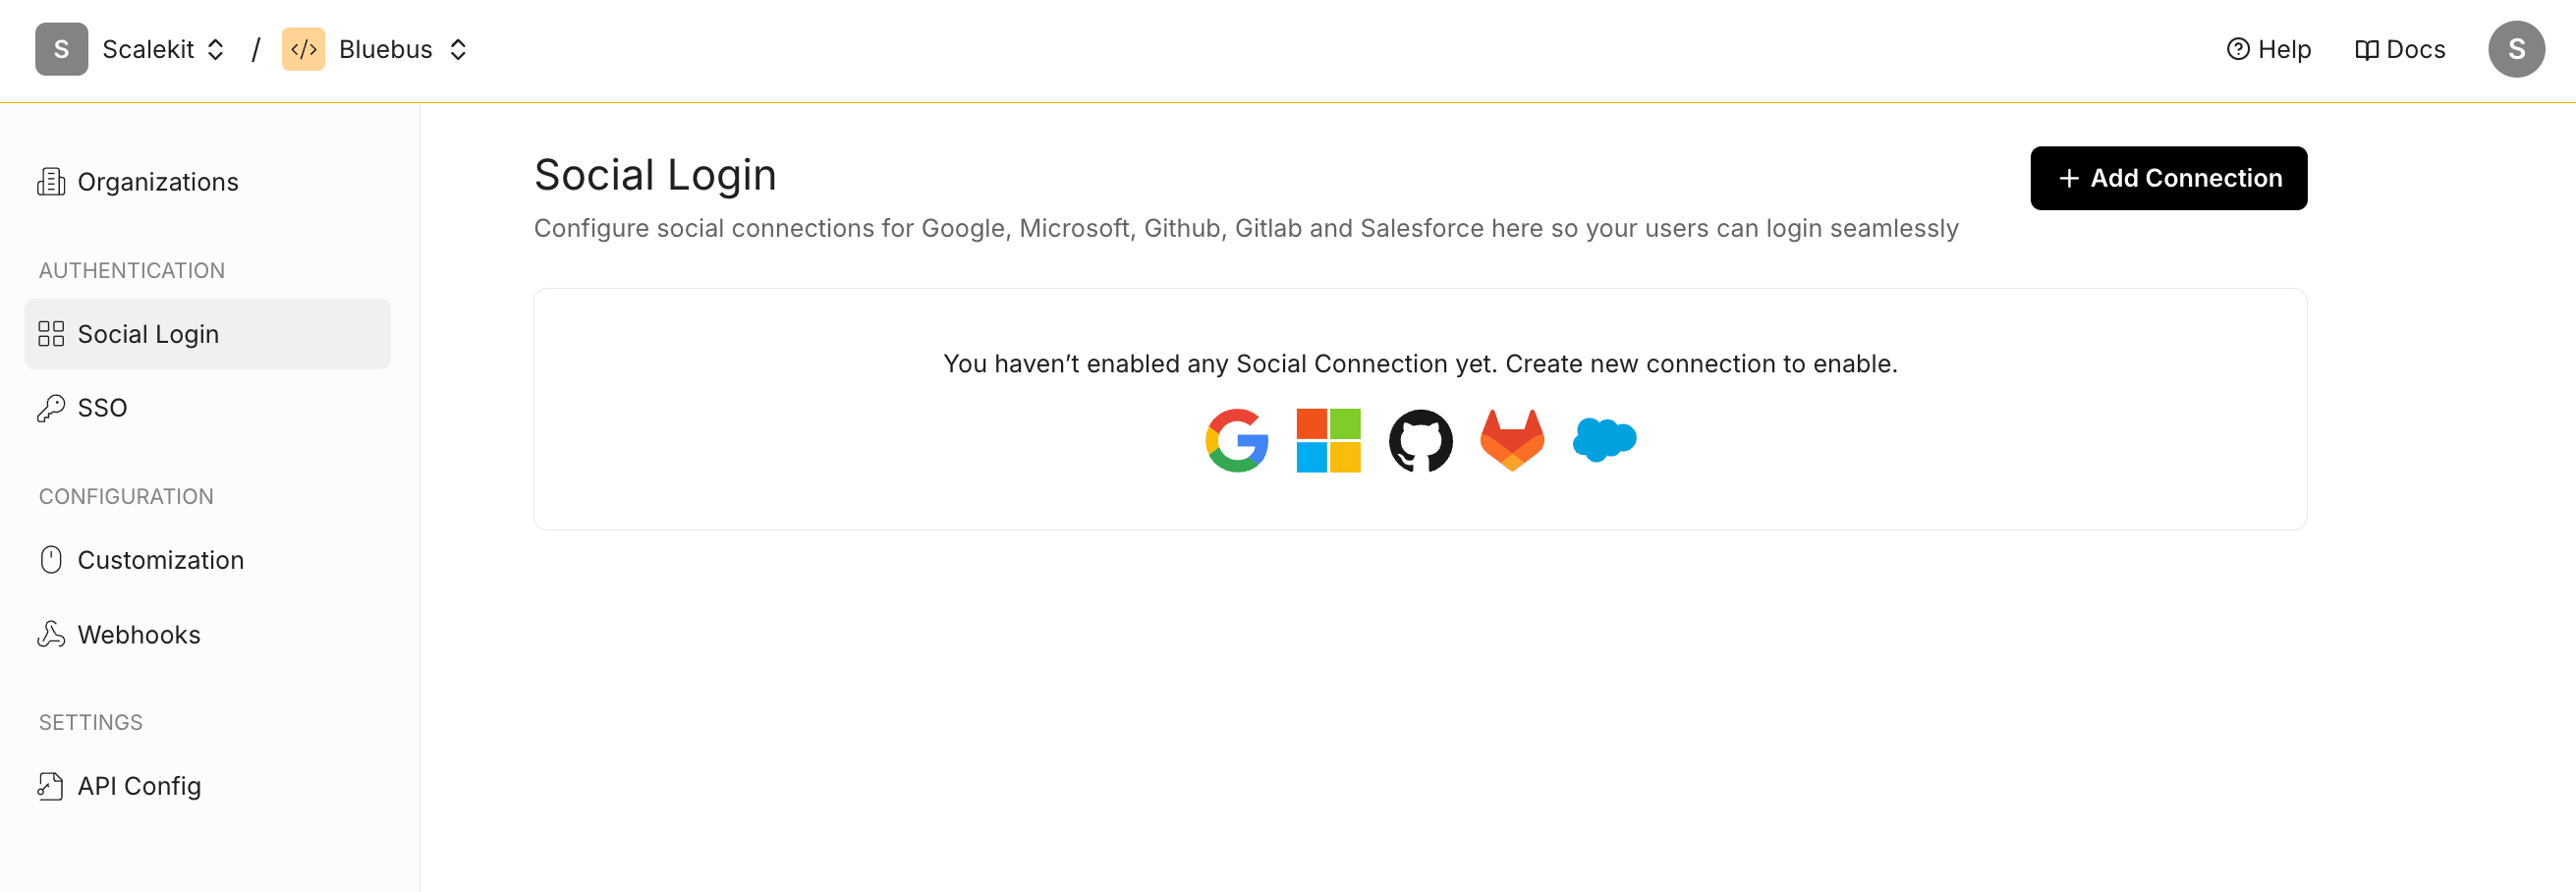
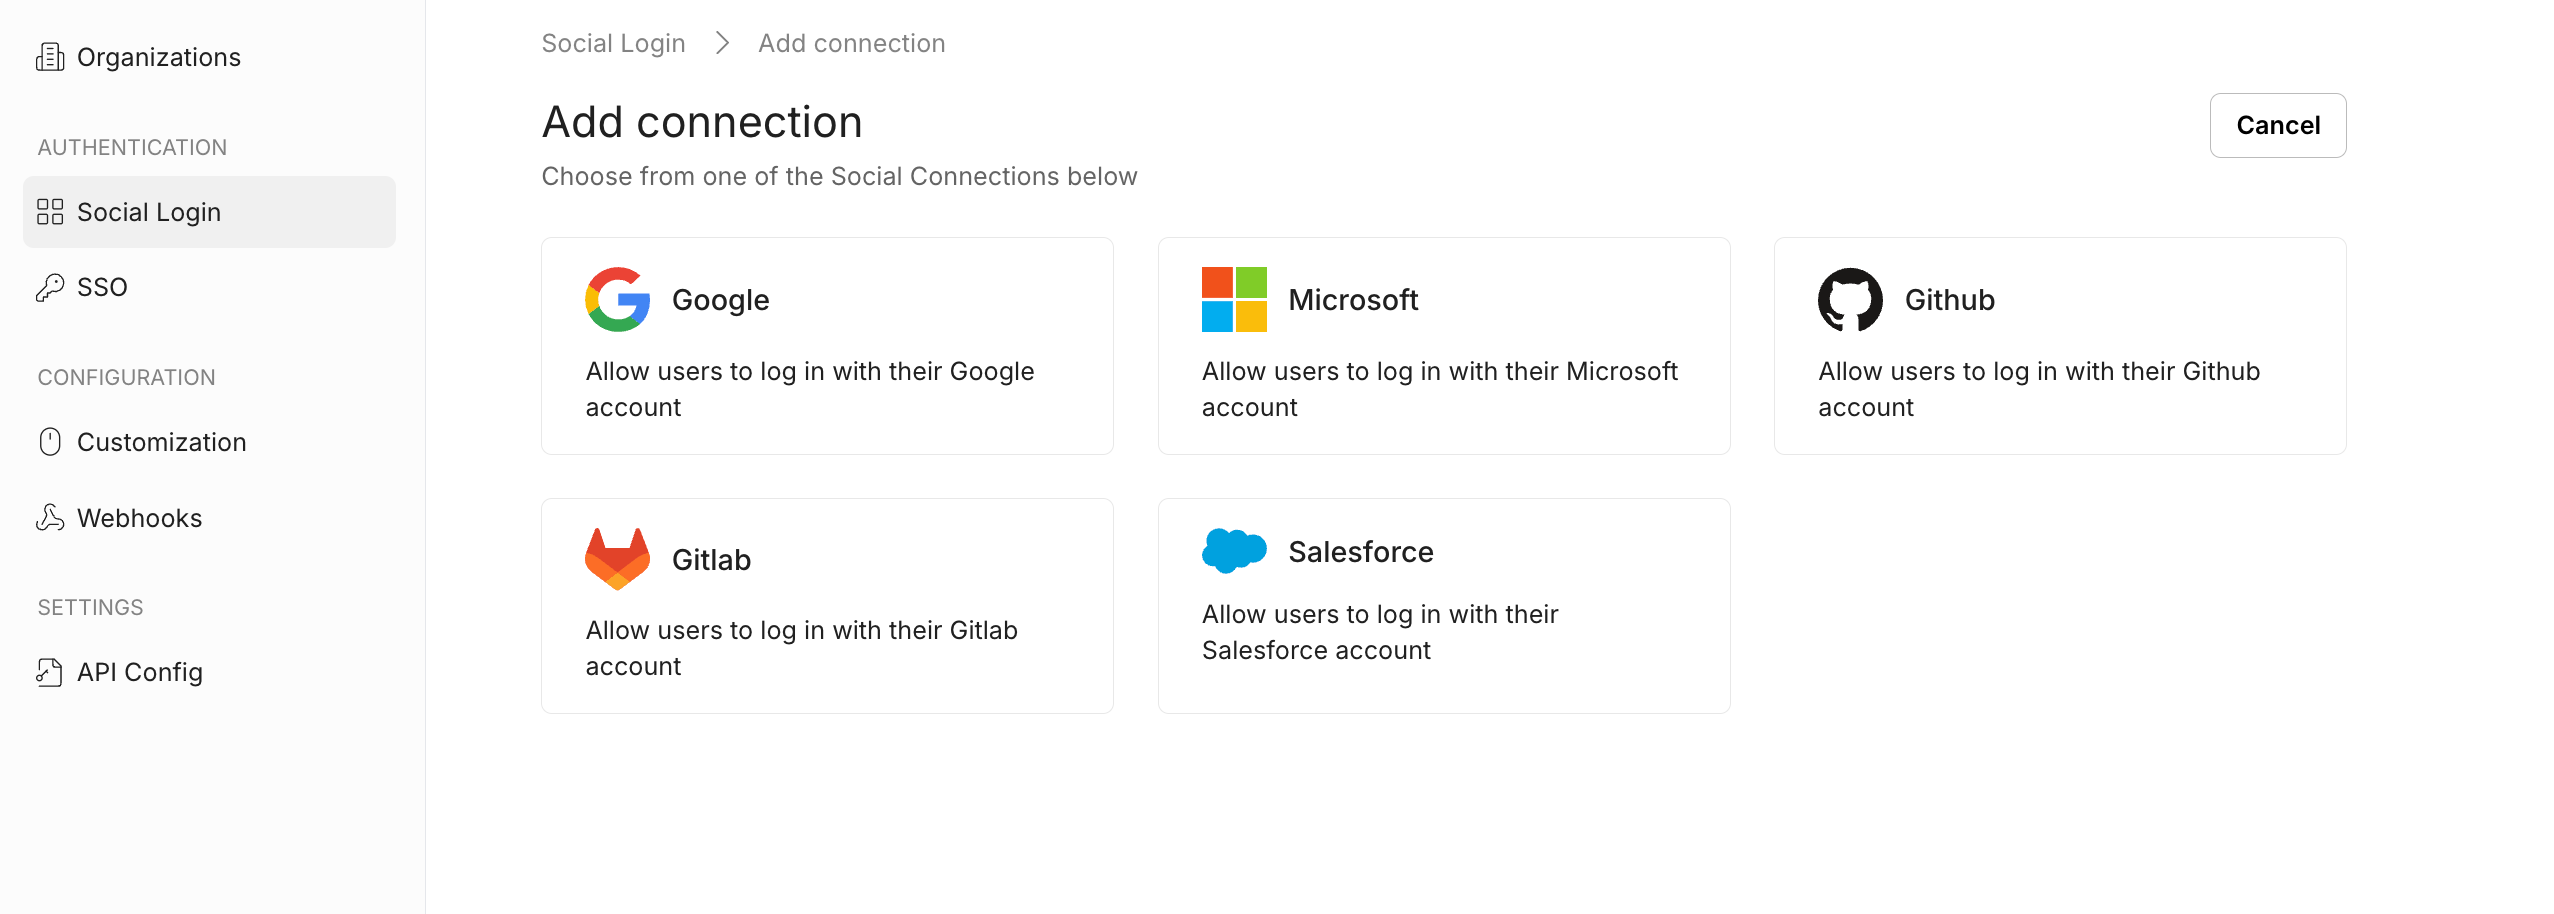
Add a new GitHub connection
Click the ”+ Add Connection” button and select GitHub from the list of available options.
Configure OAuth settings
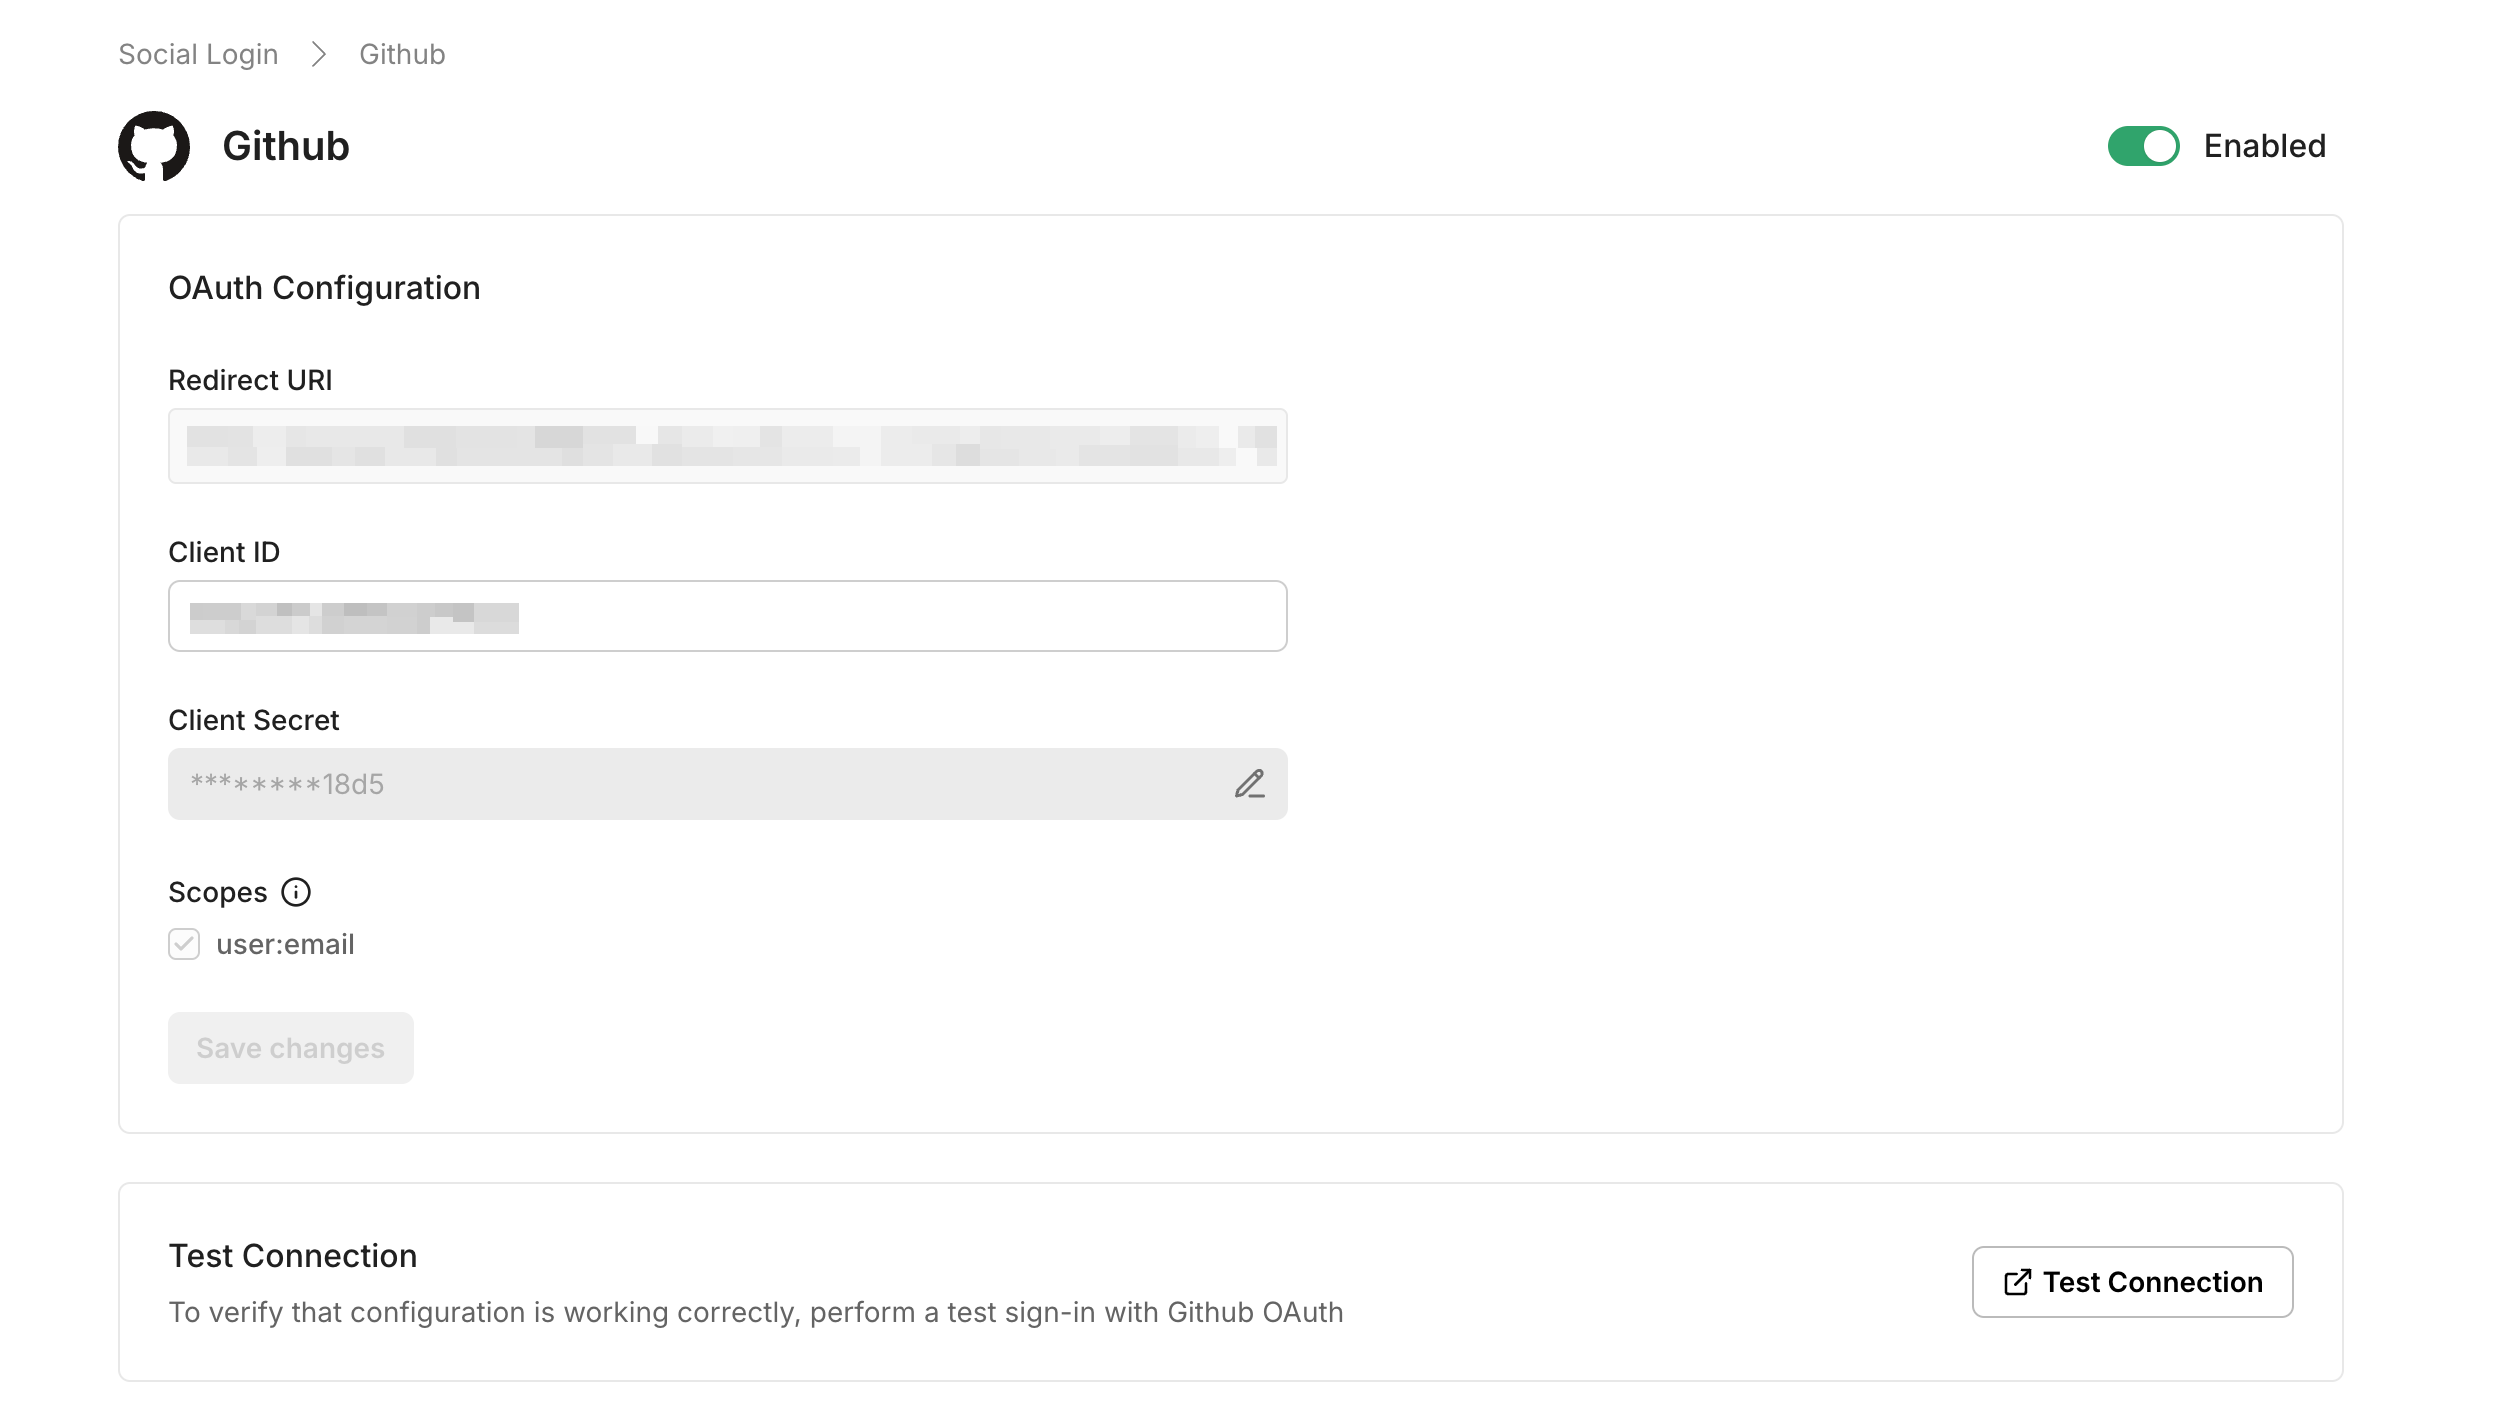
Section titled “Configure OAuth settings”The OAuth Configuration details page helps you set up the connection:
- Note the Redirect URI provided for your app. You’ll use this URL to register with GitHub.
- Client ID and Client Secret are generated by GitHub when you register an OAuth App. They enable Scalekit to authenticate your app and establish trust with GitHub.
GitHub OAuth configuration in Scalekit, showing redirect URI, client credentials, and scopes for social login setup.
Set up GitHub OAuth 2.0
GitHub lets you set up OAuth through the Microsoft Identity Platform. Follow GitHub’s instructions to set up OAuth 2.0.
- Navigate to GitHub’s OAuth Apps settings page
- Click “New OAuth App” to create a new application
- Fill in the application details:
- Application name: Your app’s name
- Homepage URL: Your application’s homepage
- Application description: Brief description of your app
- Authorization callback URL: Use the Redirect URI from Scalekit
- Click “Register application” to create the OAuth App
- Copy the generated Client ID and Client Secret
- Paste these credentials into the Scalekit Dashboard
- Click “Save Changes” in Scalekit to complete the setup
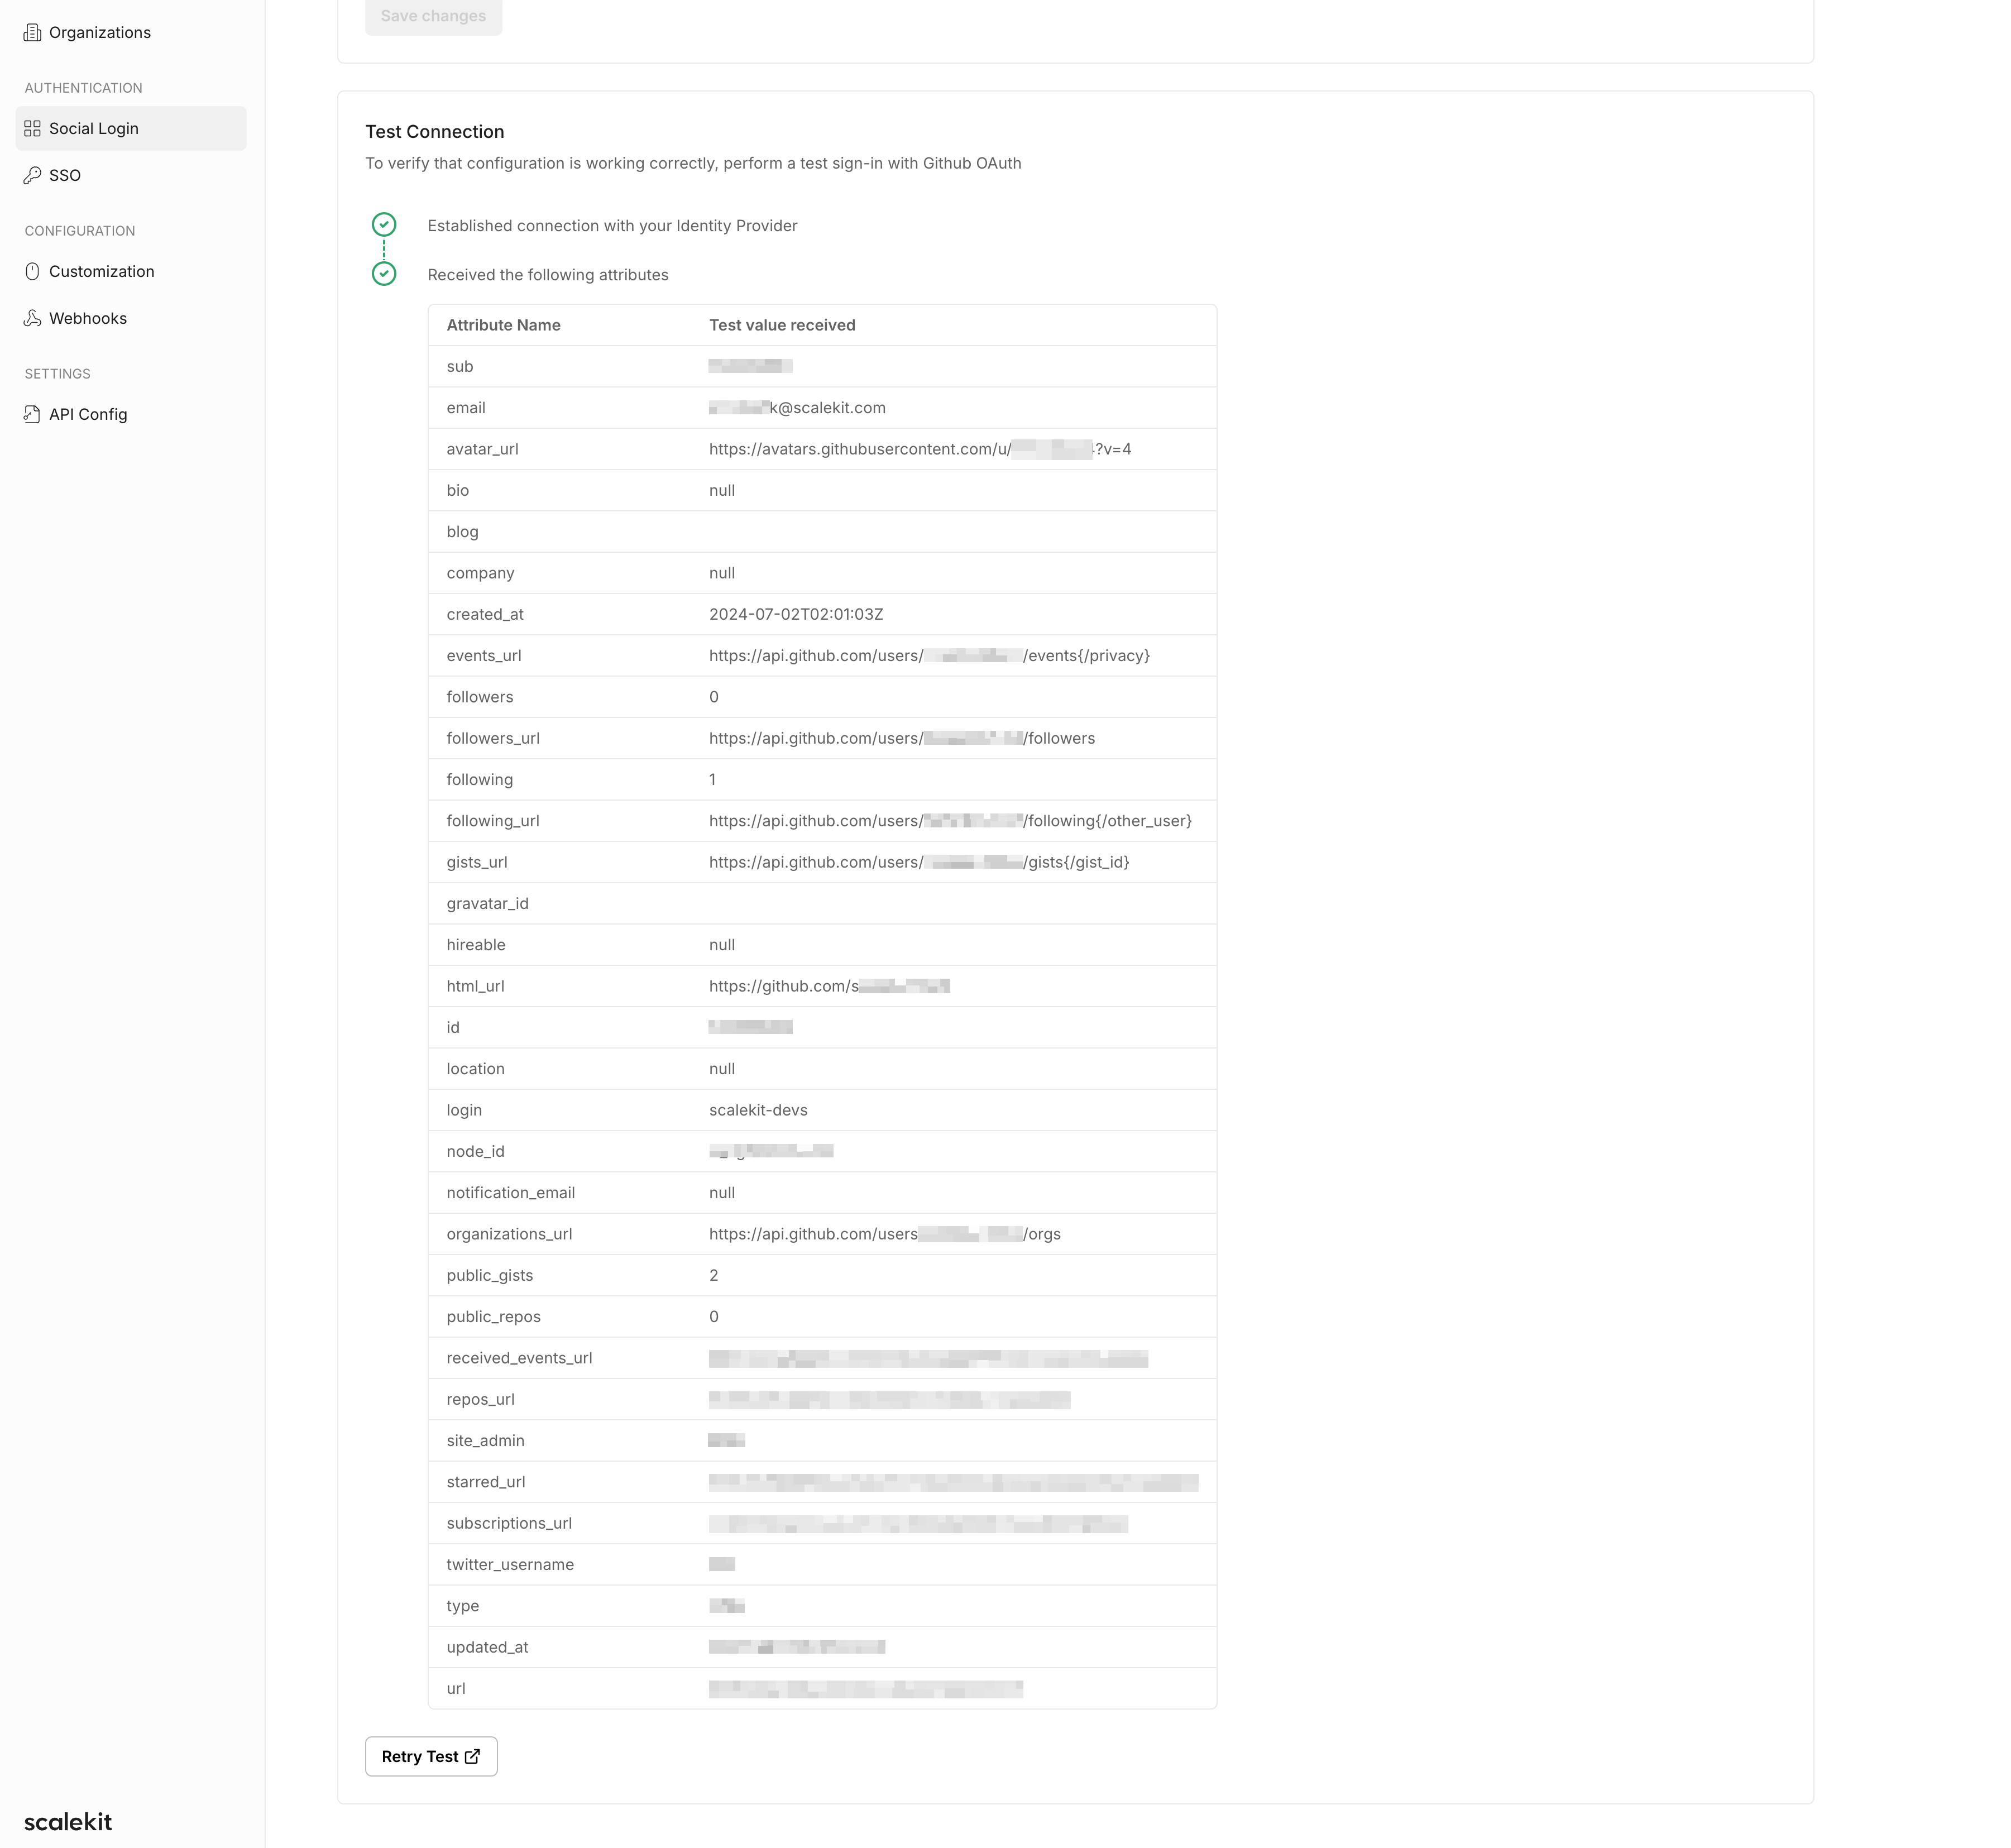
Test the connection
Section titled “Test the connection”Click the “Test Connection” button in Scalekit. You will be redirected to the GitHub Consent screen to authorize access. A summary table will show the information that will be sent to your app.