
Google Workspace - OIDC
Learn how to set up OpenID Connect (OIDC) Single Sign-On (SSO) using Google Workspace, with step-by-step instructions for app registration and client configuration.
This guide walks you through configuring Google Workspace as your OIDC identity provider. You’ll create a Google OAuth app, configure an OAuth client, provide the required OIDC values in the SSO Configuration Portal, test the connection, and then enable Single Sign-On.
-
Create an OAuth App
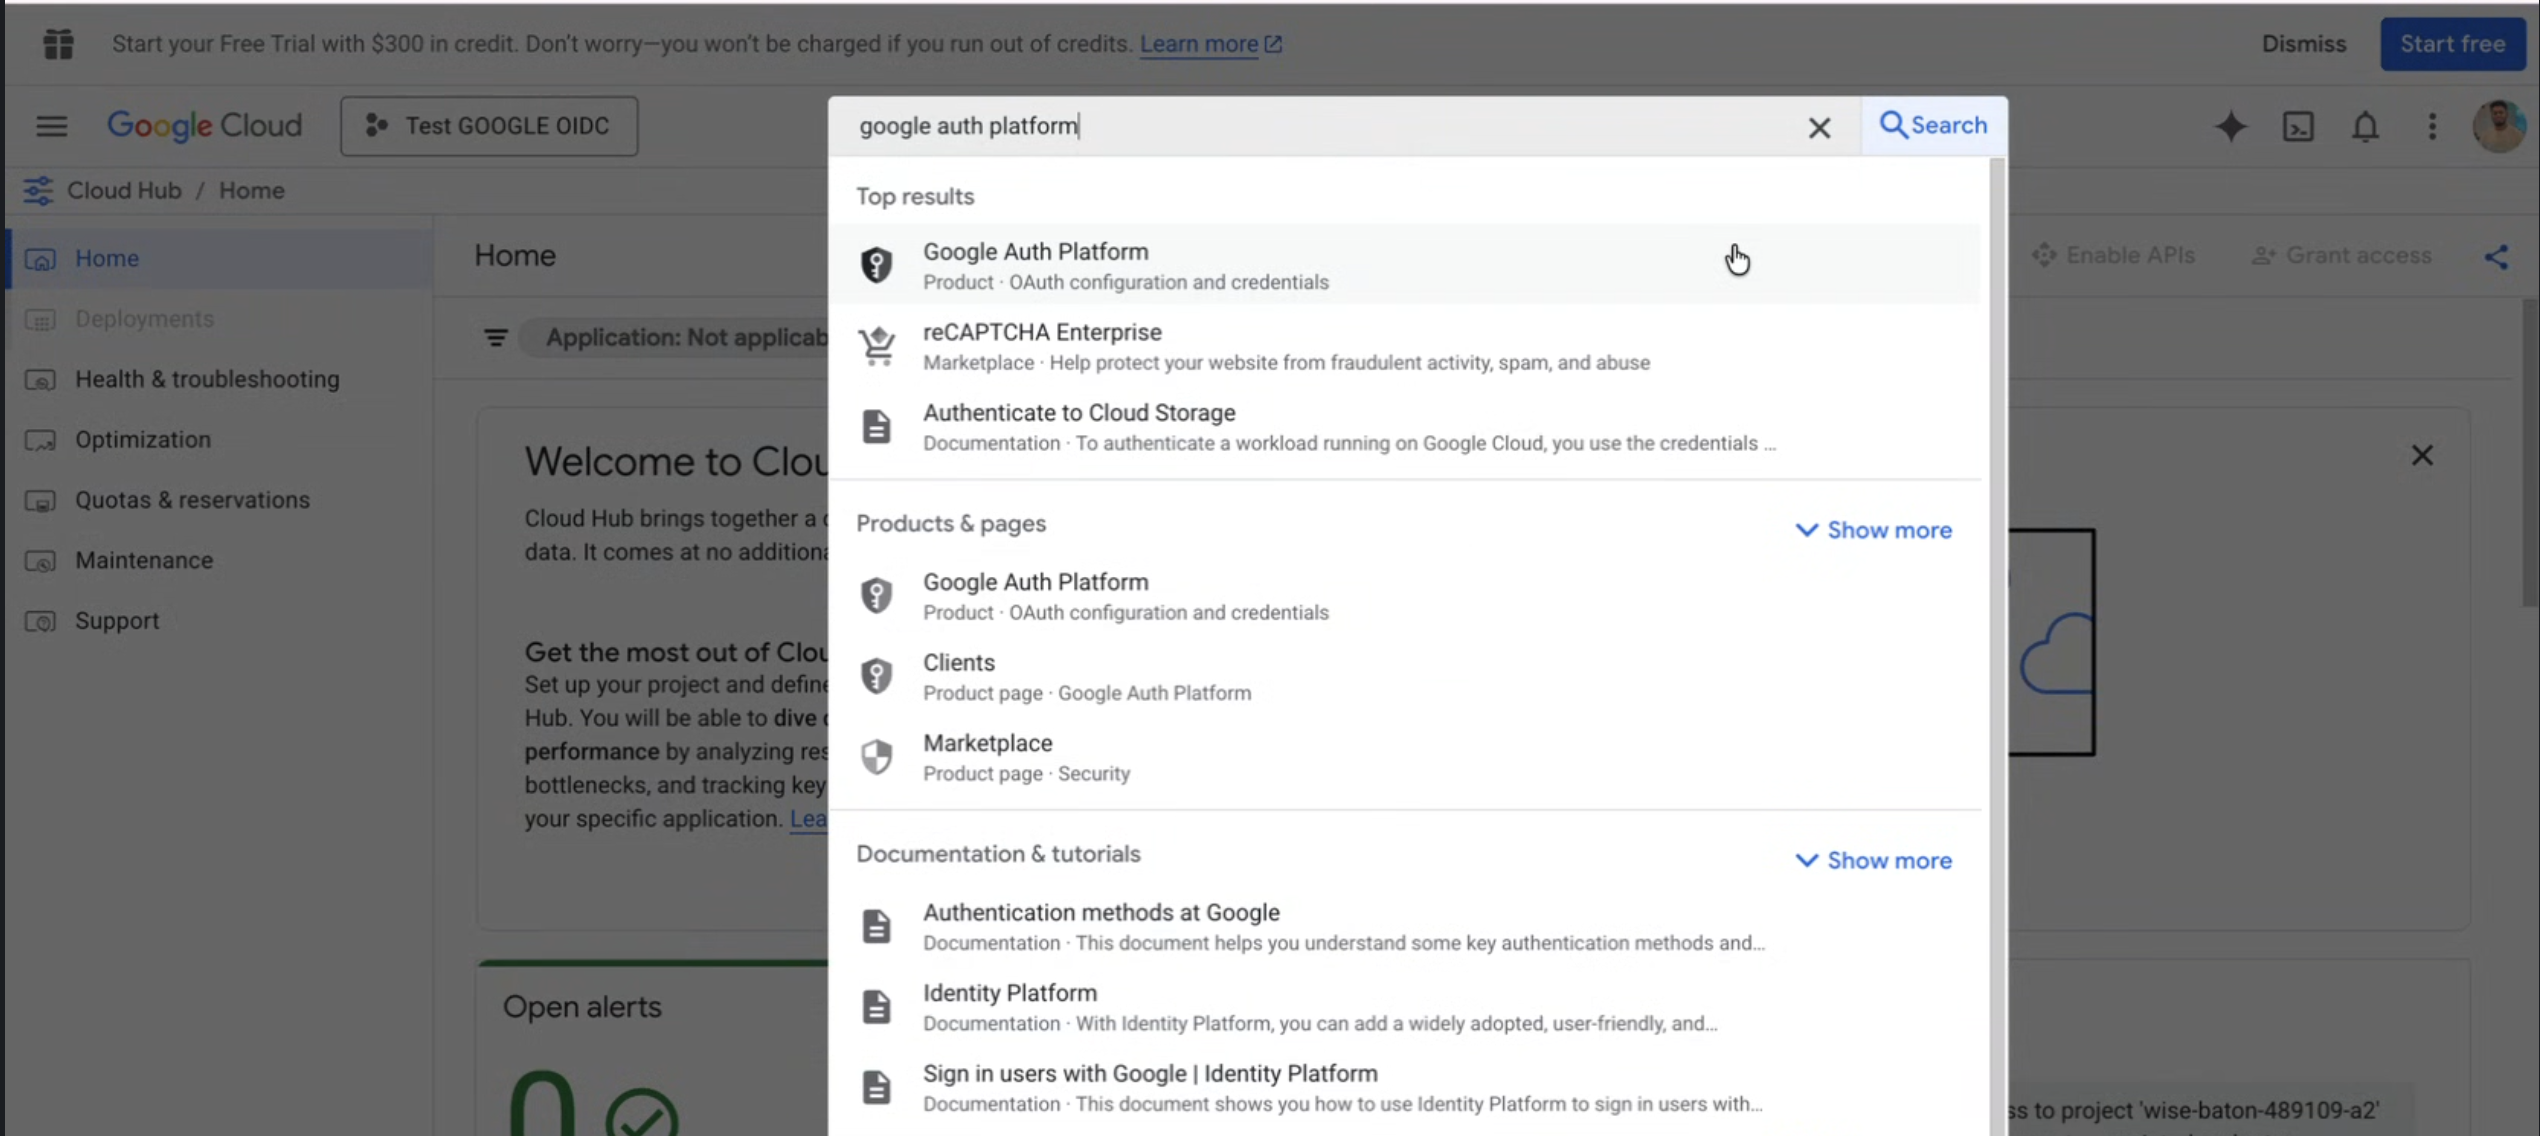
Section titled “Create an OAuth App”Sign in to Google Cloud Console and open the project you want to use for this integration. Search for Google Auth Platform and open it from the results list.
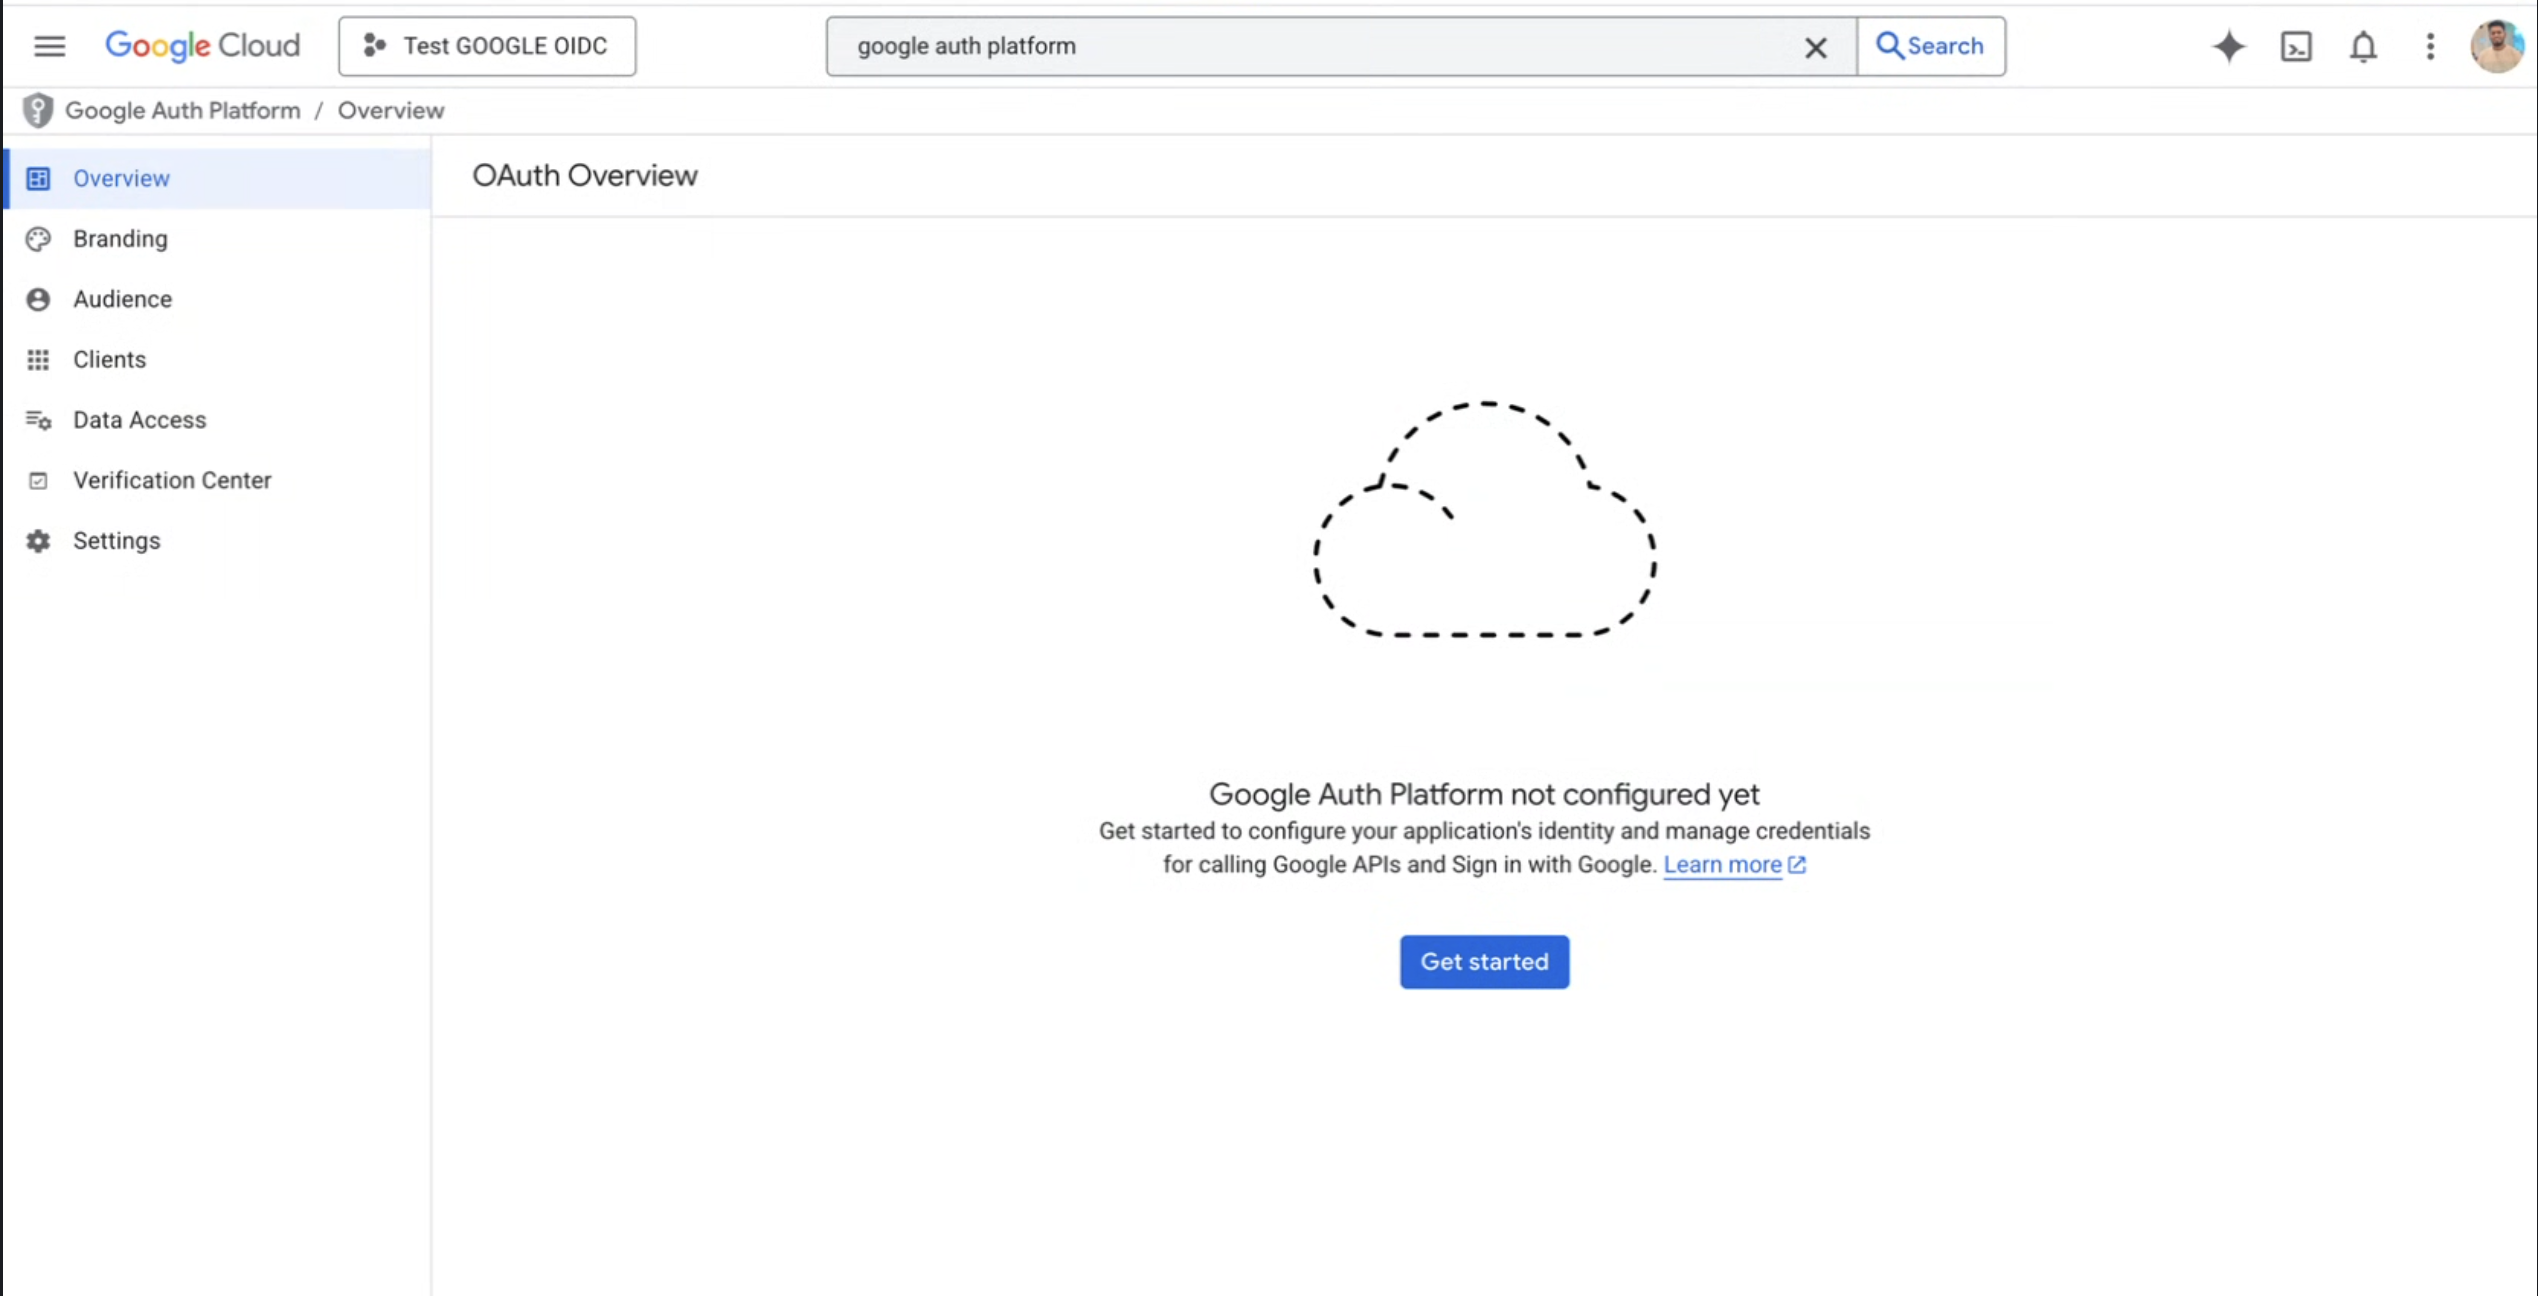
Click Get started to begin the OAuth app setup.
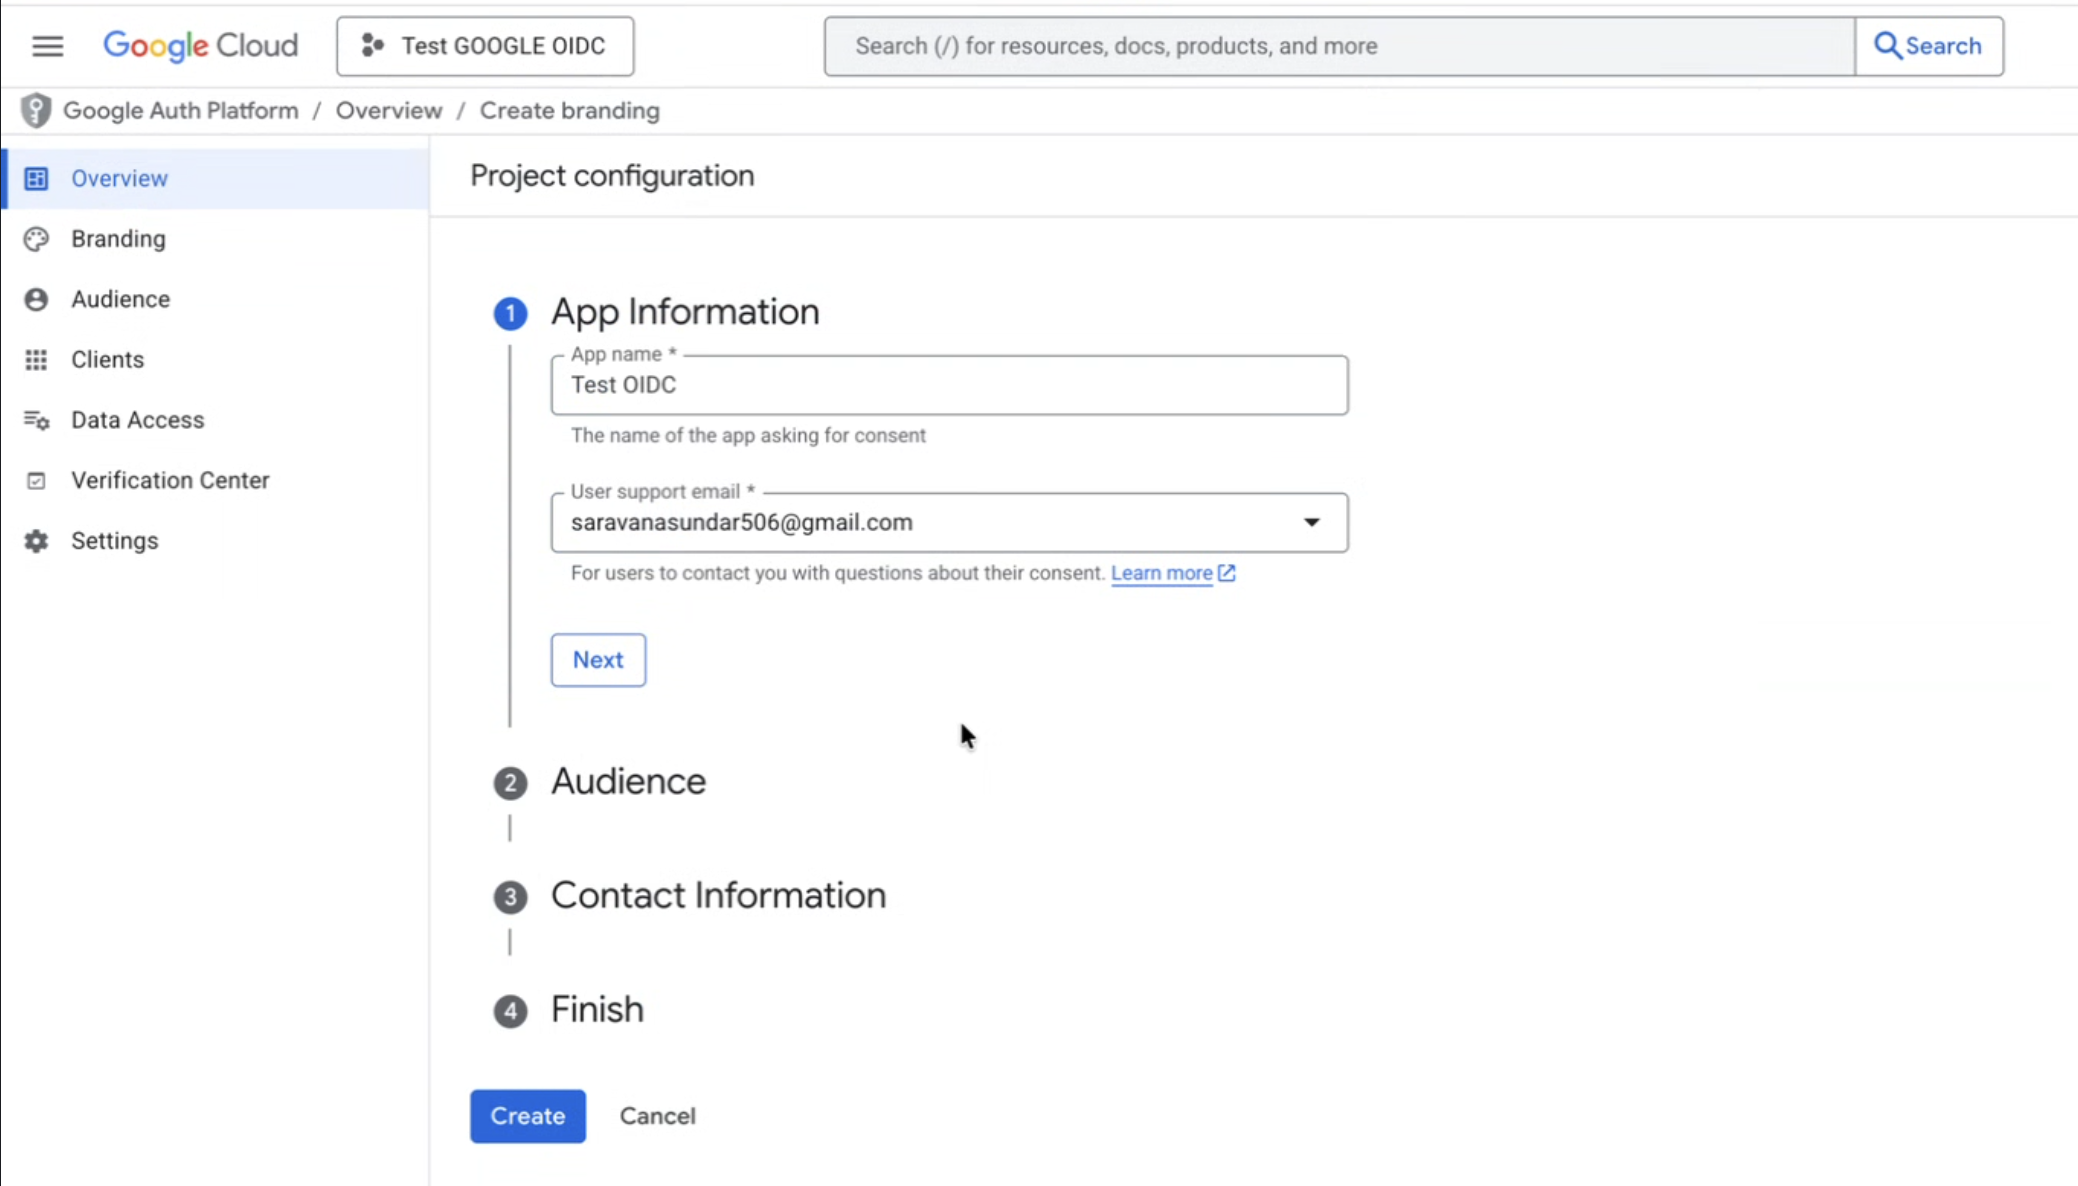
Enter the App Information and select the appropriate User support email.
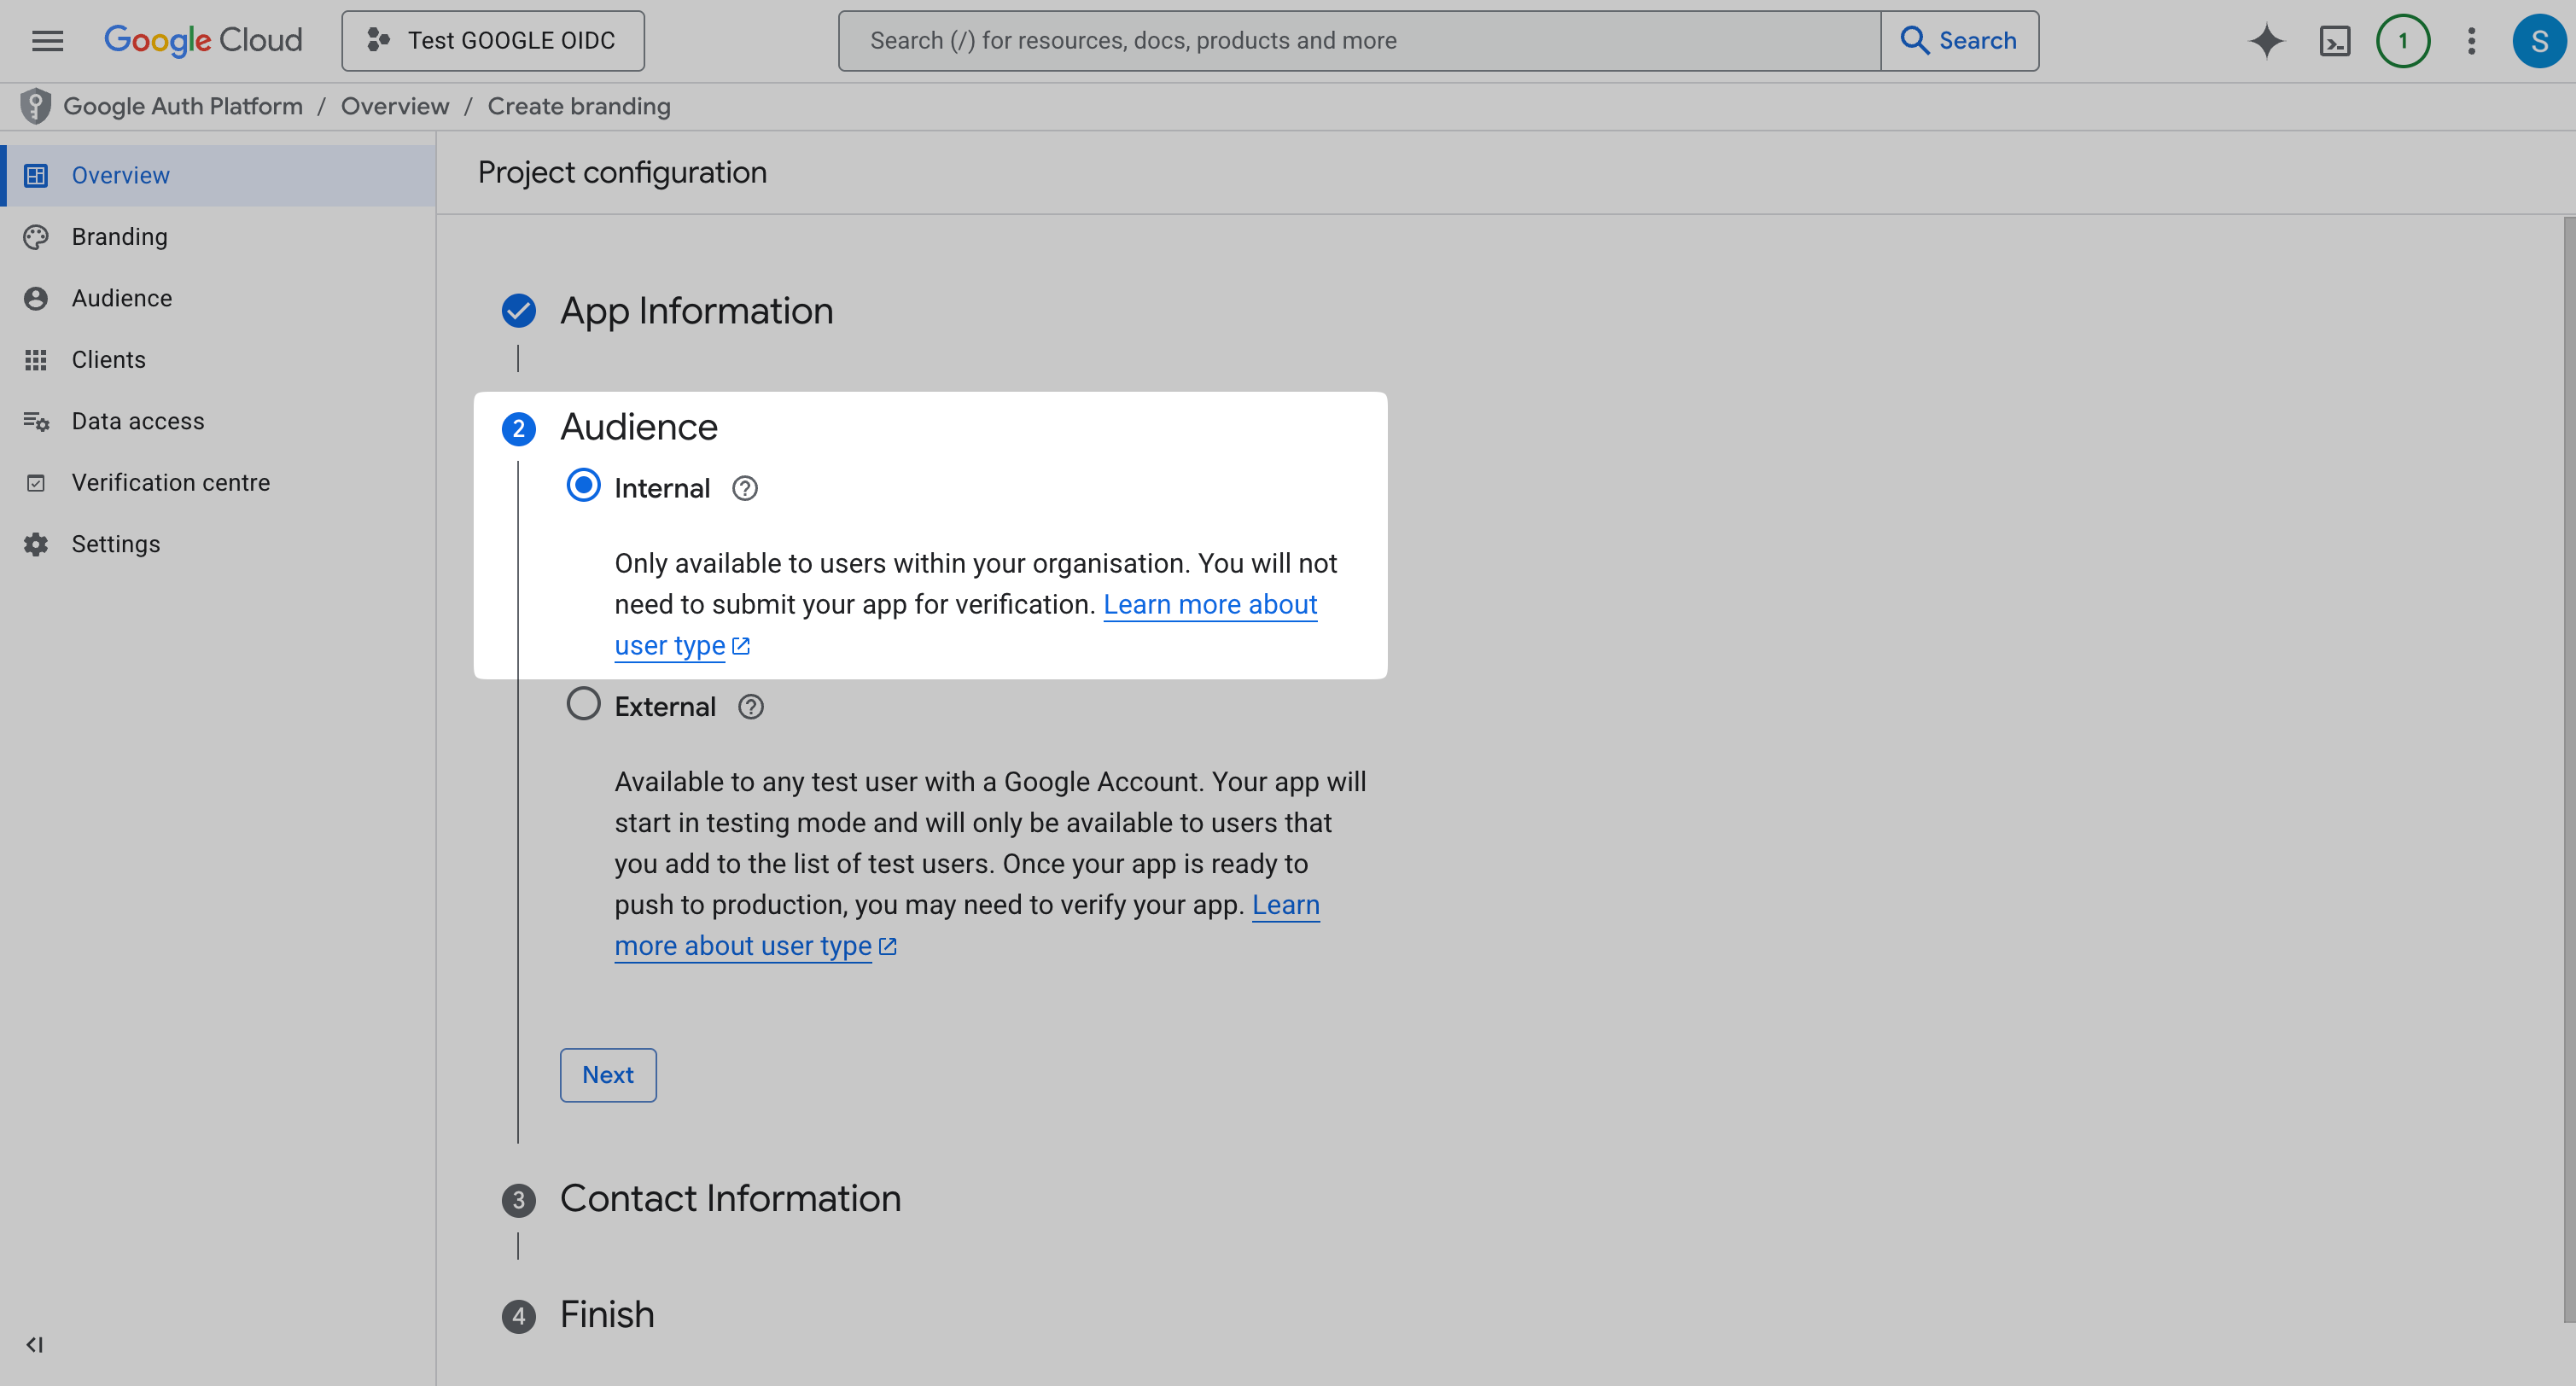
Select the Audience as Internal and click Next.
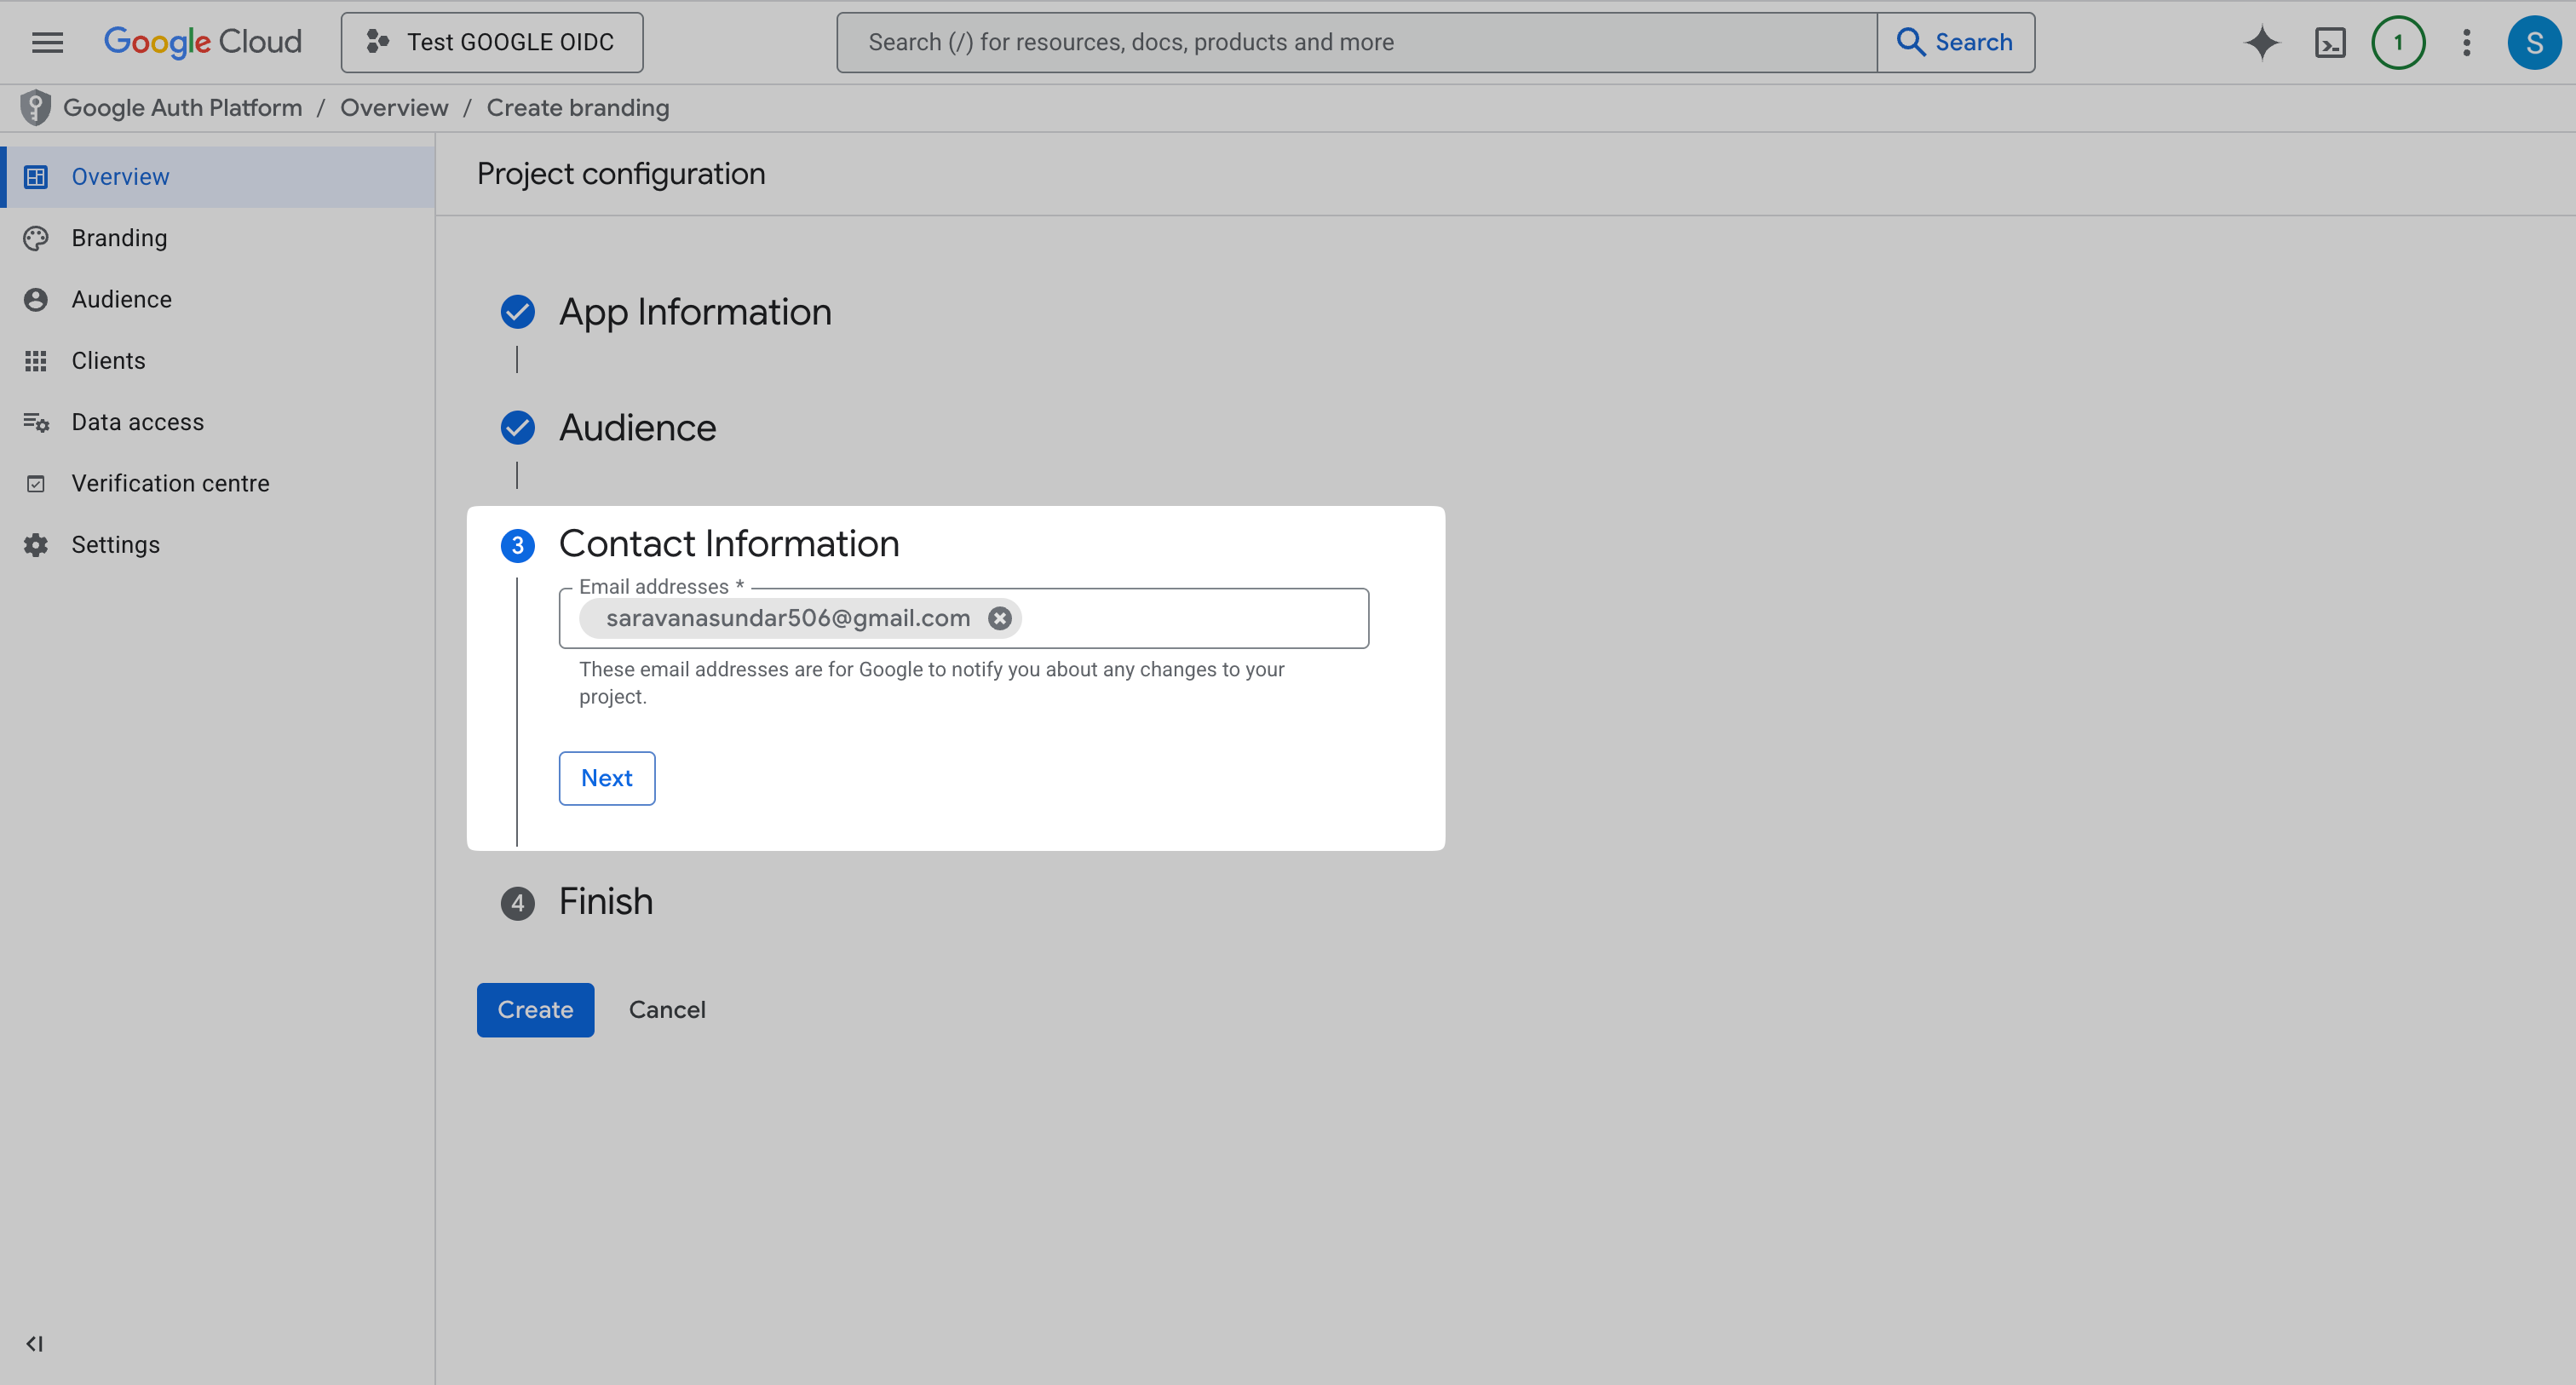
Add the relevant email address in the Contact Information and click Next.
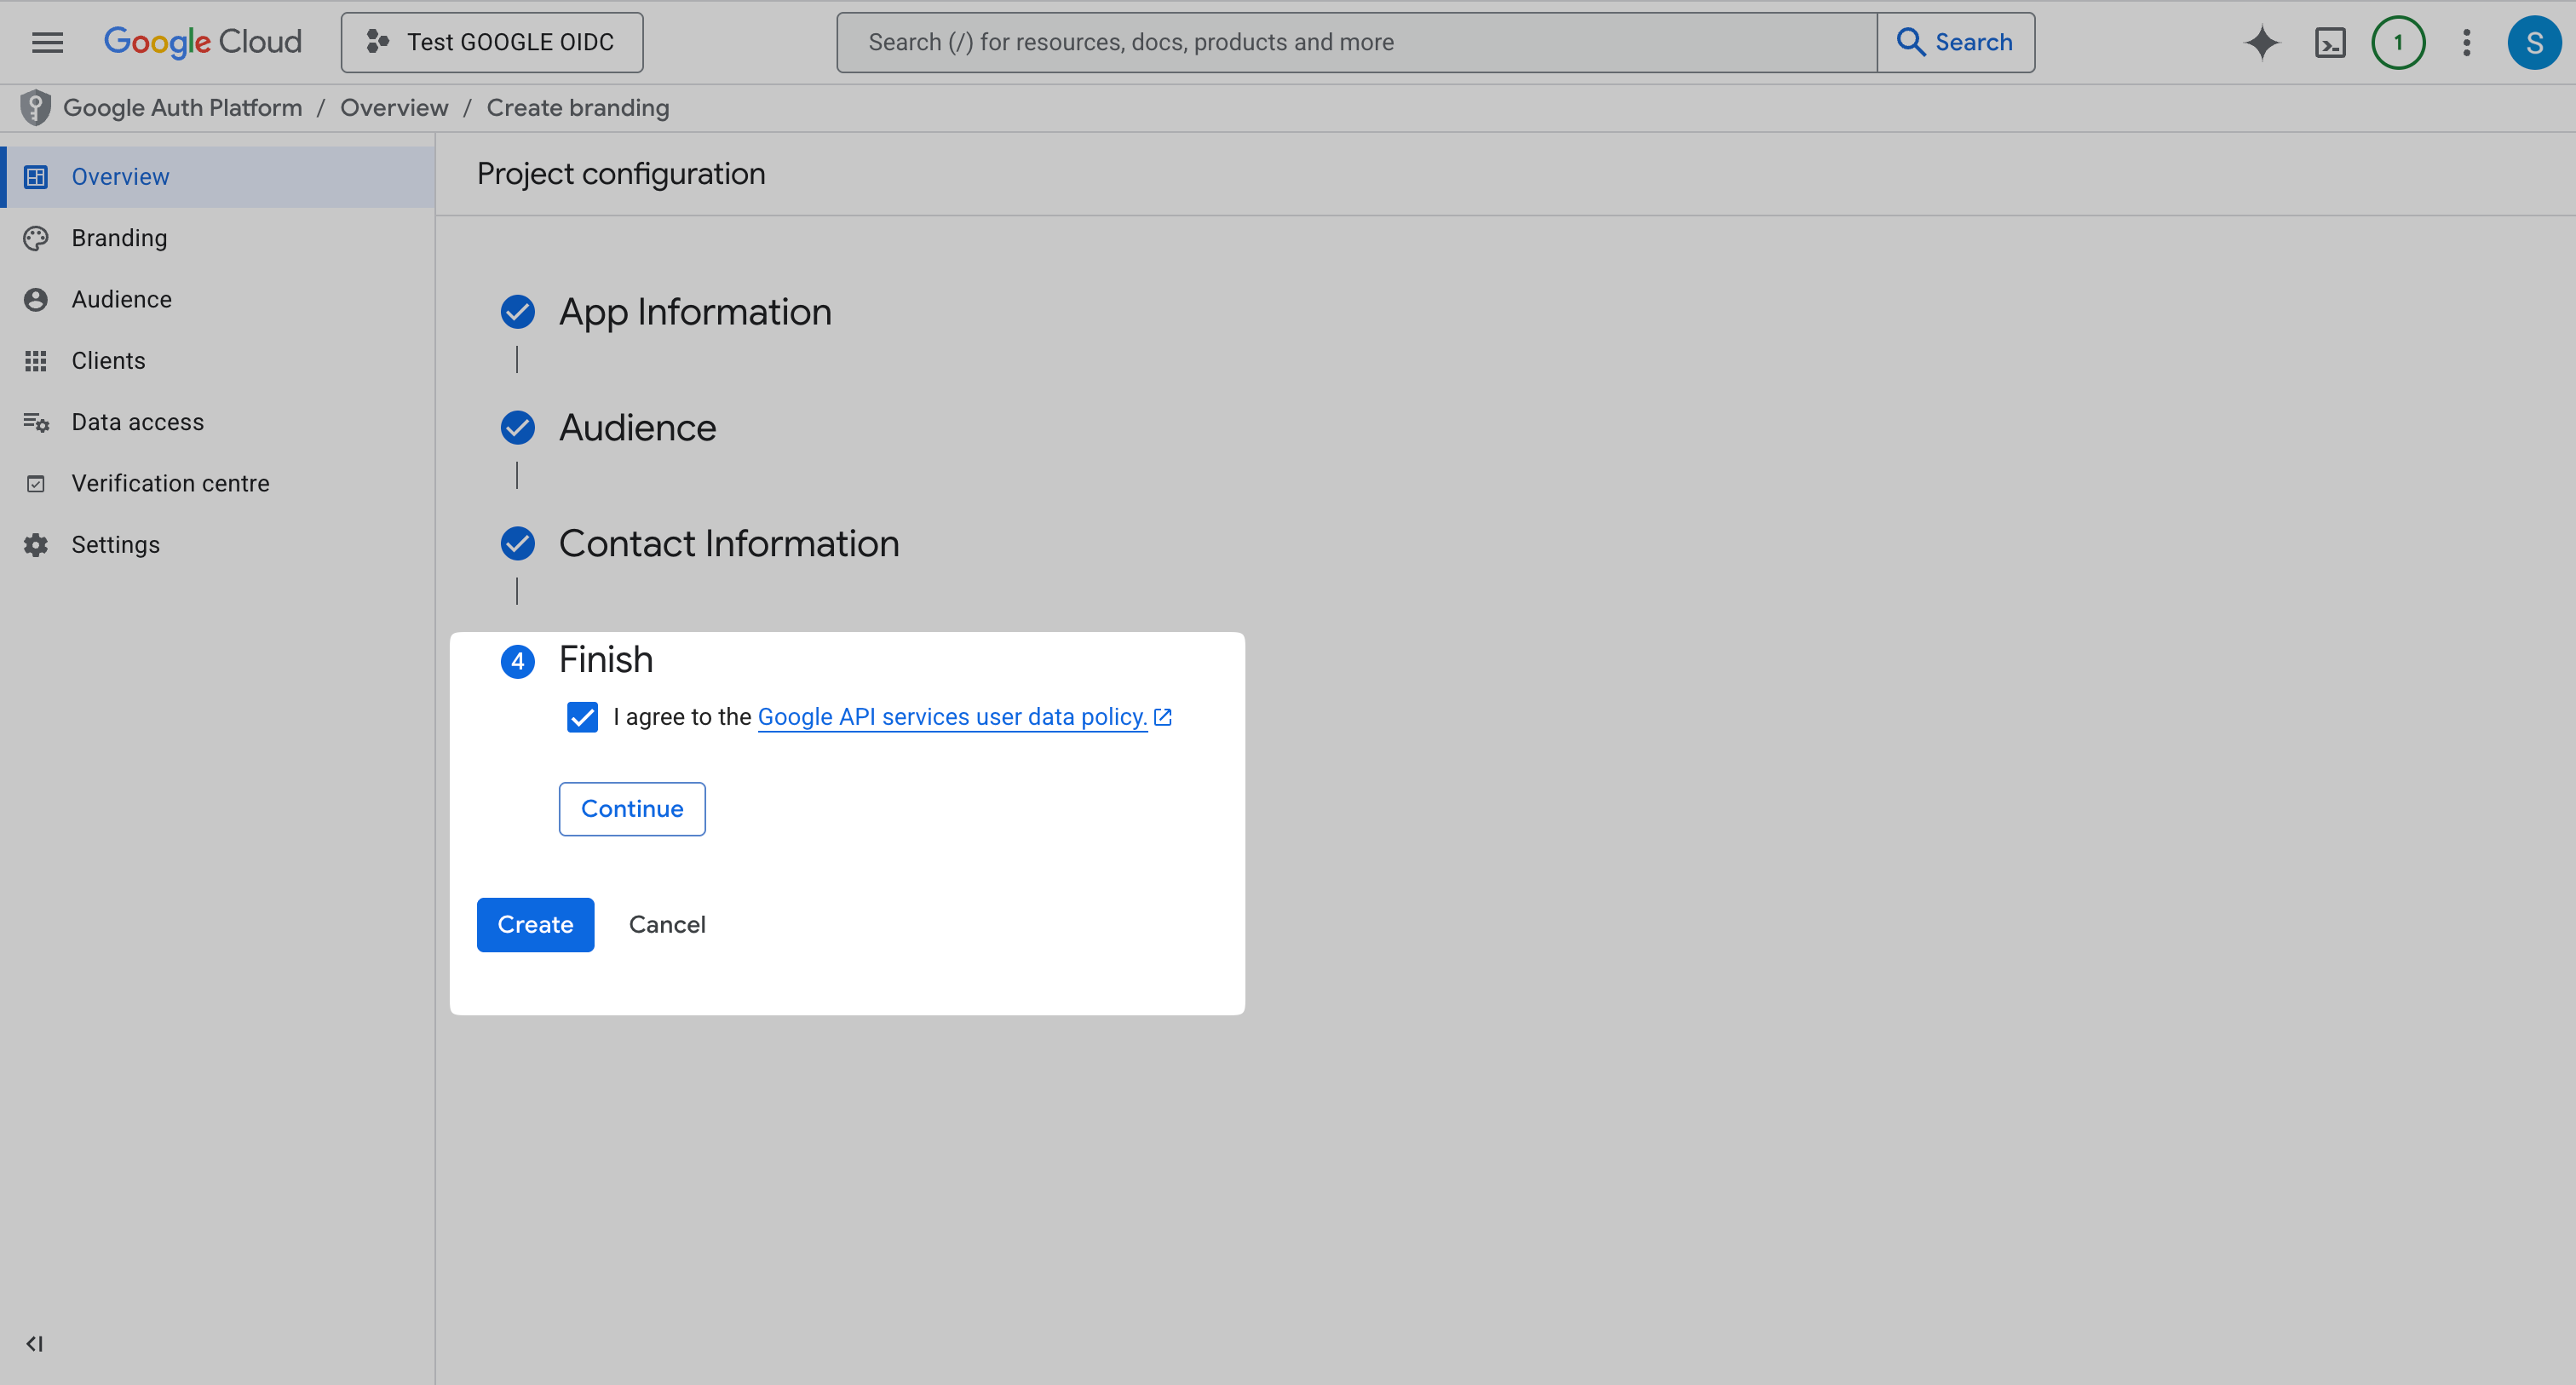
Agree to Google’s policy and click Continue and then Create.
-
Create OAuth Client
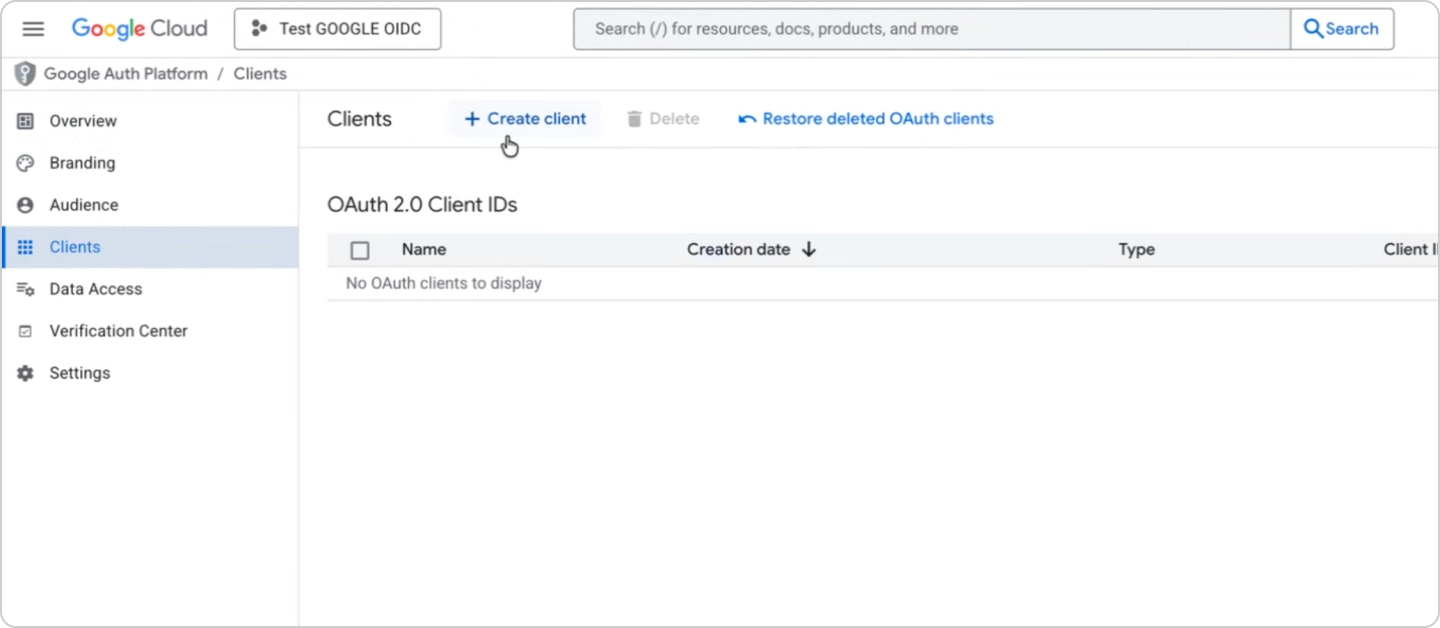
Section titled “Create OAuth Client”From the left-side menu, navigate to Clients and click Create client.
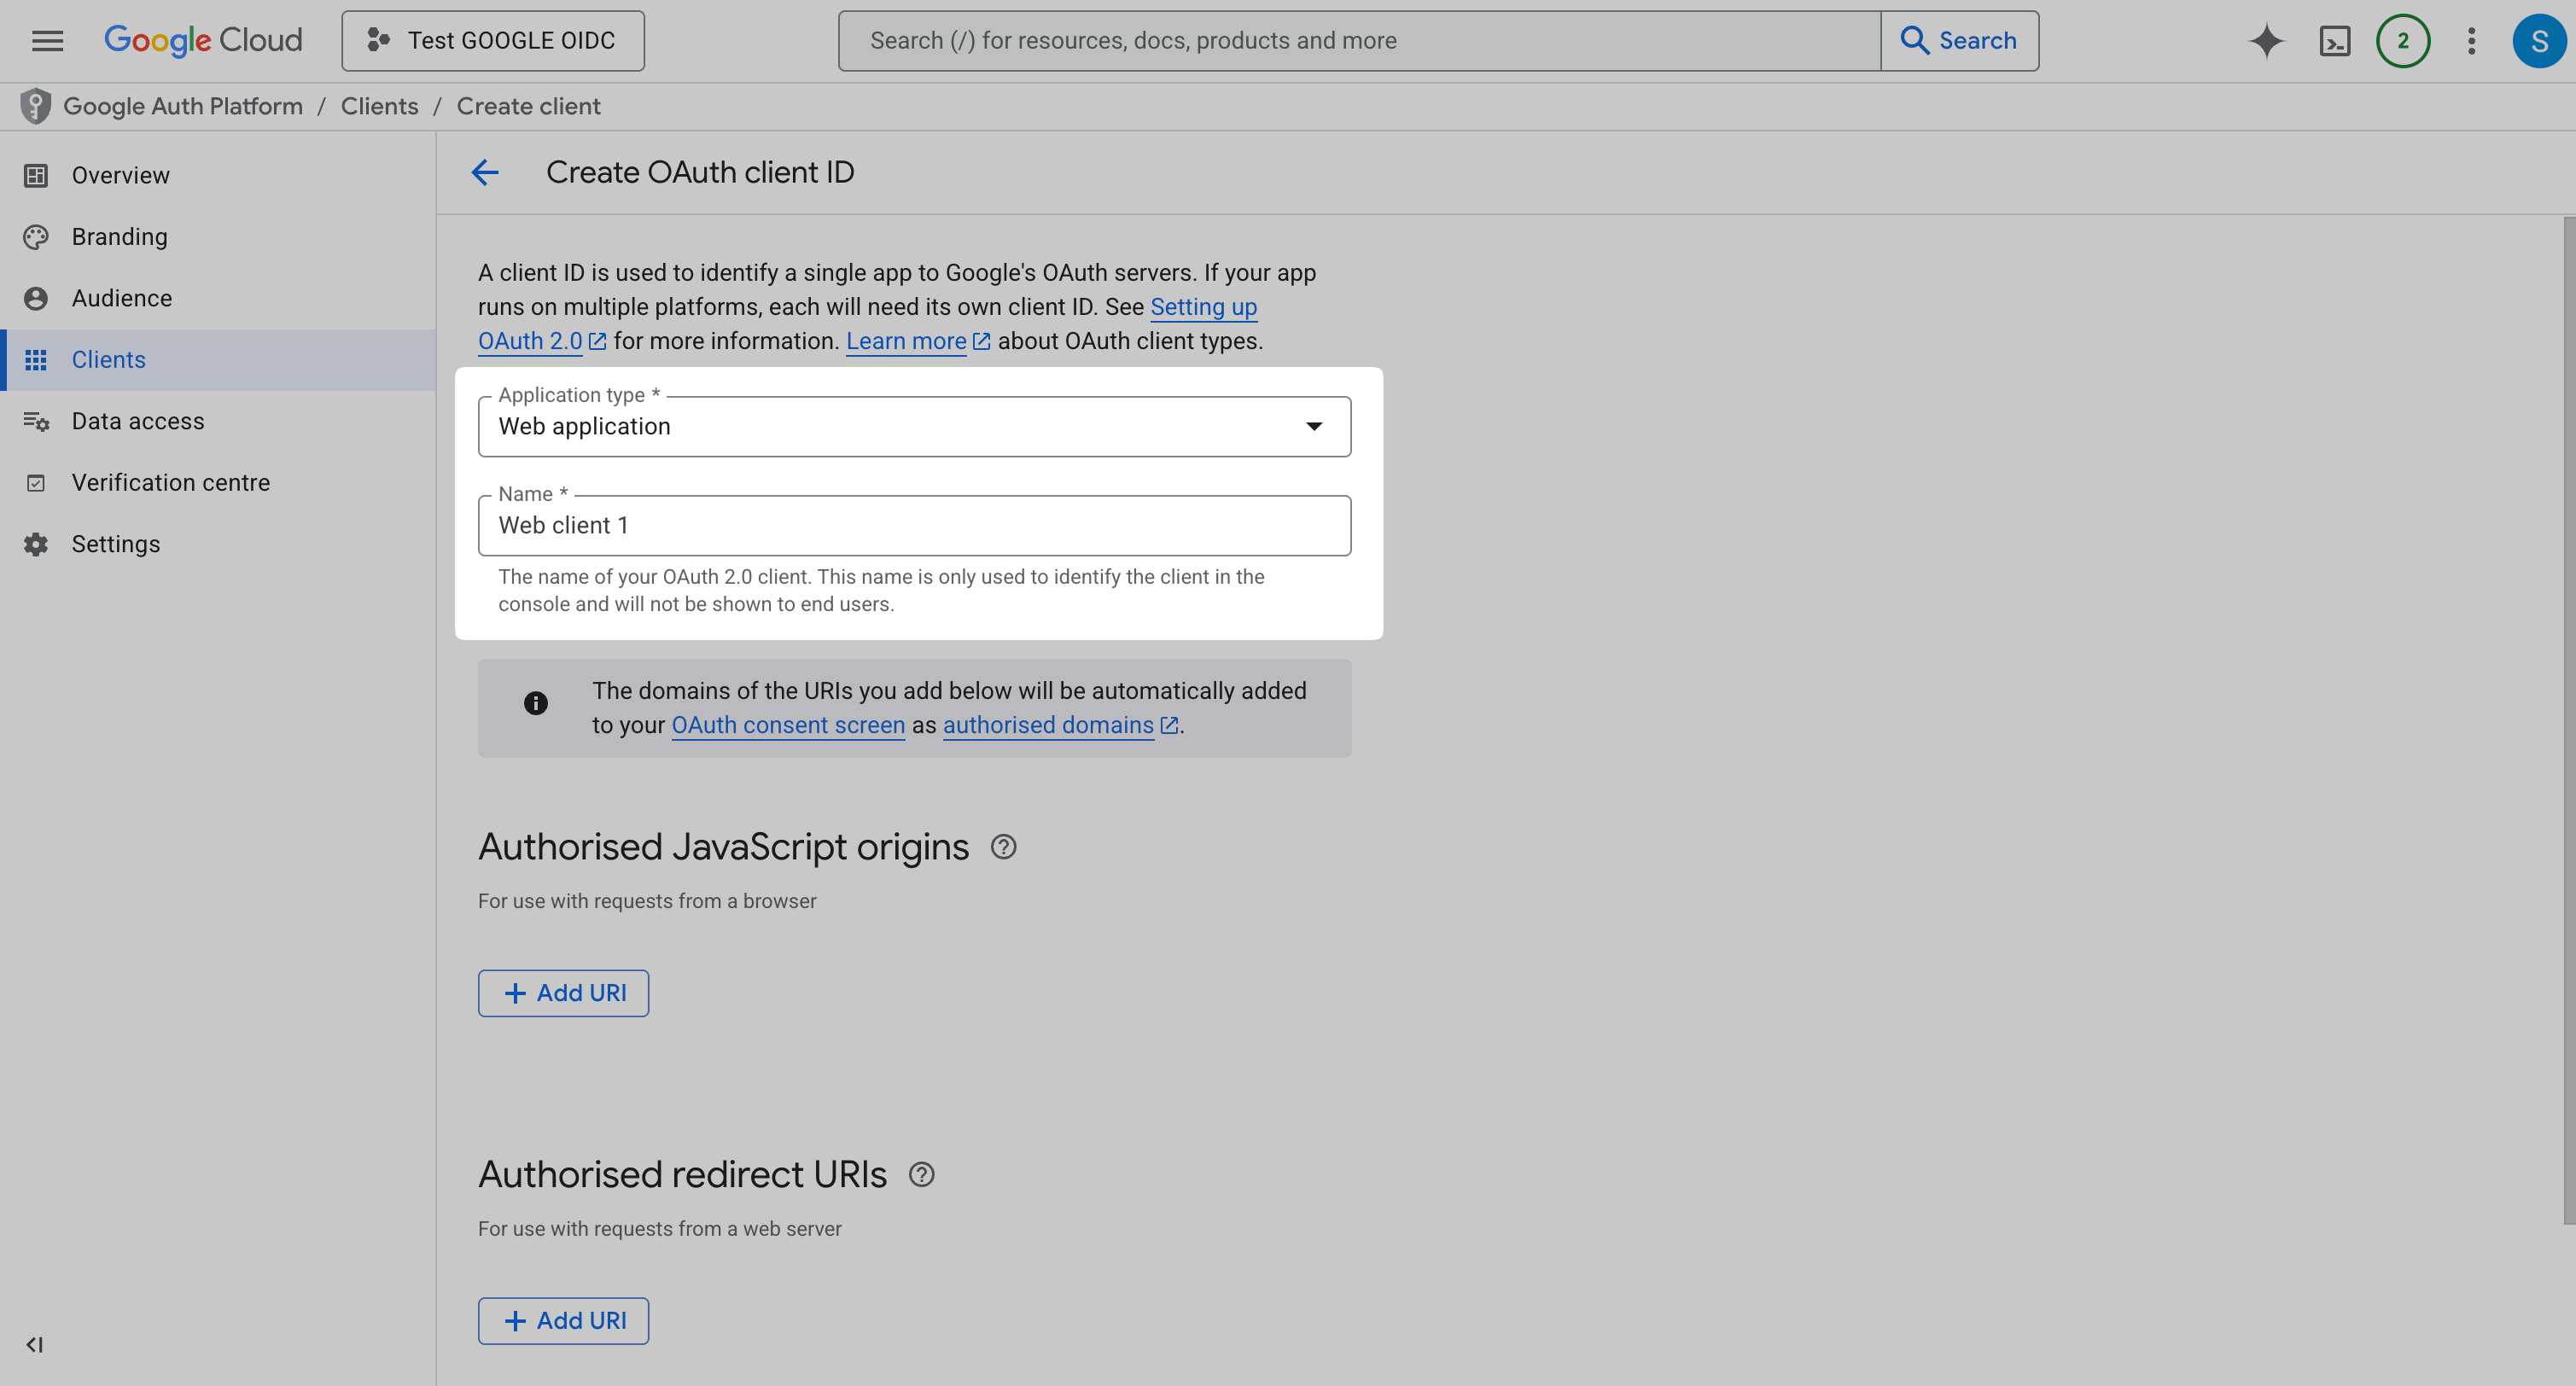
In Application type dropdown, select Web Application and add Name for the client.
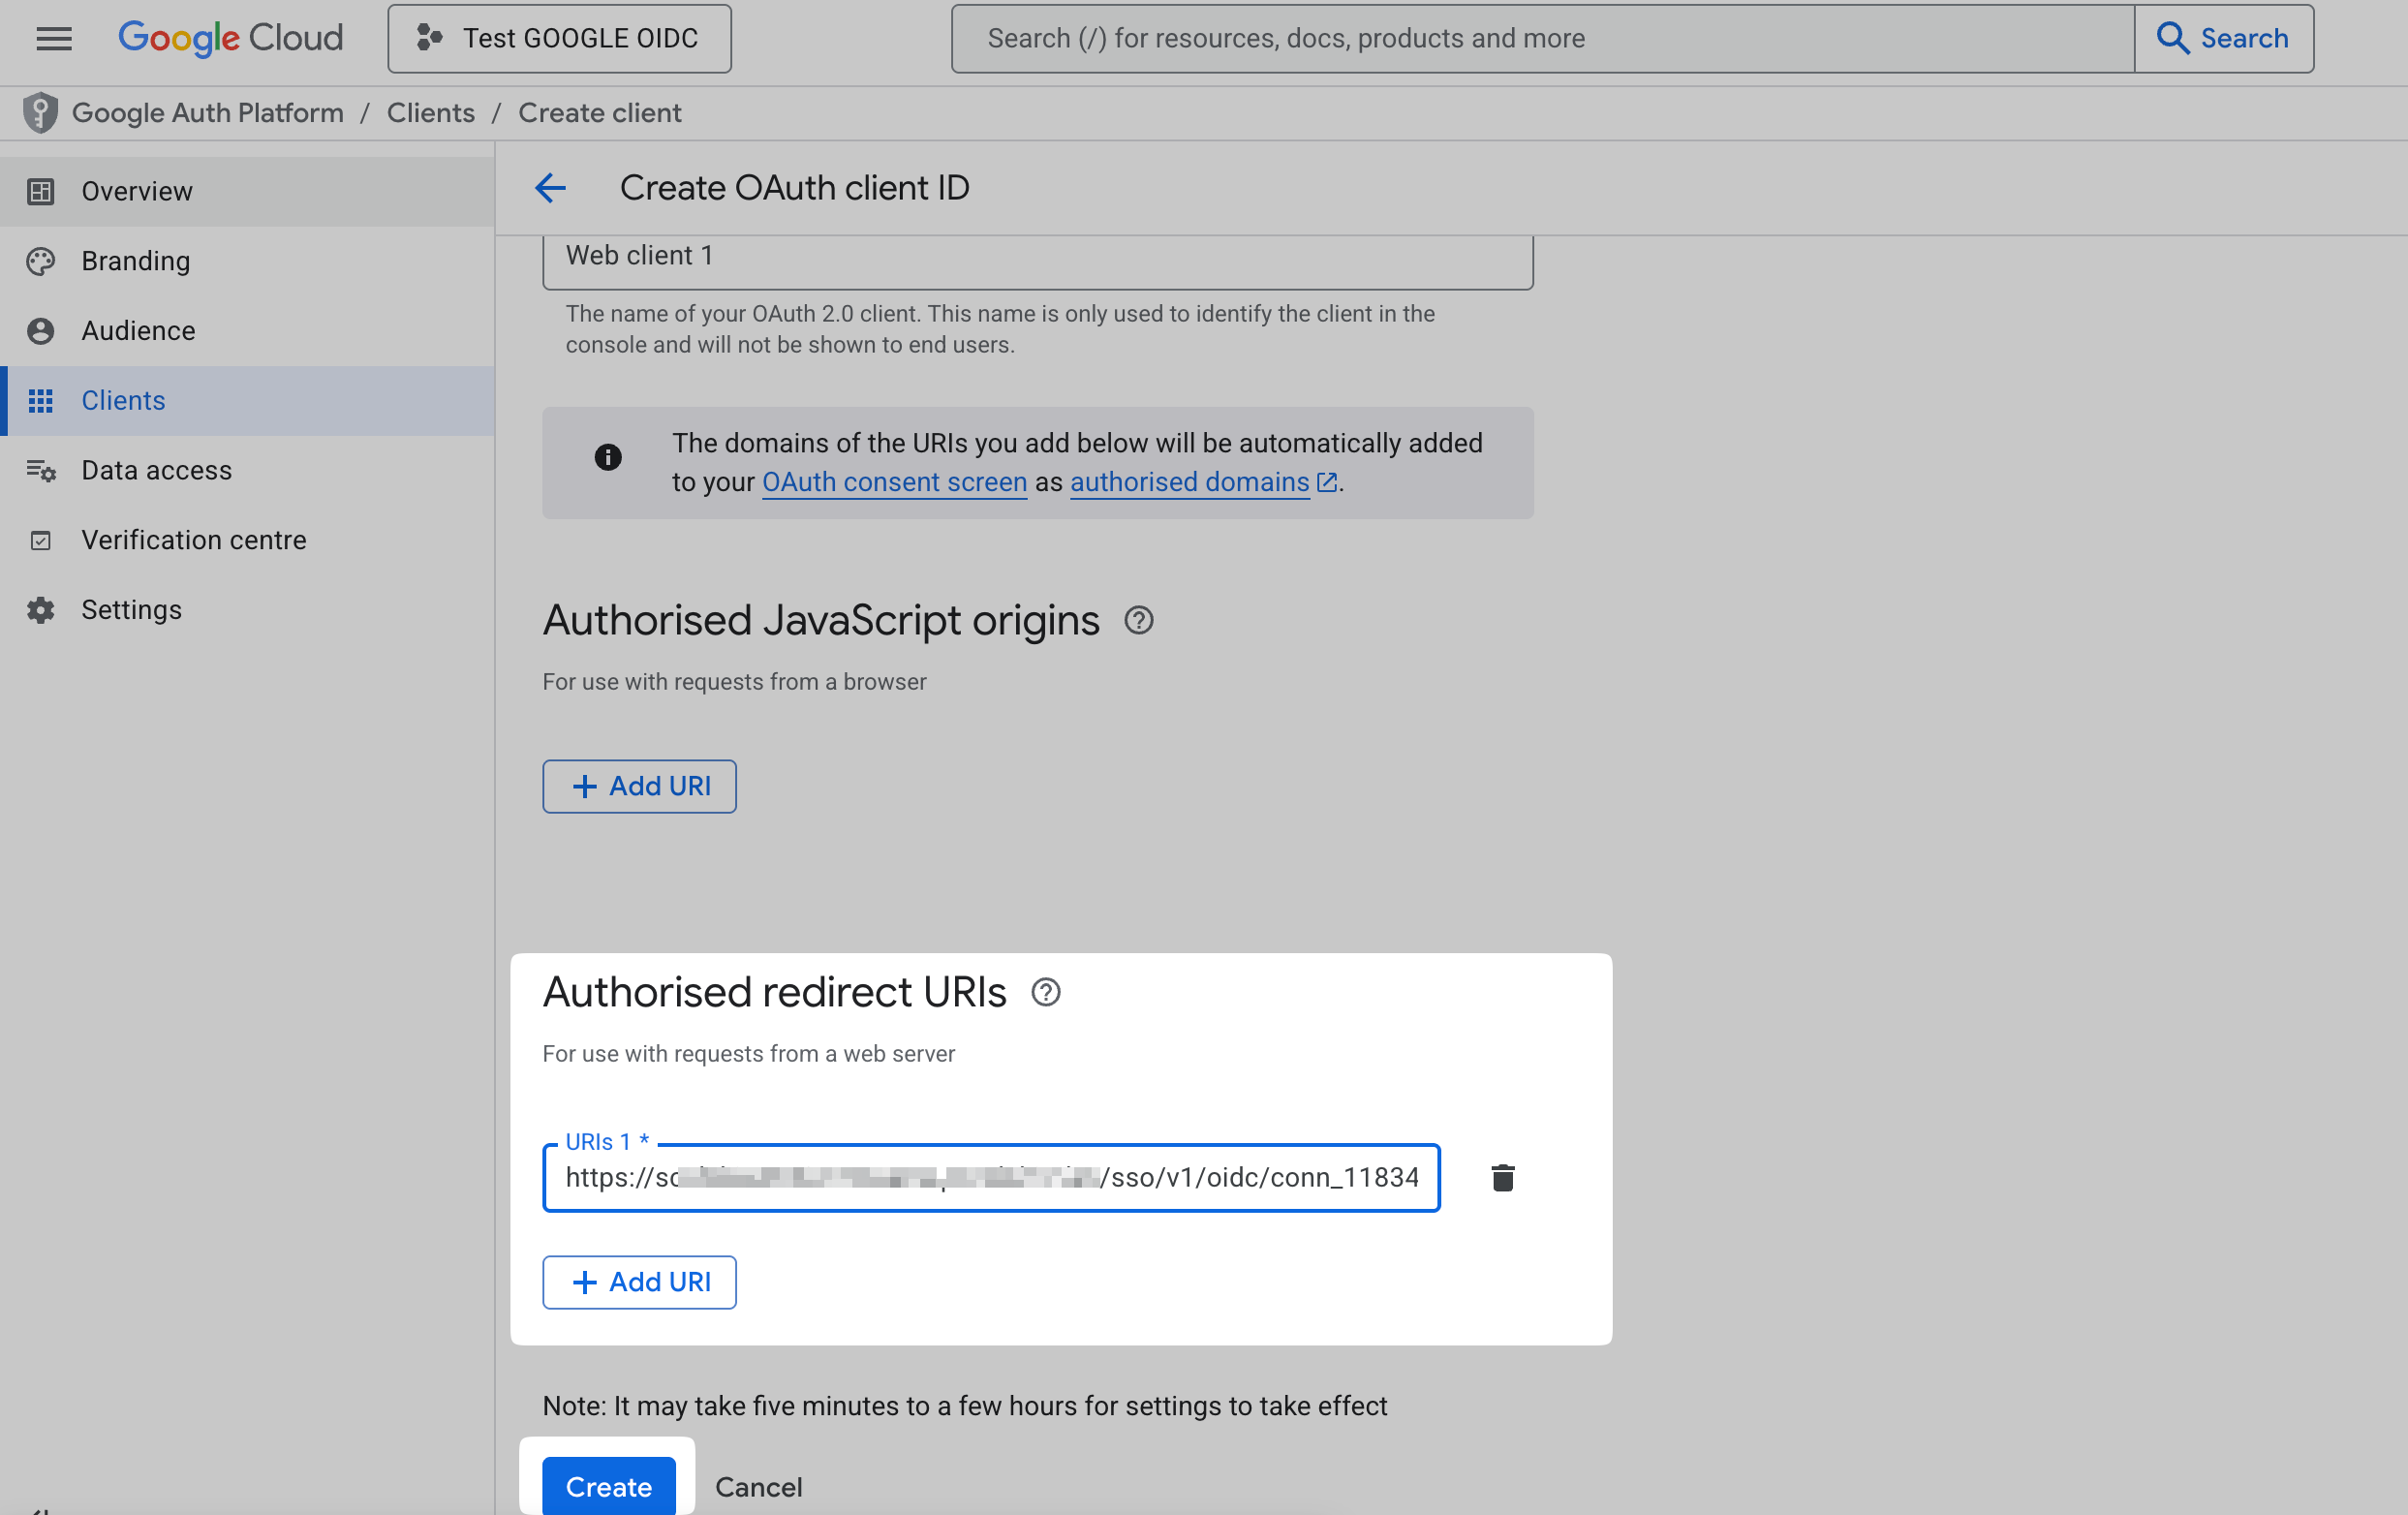
Copy the Redirect URI from SSO Configuration Portal.
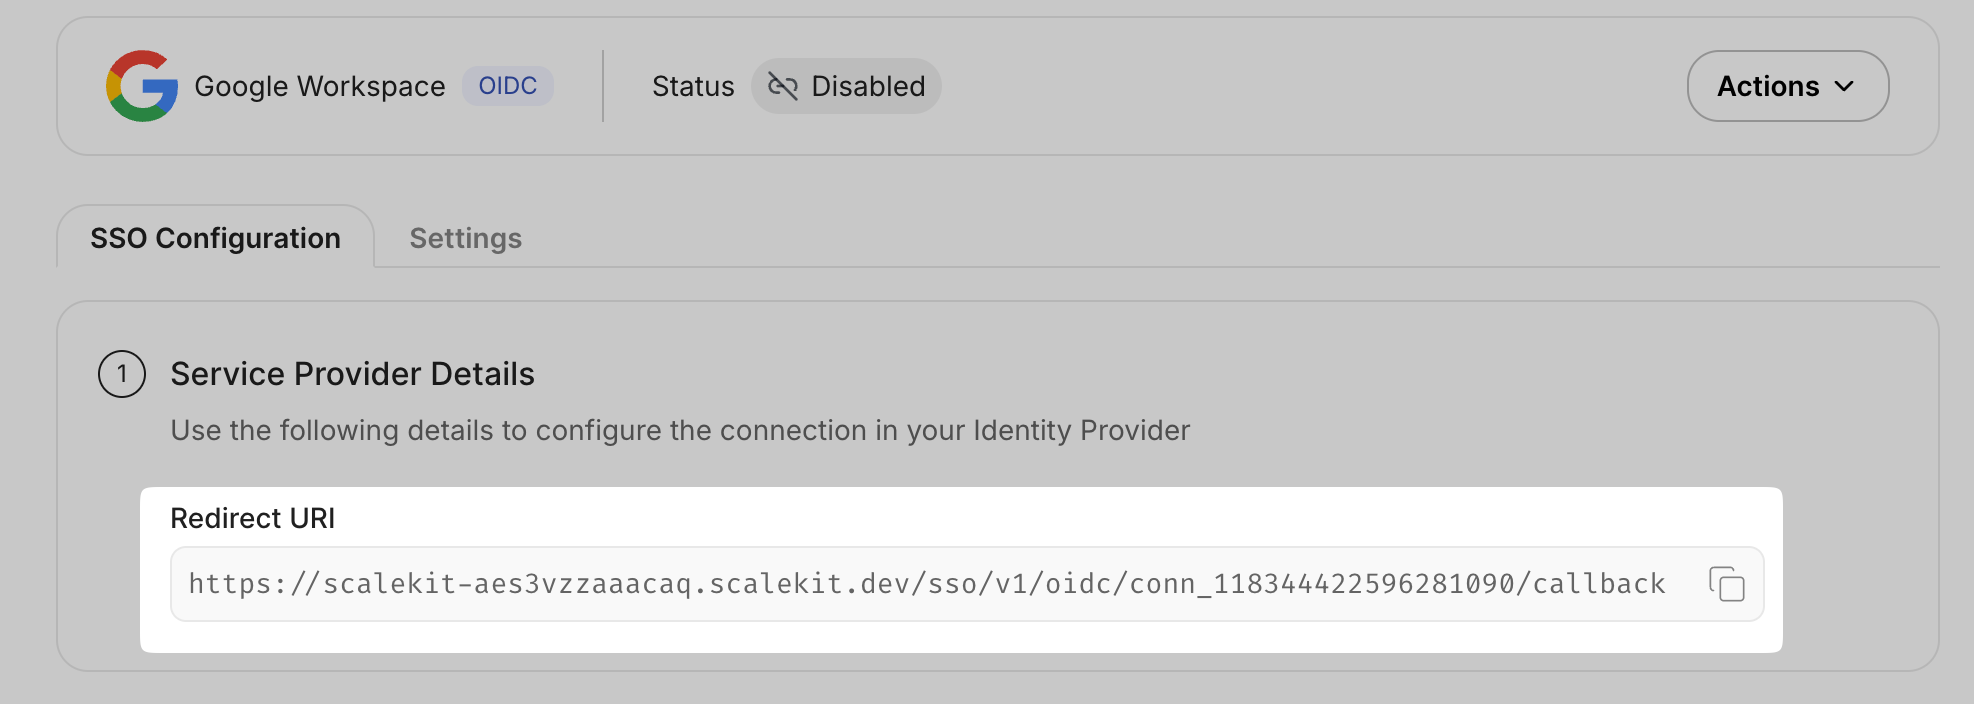
On Google console, under the Authorized redirect URIs, click Add URI. Add the above copied URI to this field and click Create.
-
Provide Client Credentials
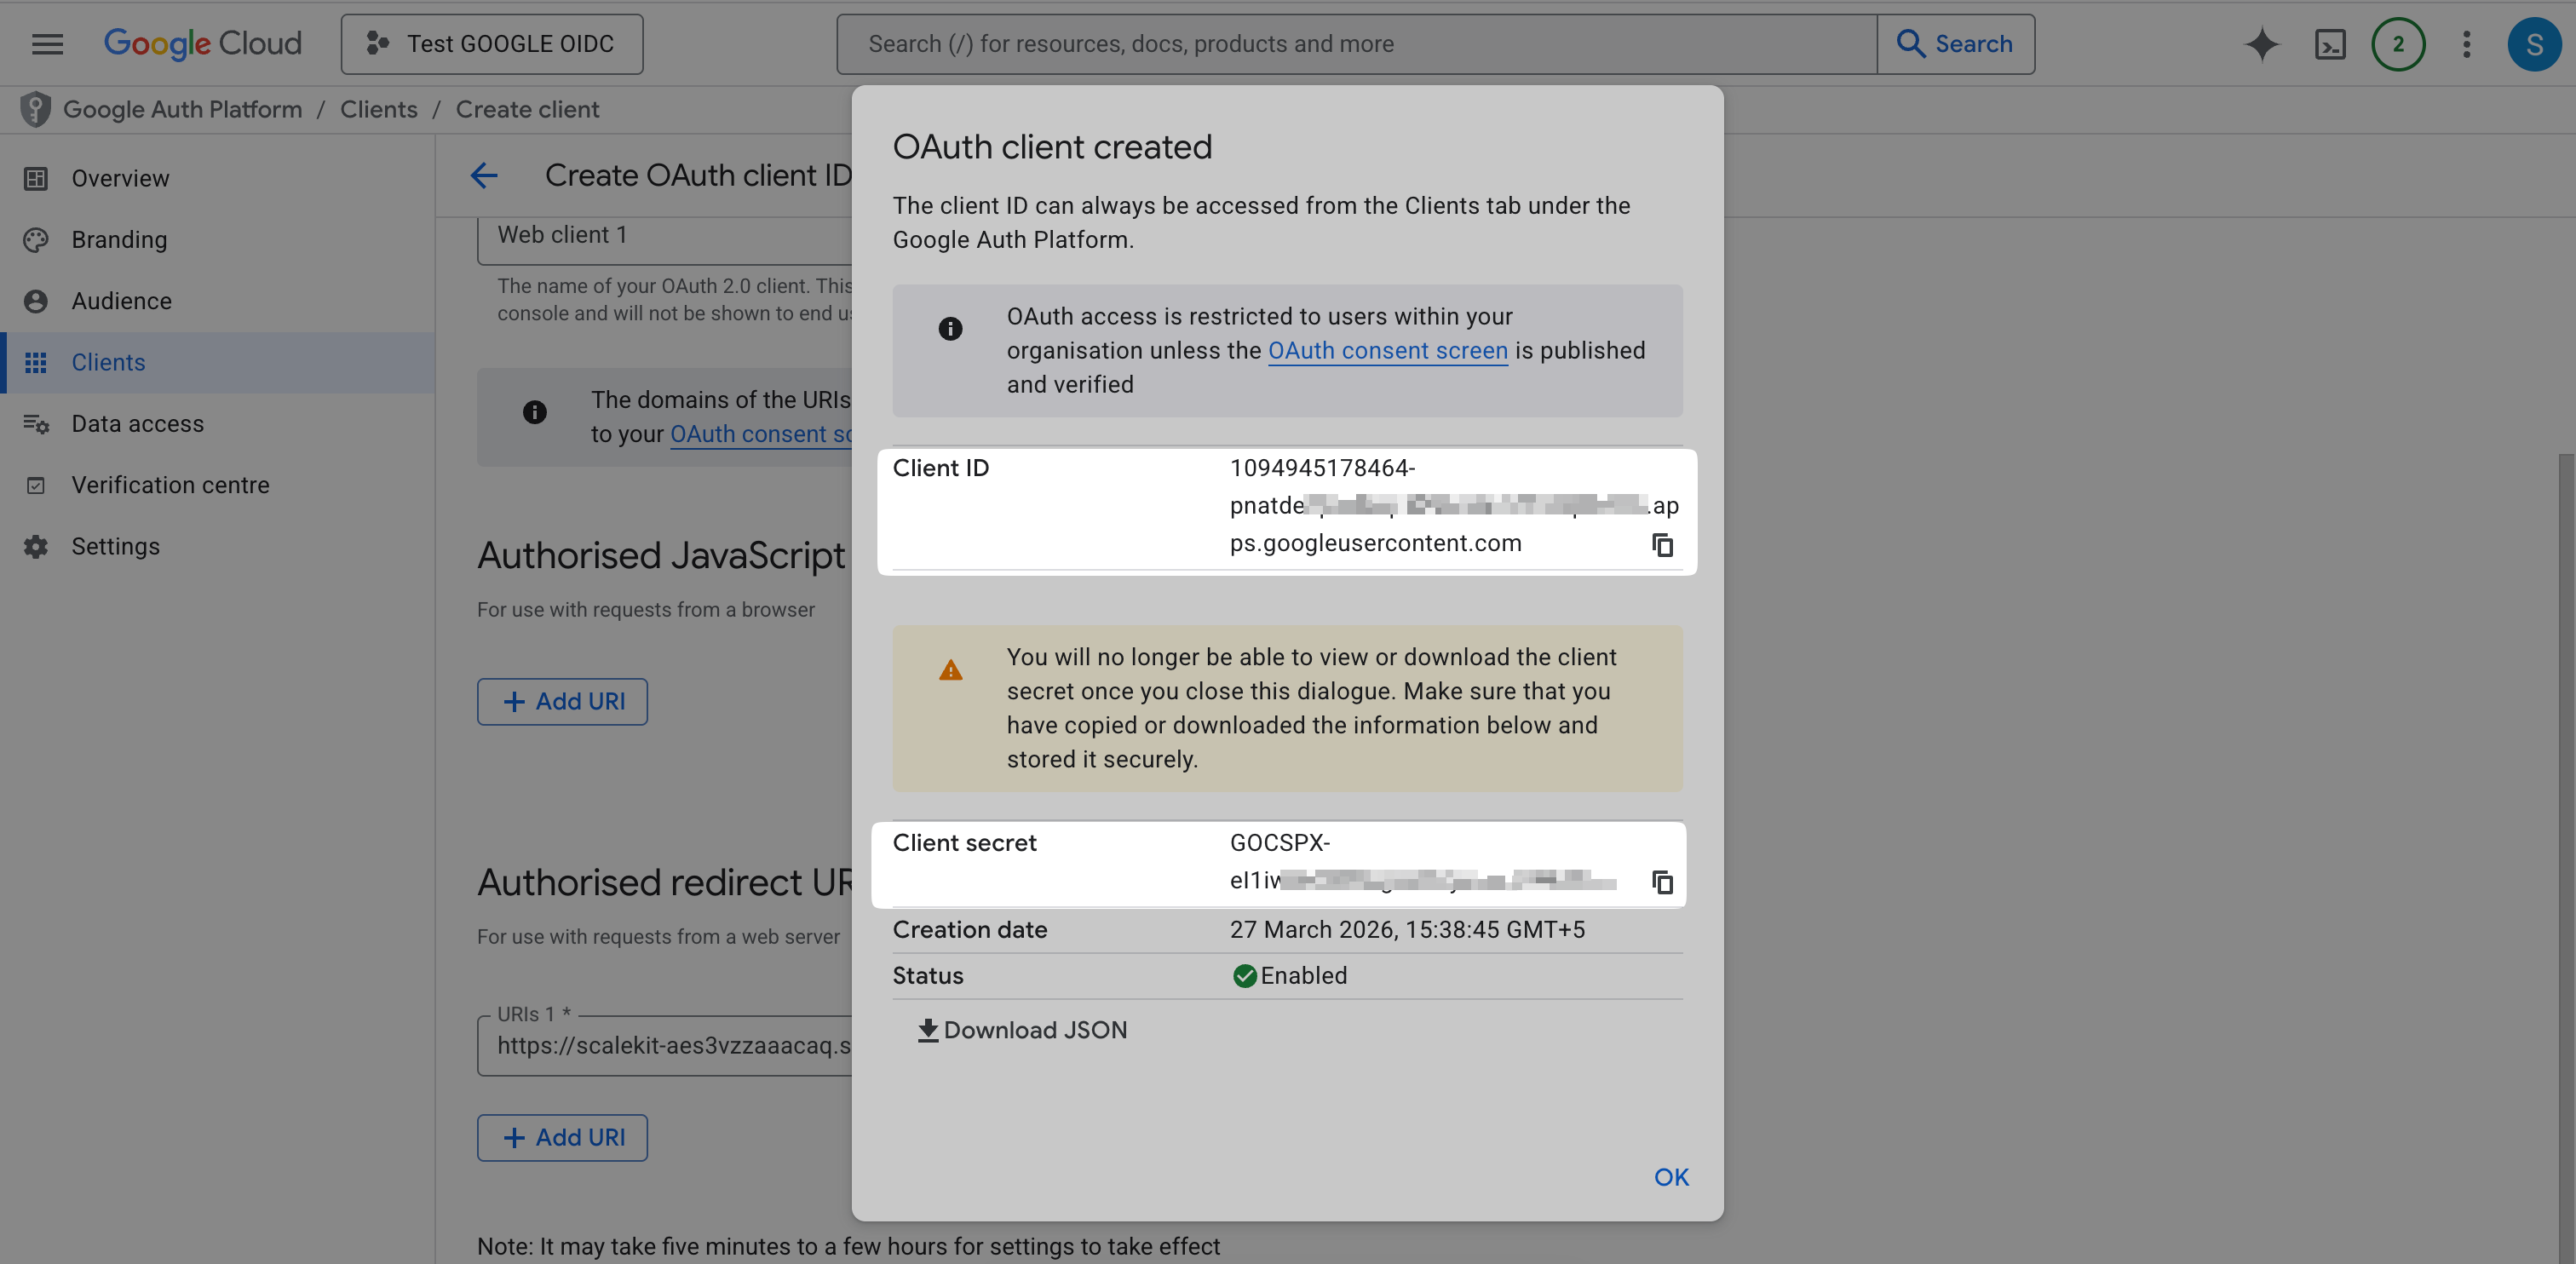
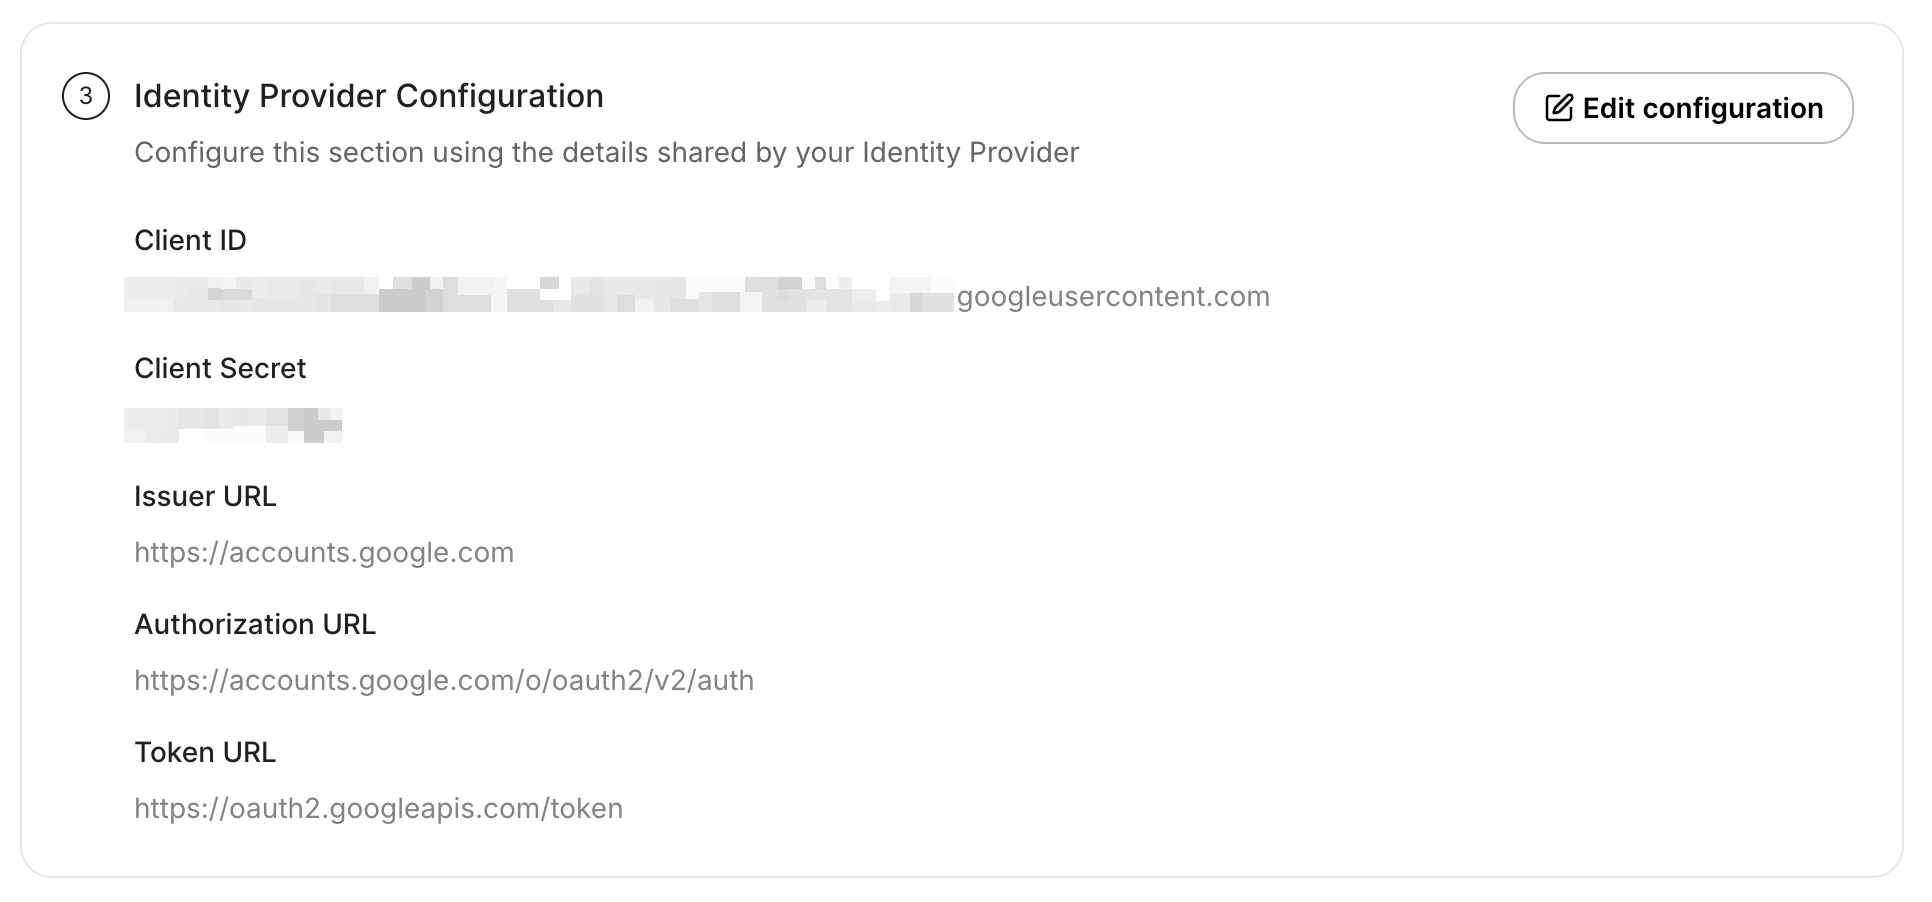
Section titled “Provide Client Credentials”After the client is created, copy the Client ID and Client Secret from Google Cloud.
Add the above values under Identity Provider Configuration in the SSO Configuration Portal. For Issuer URL, use
https://accounts.google.com. Once all values are entered, click Update.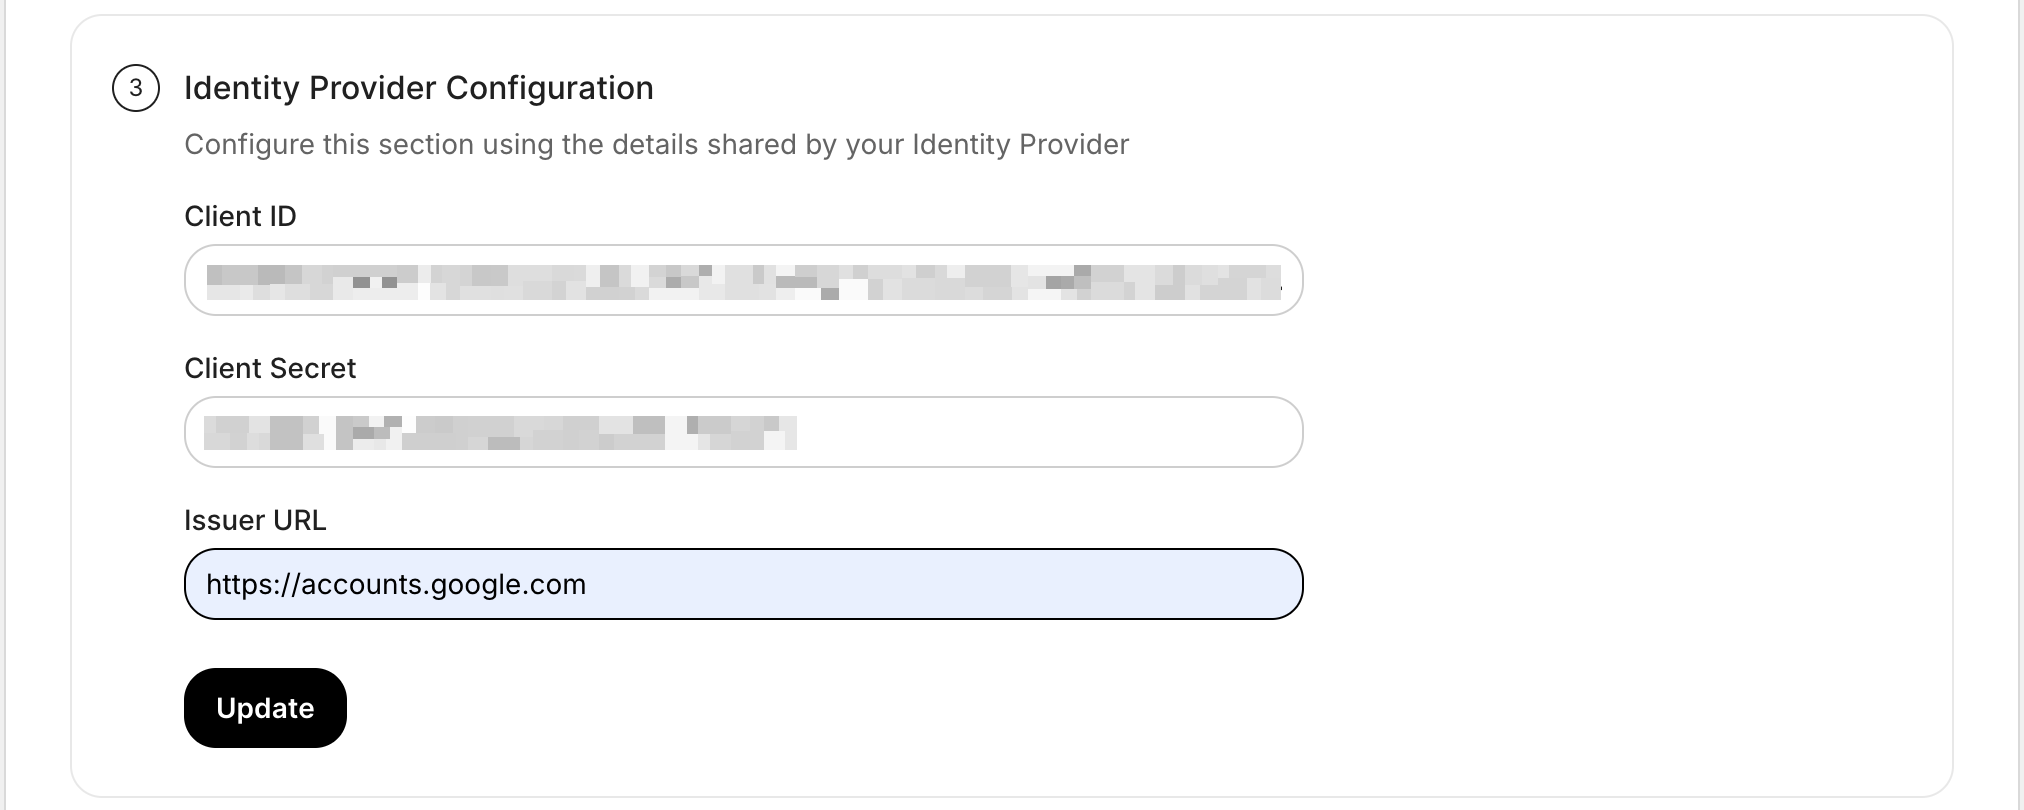
-
Test Connection
Section titled “Test Connection”In the SSO Configuration Portal, click Test Connection. If everything is configured correctly, you will see a Success response.
-
Enable Single Sign-On
Section titled “Enable Single Sign-On”Once the test succeeds, click Enable Connection to allow users in your organization to sign in with Google Workspace OIDC.

This completes the Google Workspace OIDC SSO setup for your application.