

Hosted Connect Widget
What your users see when they open an AgentKit authorization link: OAuth consent or a credential form, scope choices, account states and errors.
The Hosted Connect Widget is the page your users land on when they open an authorization link. Scalekit hosts it, so the user’s OAuth consent, password or API key goes to Scalekit, not through your app. It adapts to the connection: OAuth connectors send the user to the app’s consent screen, and API key, basic auth and similar connectors show a form for the credentials. This page explains what users see and do in the widget, and what you control.
The widget opens as a full page in the user’s browser, not as a component you embed in your app. To make it look like your product, see Brand the Hosted Connect Widget.
What the user sees
Section titled “What the user sees”The widget shows your logo and a headline that names your application and the app, such as “Acme wants to connect to your Gmail”. Under it are a short overview of the app, then either a Connect button or a form, and links to your terms of service and privacy policy.
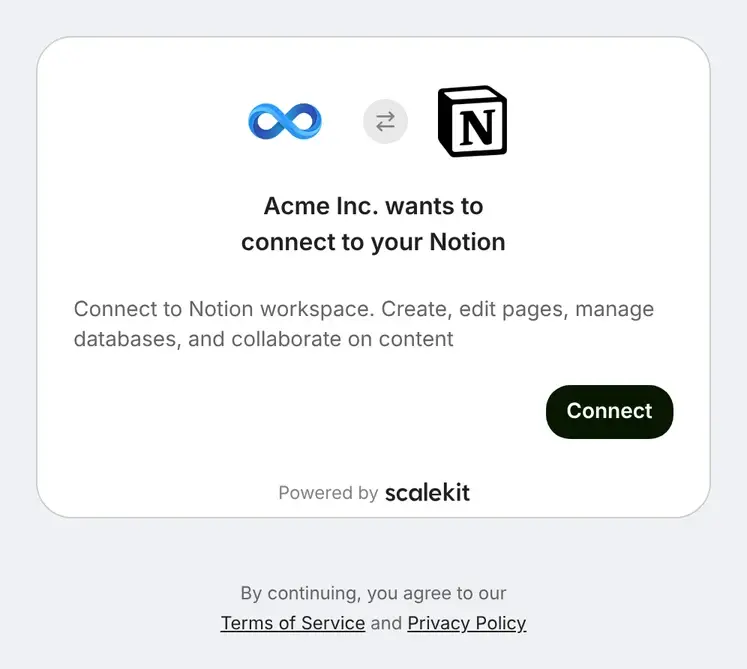
What happens next depends on the connector’s auth type:
| Auth type | What the user does | When the account becomes ACTIVE |
|---|---|---|
| OAuth | Selects Connect, grants access on the app’s consent screen, and returns to the widget | When the app returns a token |
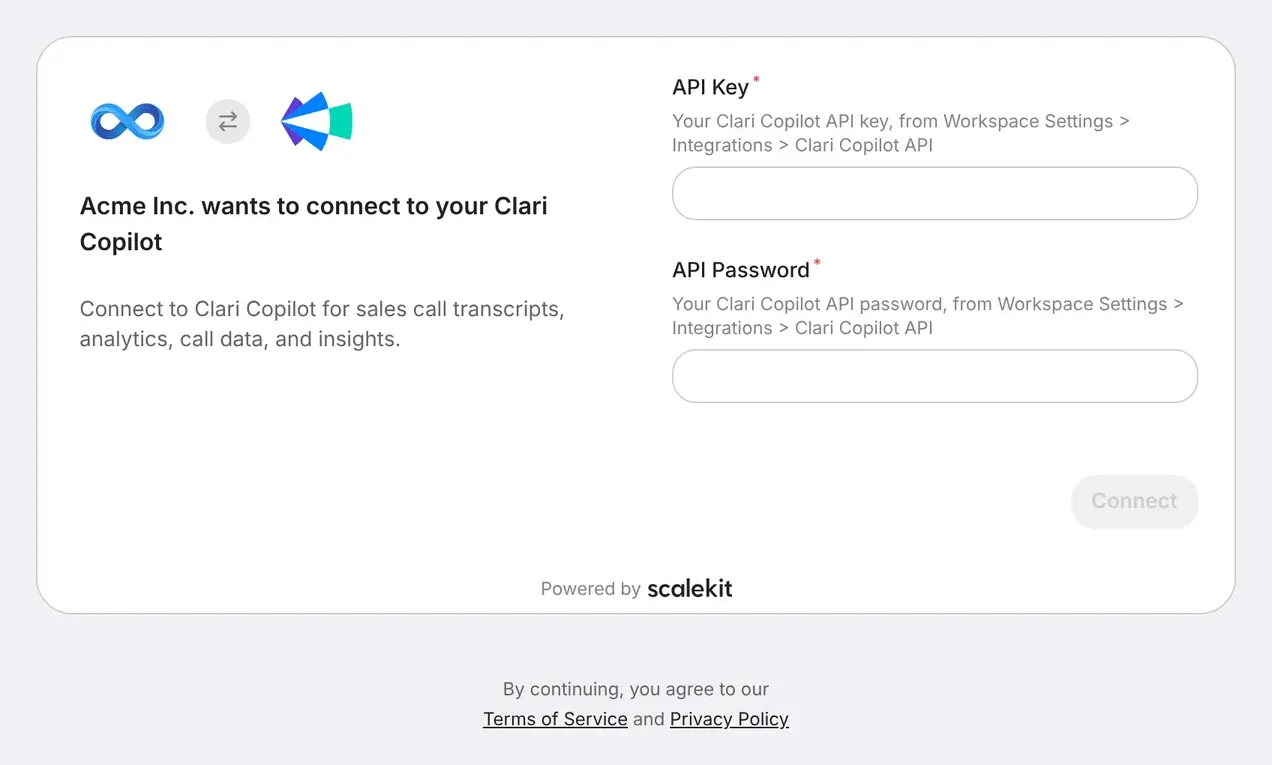
| API key, basic auth, bearer token and similar | Fills in the form and selects Connect | As soon as the form is submitted. Scalekit doesn’t test the credential, so a wrong value shows up later as a failed tool call |
| Client credentials or Google domain-wide delegation | Fills in the form and selects Connect | After Scalekit gets a token from the app with the submitted values |
The form fields come from the connector: their labels, hints and which ones are required. Secret fields, such as an API key or password, are masked as the user types. A required field can’t be left empty.
When the user is done, the widget shows Account connected successfully and the headline confirms the connection. The user stays on the widget page. Your app learns the result by checking the account’s status or from the connected_account.status_updated event.
Let users choose scopes
Section titled “Let users choose scopes”For OAuth connectors, you can let users decide which of the connection’s scopes to grant. Turn on Allow users to choose scopes on the connection’s configuration, and mark the scopes your agent can’t work without as Required.
The widget then lists the scopes under “Choose what Acme can access in your Gmail”. Every scope starts selected. Users can clear the optional ones; required scopes stay selected. If a user clears everything, the widget warns that the app may reject the connection or apply its own defaults.
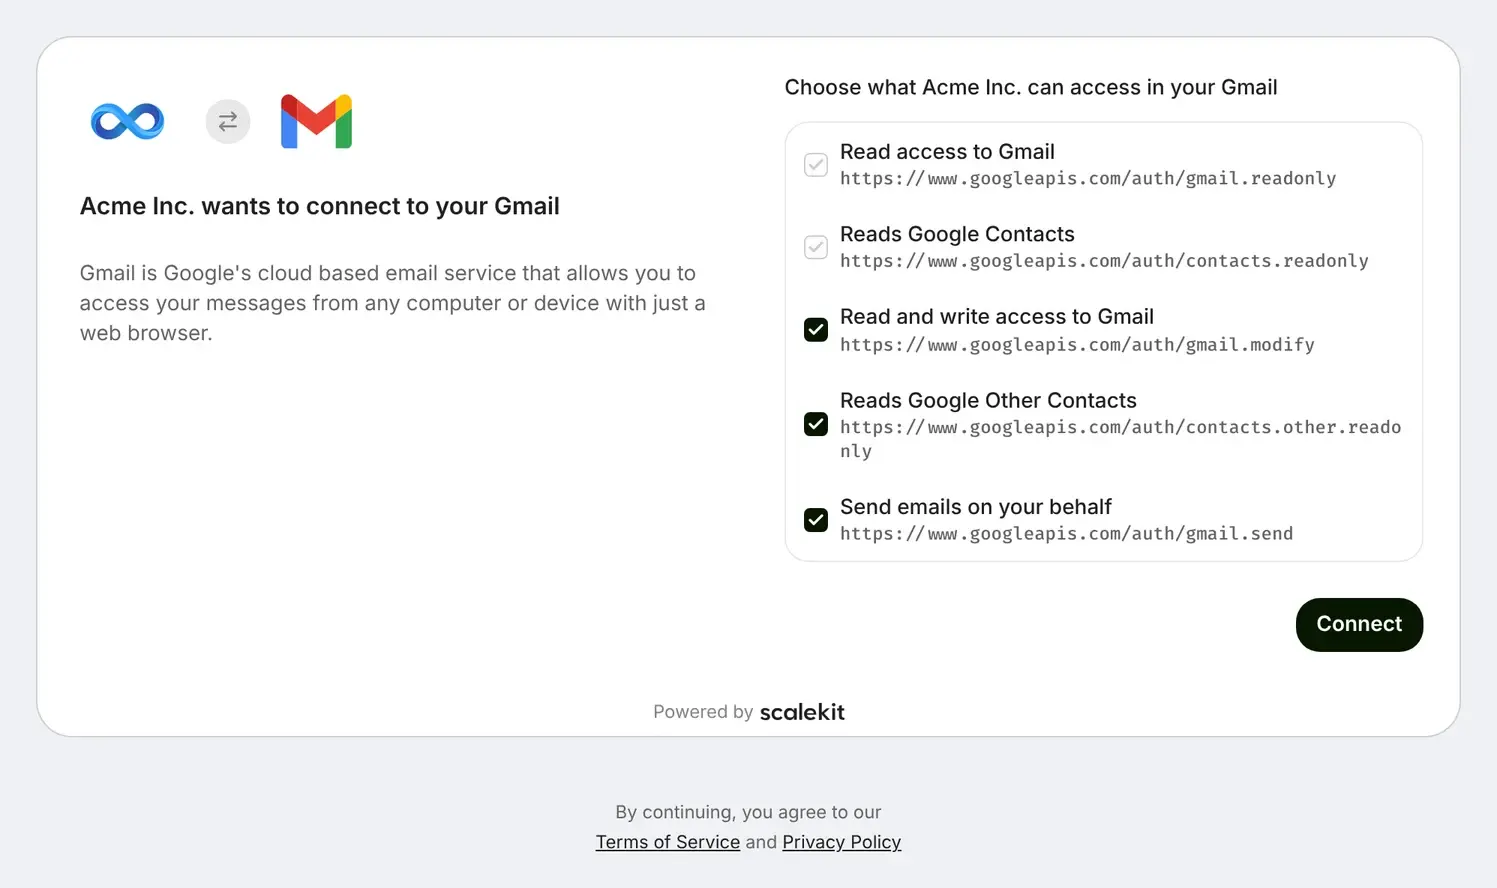
Scalekit grants only the scopes the user kept, plus the required ones. Your agent’s tool calls that need a scope the user cleared fail with the app’s permission error, so mark a scope required when a tool you rely on needs it.
Account states
Section titled “Account states”The widget shows the connected account’s current state each time the user opens a link:
| Account status | What the widget shows |
|---|---|
| Not yet connected | The Connect button or the credential form |
ACTIVE | That the account is connected, with a Disconnect button. The user doesn’t need to connect again |
EXPIRED | Re-Authentication Required and a Reconnect button |
PENDING_VERIFICATION | Verification pending: the user authorized, and your app still has to verify the user |
How credentials are stored
Section titled “How credentials are stored”Everything a user submits in the widget, whether OAuth tokens, an API key or a username and password, is stored the same way: encrypted with your environment’s key before it’s written. See How credentials are stored.
By default, your app doesn’t receive these values back. Your agent uses them through tool calls and the API proxy, and Scalekit adds the credential to each request. If your app needs the raw values, see Get a connected account’s credentials.
Customize the widget
Section titled “Customize the widget”| What you change | Where |
|---|---|
| Your name, logo, colors, font and legal links | Customize > Branding. See Brand the Hosted Connect Widget |
| The app name, overview and description for one connection | Connections > your connection > Widgets |
| The domain the widget is served from | Custom domain |
| Which scopes users can choose | Allow users to choose scopes on the connection, as above |
Common problems
Section titled “Common problems”This link has expired
Section titled “This link has expired”The user opened the authorization link after it expired. Links last five minutes by default. Create a new link and send it when the user is ready to connect.
This connected account no longer exists
Section titled “This connected account no longer exists”The connected account was deleted after the link was created. Create the connected account again, then create a new link.
Authorization failed
Section titled “Authorization failed”The app didn’t issue a token after the user approved access. The usual causes are on the user’s side at the app: an administrator restricted the app with an access policy, the app isn’t approved in the user’s organization, or the user’s account lacks permission to authorize it. The user asks their administrator to allow the app, then opens a new link.
Expand the banner to see the error, its description and the auth request ID. Include them when you contact support.
Session expired or not available
Section titled “Session expired or not available”The user opened the link with Scalekit users only user verification, and isn’t signed in to Scalekit in that browser. In production, use Custom user verifier instead. See Verify users.
The permissions available for this connection have changed
Section titled “The permissions available for this connection have changed”The connection’s scopes changed while the user had the widget open. The user reloads the page and chooses again.