

Facebook as your sign in option
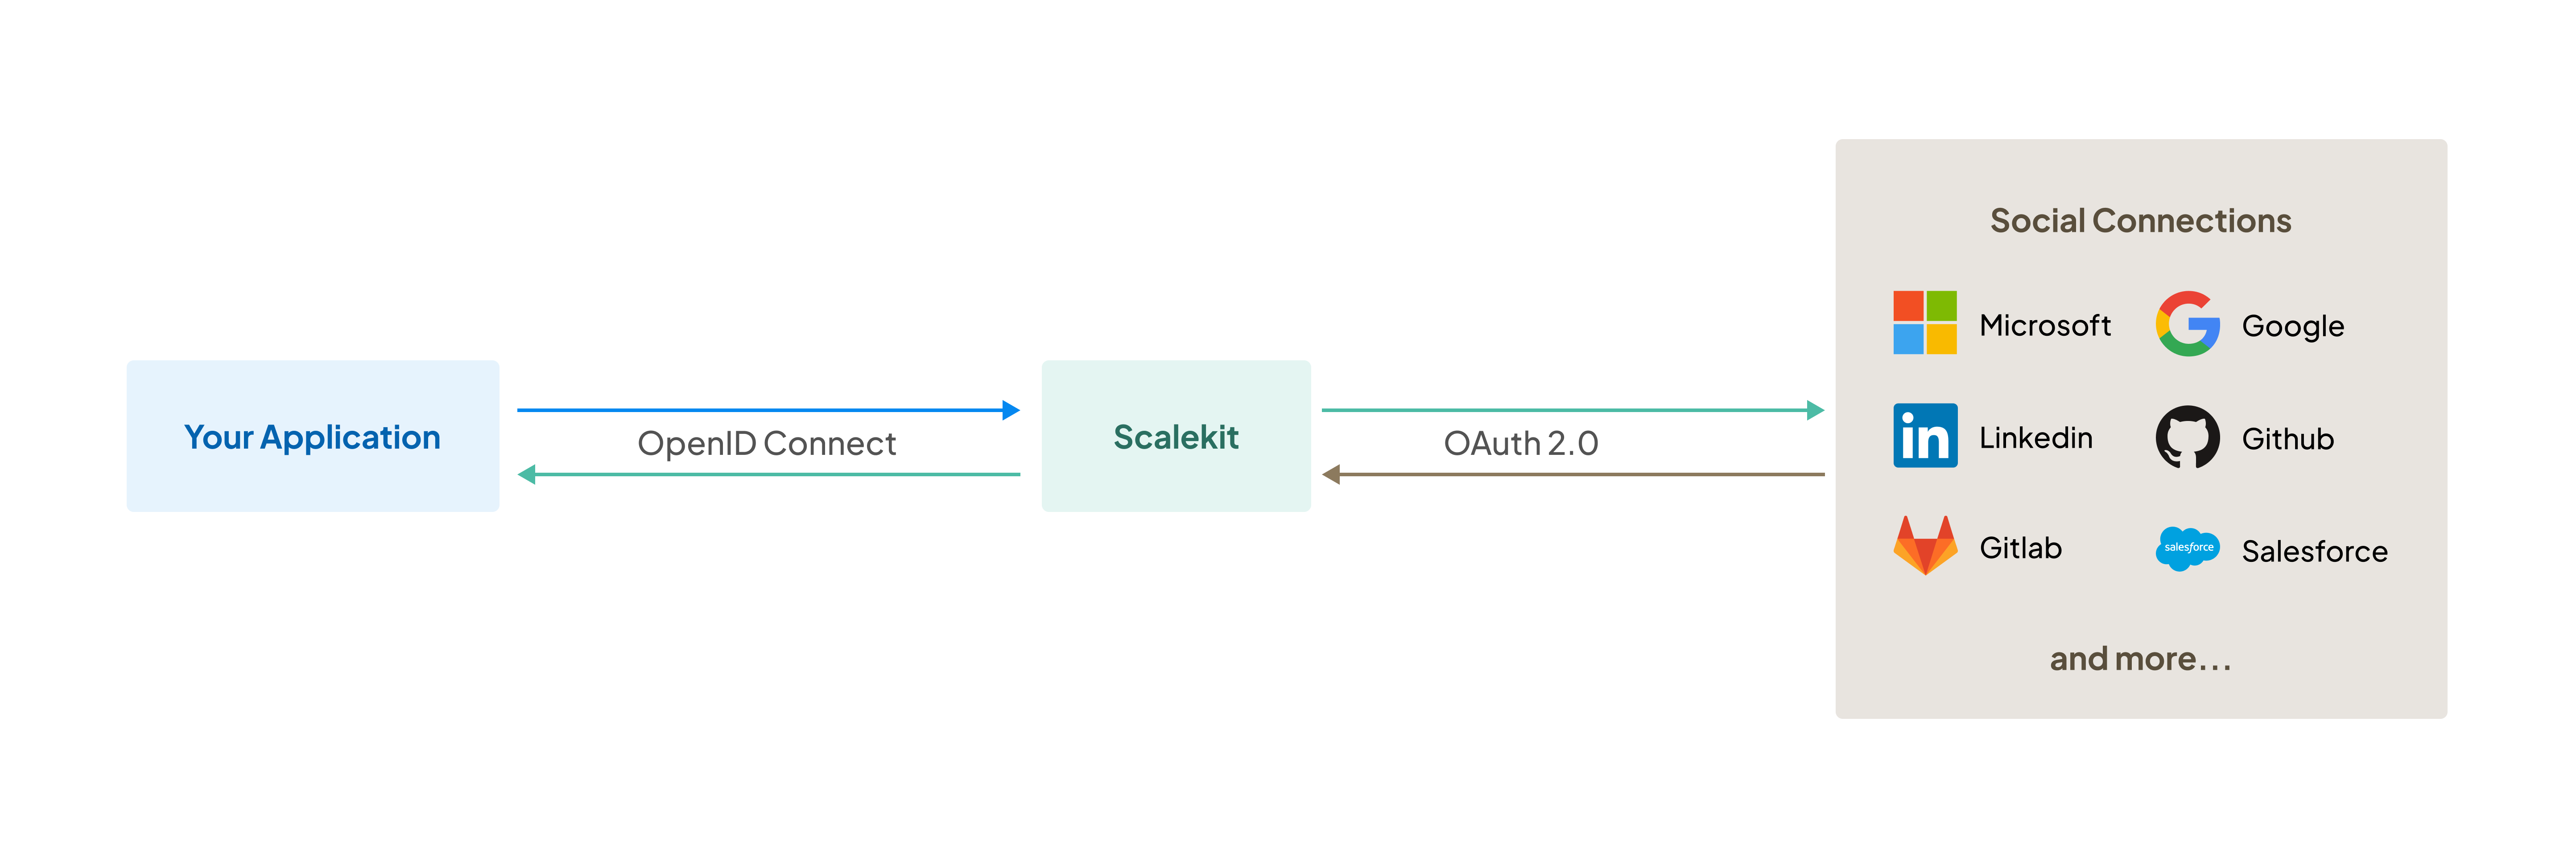
Add Sign in with Facebook to your app: create a Meta app, register the Scalekit redirect URI and connect the app to Scalekit for social login.
This guide is for developers who want users to sign in to their app with a Facebook account. By the end, you’ll have a Facebook connection in Scalekit that uses your own Meta app, and a successful test sign-in.
Before you start, you need:
- A Scalekit environment
- A Meta for Developers account
Add a Facebook connection in Scalekit
Section titled “Add a Facebook connection in Scalekit”-
Open social login settings
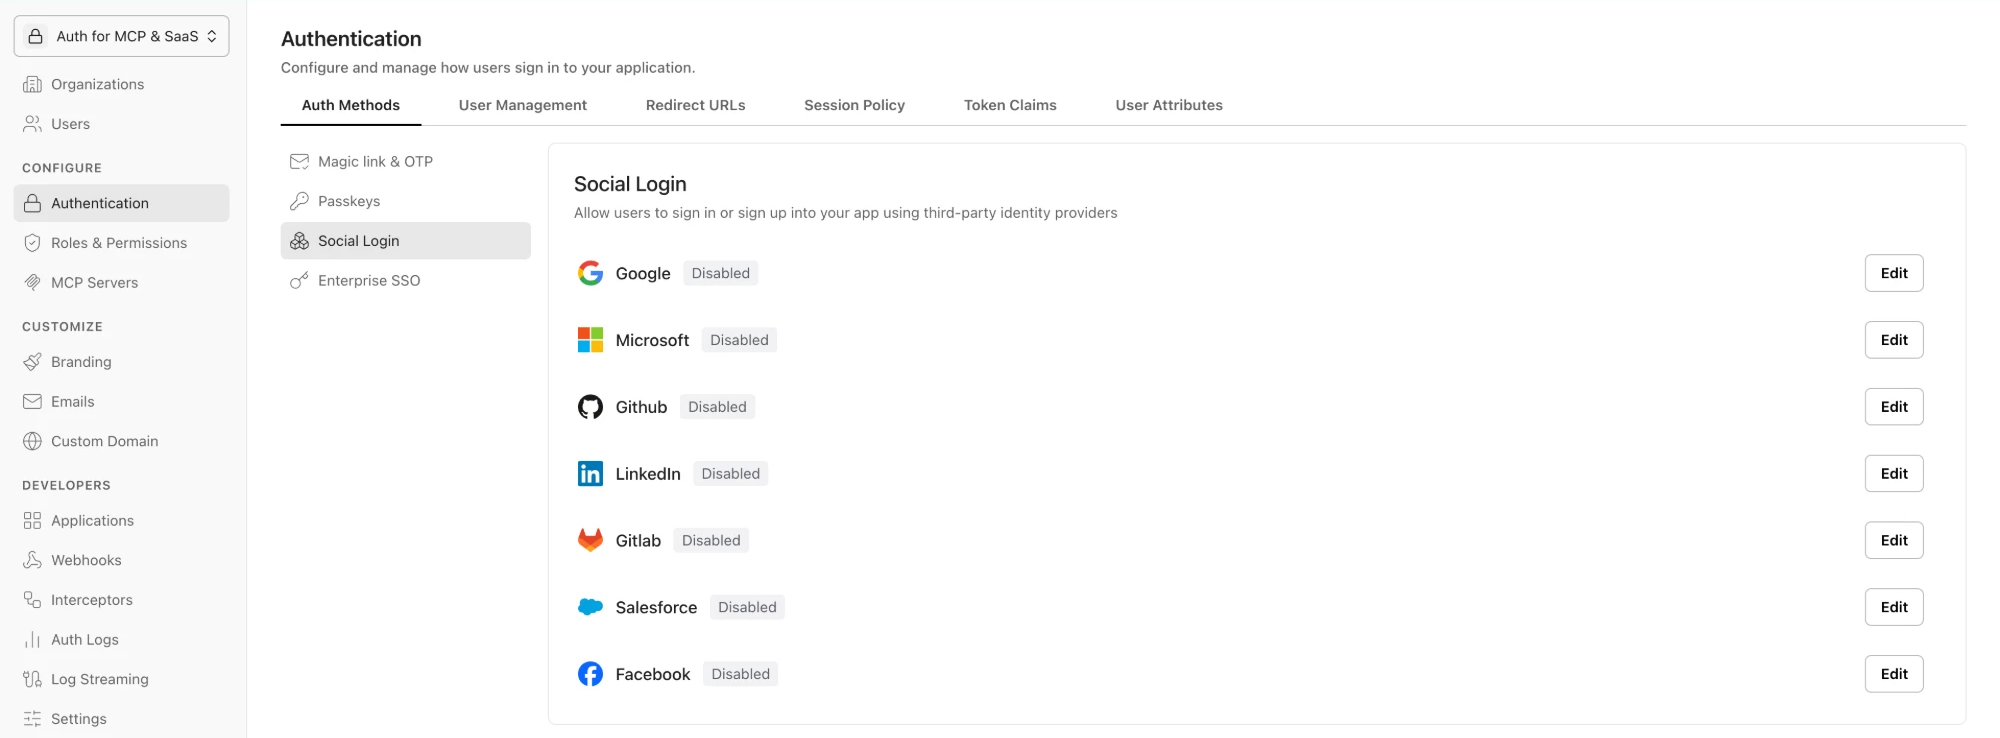
In the Scalekit dashboard, go to Authentication > Auth Methods > Social Login.
-
Open the Facebook connection
Next to Facebook, click Edit.
-
Copy the redirect URI
The OAuth Configuration page shows a Redirect URI. Copy it; you register it with Meta in the next section. Keep this page open to paste the Client ID and Client Secret from your Meta app. The Scopes are set to
emailandpublic_profile.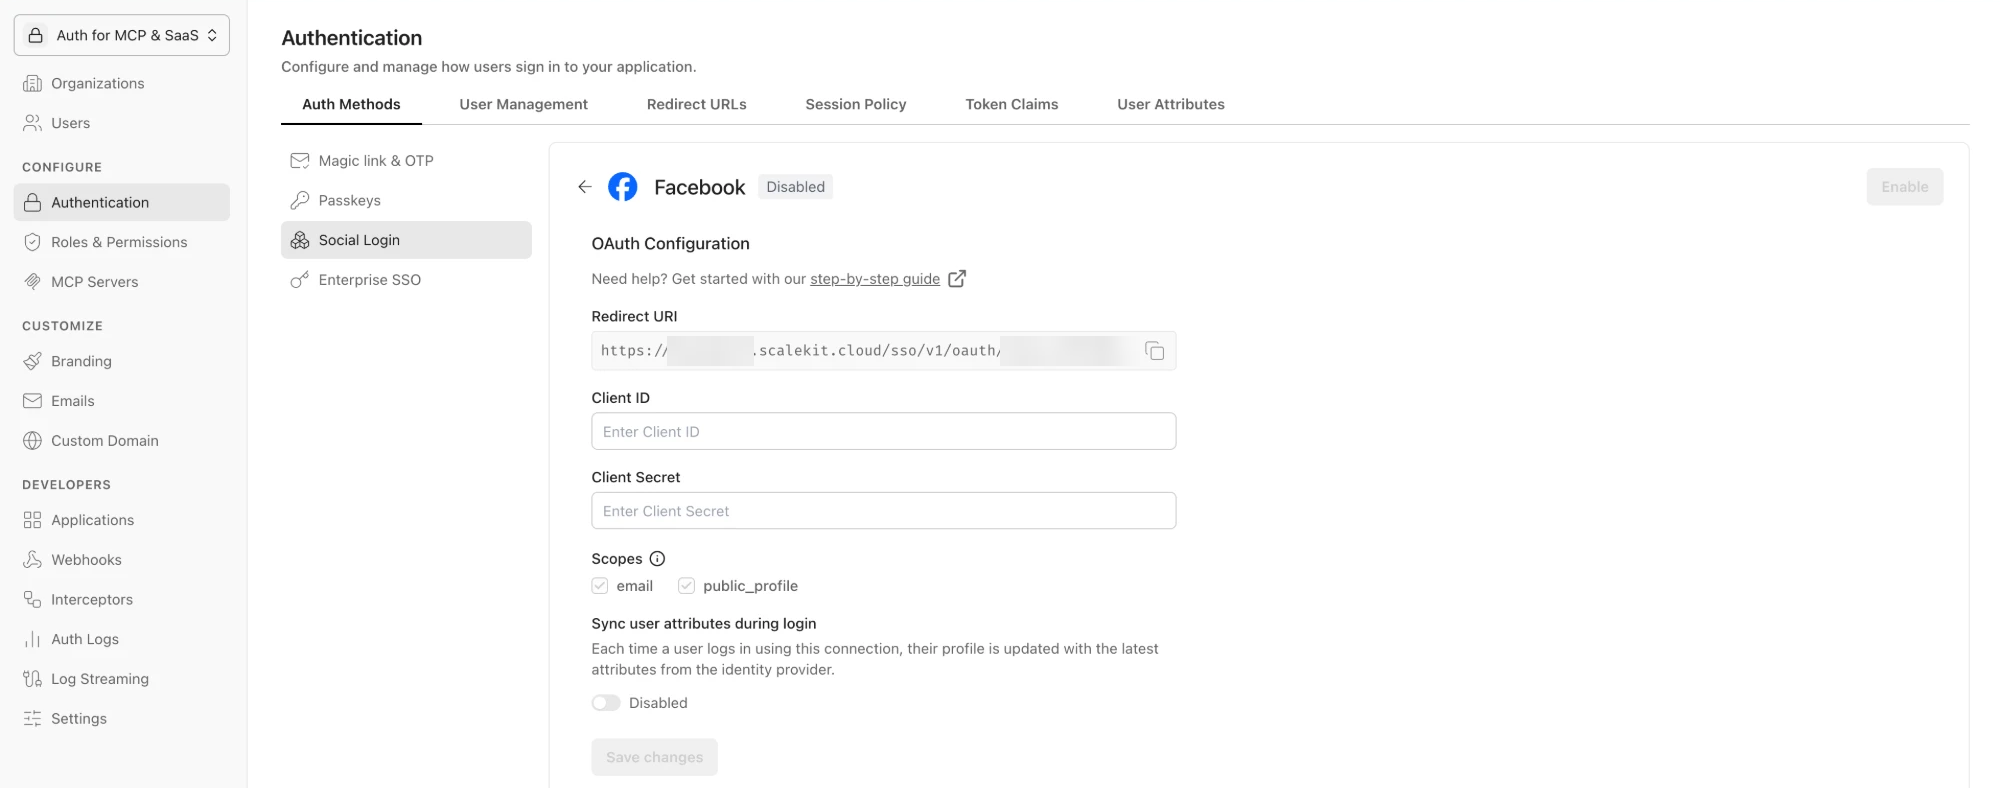
Create a Meta app
Section titled “Create a Meta app”-
Create the app
In Meta for Developers, click Create app. When asked for a use case, choose Authenticate and request data from users with Facebook Login.
-
Add the email permission
In the app dashboard, go to Use cases and click Customize on the Facebook Login use case. On Permissions and features, click Add next to
email. Scalekit requestsemailandpublic_profile, and it needs the email address to sign the user in.Check that
emailandpublic_profileboth show Ready for testing. Leave the other permissions as they are.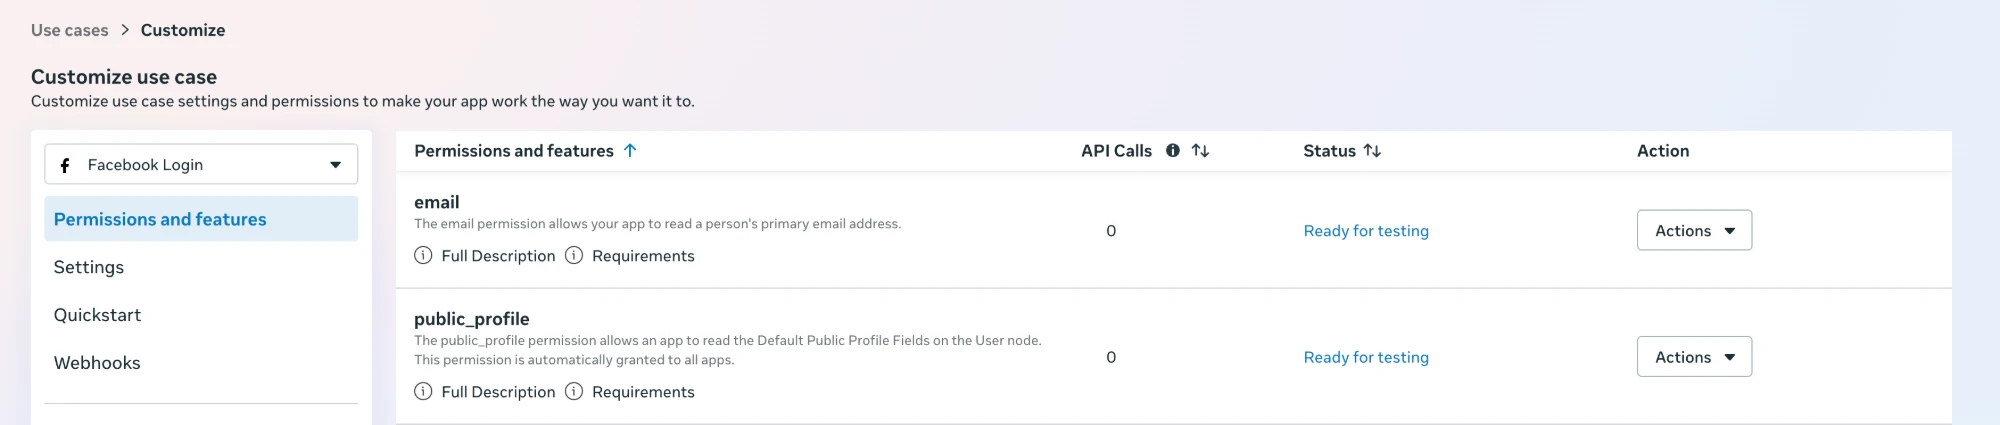
-
Register the redirect URI
In the same use case, open Settings. Paste the Scalekit redirect URI into Valid OAuth Redirect URIs, make sure Client OAuth login and Web OAuth login are on, and save.
-
Copy the app credentials
In App settings > Basic, copy the App ID. Click Show next to App secret and copy the secret.

Connect the Meta app to Scalekit
Section titled “Connect the Meta app to Scalekit”- Paste the App ID into Client ID and the App secret into Client Secret
- Click Save changes
- Click Enable
Test the connection
Section titled “Test the connection”- Click Test Connection in Scalekit
- Sign in with a Facebook account that has a role on your Meta app (admin, developer or tester), and approve the consent screen
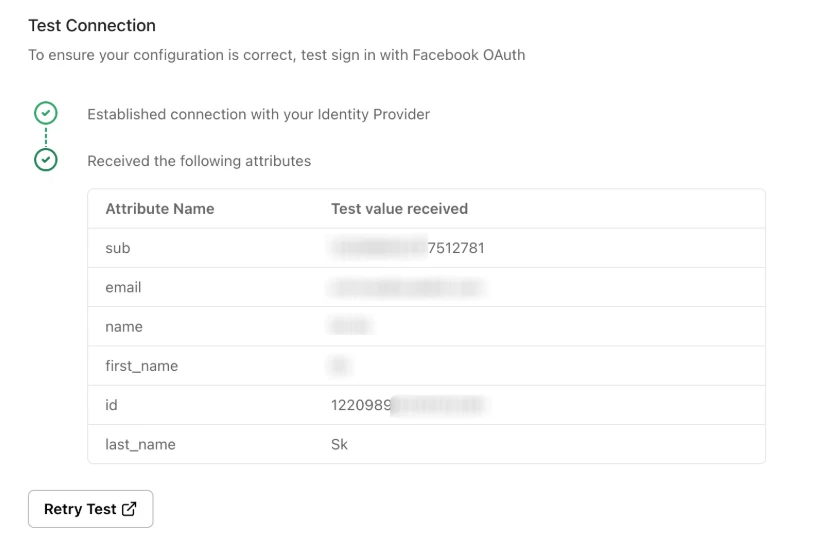
- Check the summary table: it lists the attributes Scalekit received from Facebook, such as the user’s ID, name and email
Go live
Section titled “Go live”While your Meta app is in development mode, only people with a role on the app can sign in. To let any Facebook user sign in, complete the steps Meta lists on the app dashboard (such as adding a privacy policy URL) and switch the app to Live.
How Facebook sign-in behaves
Section titled “How Facebook sign-in behaves”- Email address. Scalekit signs the user in with the email address on their Facebook account. If the account has no email address, or the user removes the email permission on the consent screen, the sign-in fails with a missing email error. Ask the user to sign in another way, or to add an email address to their Facebook account and try again.
- Email verification. Facebook doesn’t tell Scalekit whether the email address is verified. Scalekit asks the user to verify their email the first time they sign in with Facebook.
- Profile picture. Scalekit sends the user’s Facebook profile picture. Users who haven’t set one get no picture rather than Facebook’s default placeholder.
- App secret proof. Scalekit signs its Graph API calls with an
appsecret_proof, so you can turn on Require App Secret in your Meta app’s advanced settings.
Next steps
Section titled “Next steps”Add the connection to your login flow: see Social logins.