
Secure connected account auth in production
Verify user identity when a connected account is authorized.
Before activating a connected account, Scalekit confirms that the user who completed the OAuth consent is the same user your app originally intended to connect. This user verification step runs every time a connected account is authorized and prevents OAuth consent from activating on the wrong account.
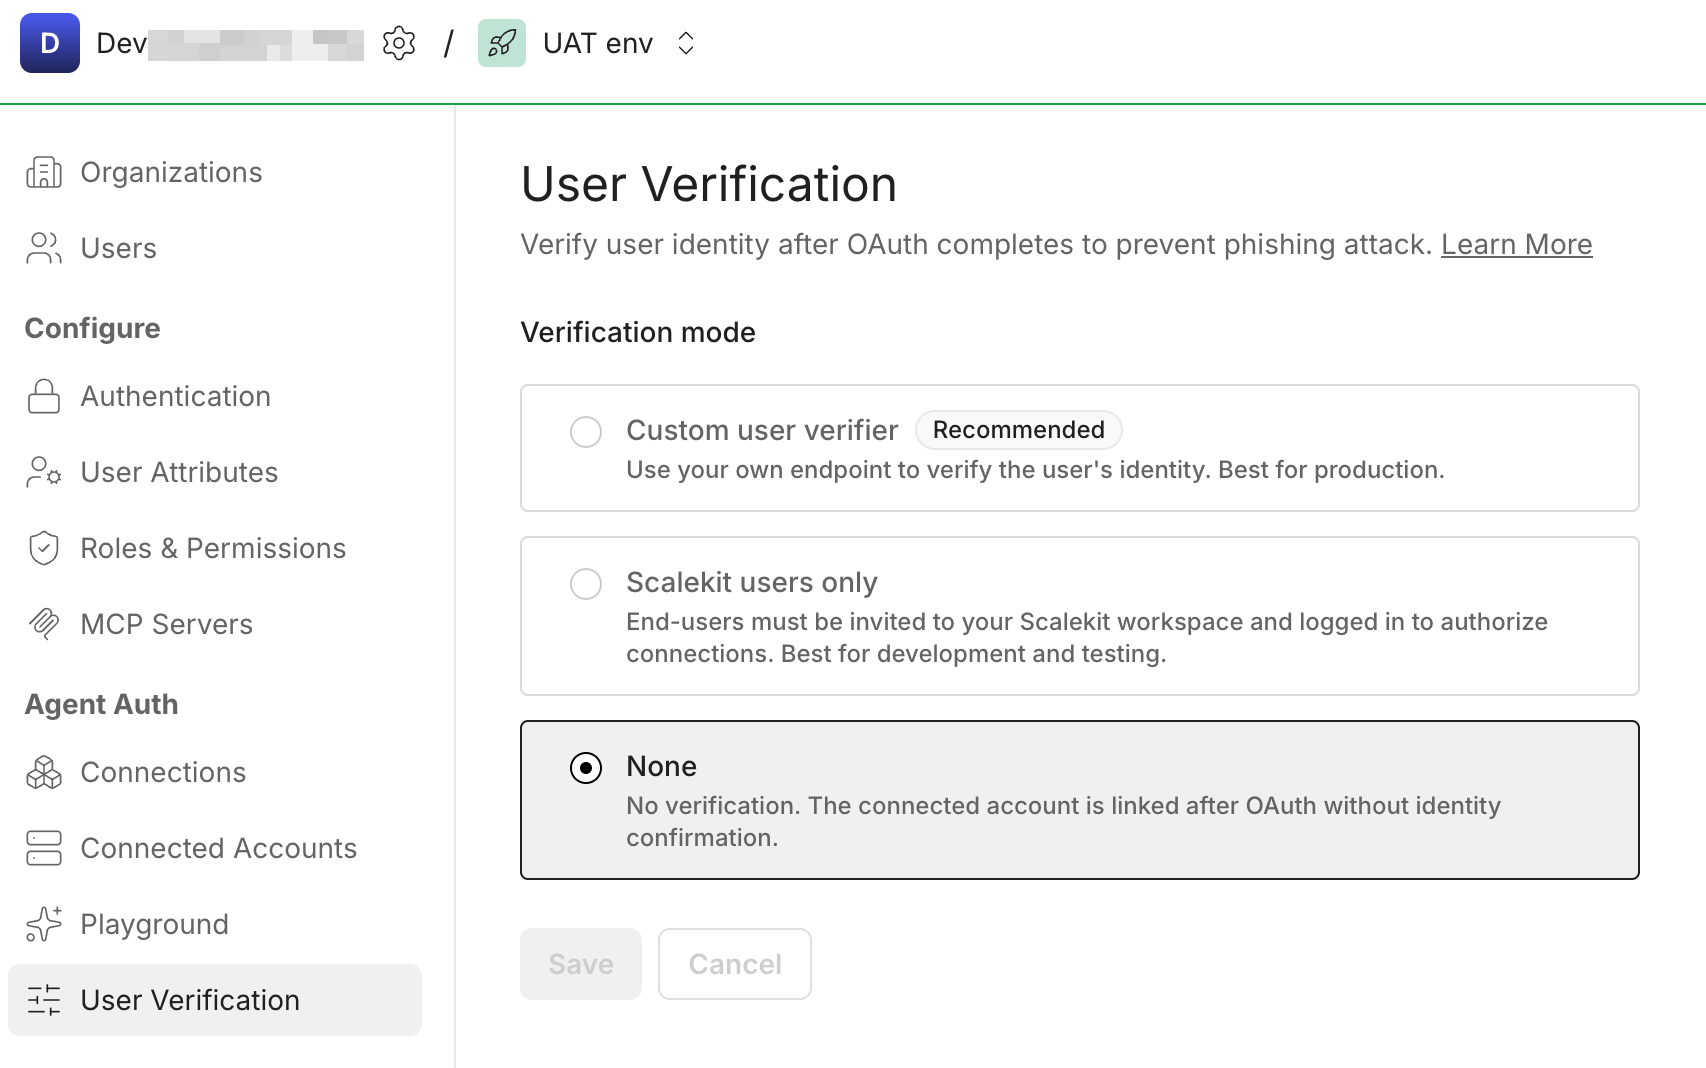
Choose a mode in Agent Actions > User Verification:
- Custom user verification — Your server checks the user against your session. Production and users who only sign in to your product.
- Scalekit users only — Scalekit checks users signed in to the Scalekit dashboard. Development and internal testing only.
Your application implements the verify step: end users never interact with Scalekit directly.
When the user finishes OAuth, Scalekit redirects their browser to the verify URL you configured. The request includes auth_request_id and state query parameters. Your route reads the signed-in user from your session (not from the URL), then calls Scalekit’s verify API with that auth_request_id and the same identifier you passed when you created the magic link. If it matches the value Scalekit stored for that flow, the connected account activates.
Review the verification sequence
Implement verification in your app
Section titled “Implement verification in your app”-
Set up your environment
Section titled “Set up your environment”Install the Scalekit SDK and initialize the client with your API credentials from Dashboard > Developers > Settings > API Credentials:
pip install scalekit-sdk-pythonimport osfrom scalekit import ScalekitClientscalekit_client = ScalekitClient(env_url=os.getenv("SCALEKIT_ENV_URL"),client_id=os.getenv("SCALEKIT_CLIENT_ID"),client_secret=os.getenv("SCALEKIT_CLIENT_SECRET"),)npm install @scalekit-sdk/nodeimport { ScalekitClient } from '@scalekit-sdk/node';const scalekit = new ScalekitClient(process.env.SCALEKIT_ENV_URL!,process.env.SCALEKIT_CLIENT_ID!,process.env.SCALEKIT_CLIENT_SECRET!,); -
Create the magic link with verification params
Section titled “Create the magic link with verification params”Pass these fields when creating the magic link to enable verification:
Field Description identifierRequired. The user’s identifier, e.g. email address or user ID. Scalekit stores this at link creation and checks it matches at verify time. user_verify_urlRequired. Your application callback URL that Scalekit redirects the user to after OAuth completes. stateRecommended. A value you generate to correlate the callback to your session, the same way OAuth state works. Encrypt this before sending, as it travels through the browser as a query parameter. import secrets# Generate a state value to prevent CSRFstate = secrets.token_urlsafe(32)# Store state in a secure, HTTP-only cookie to validate on callbackresponse = scalekit_client.actions.get_authorization_link(connection_name=connector,identifier=user_id, # current user id or emailuser_verify_url="https://app.yourapp.com/user/verify",state=state,)import crypto from 'node:crypto';// Generate a state value to prevent CSRFconst state = crypto.randomUUID();// Store state in a secure, HTTP-only cookie to validate on callbackconst { link } = await scalekit.actions.getAuthorizationLink({identifier: userId, // current user id or emailconnectionName: connector, // e.g. 'gmail'userVerifyUrl: 'https://app.yourapp.com/user/verify',state,}); -
Build the verify route
Section titled “Build the verify route”After OAuth completes, Scalekit redirects the user to your
user_verify_url:GET https://app.yourapp.com/user/verify?auth_request_id=req_xyz&state=<your_state>Read the
statefrom the cookie set earlier and compare it with thestatequery param. If they match, call Scalekit’s verify endpoint with theauth_request_idand the user’sidentifier. -
Confirm the user’s identity
Section titled “Confirm the user’s identity”Call the verify endpoint server-side using your client credentials:
# Get auth_request_id and state from URL query params# Read the stored state from the cookie# 1. Validate the state query param matches the state stored in the cookie# 2. Call Scalekit to verify the user identityresponse = scalekit_client.actions.verify_connected_account_user(auth_request_id=auth_request_id,identifier=user_id, # must match what was stored at link creation)print(f"Redirect user to: {response.post_user_verify_redirect_url}")// Get auth_request_id and state from URL query params// Read the stored state from the cookie// 1. Validate the state query param matches the state stored in the cookie// 2. Call Scalekit to verify the user identityconst { postUserVerifyRedirectUrl } =await scalekit.actions.verifyConnectedAccountUser({authRequestId: auth_request_id,identifier: userId, // must match what was stored at link creation});console.log('Redirect user to:', postUserVerifyRedirectUrl);On success, the connected account is activated. Redirect the user to your own success page or use the
post_user_verify_redirect_urlreturned by Scalekit.
Scalekit performs verification for you—no verify route or verify API calls in your application code.
The user authorizing the connection must already be signed in to the Scalekit dashboard. If they are, verification completes using that logged-in user. If not, Scalekit shows an error instead of activating the connection.